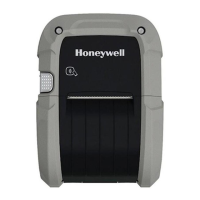
26 PX940 User Guide
Connect the Printer to an Ethernet Network
Use the Ethernet port to set up your printer as a network printer. The printer is set
to automatically retrieve an IP address from the network (DHCP) when you turn the
printer. You can use the network connection with InterDriver. You can also use it to
send commands directly to the printer through a terminal connection (Telnet), or
through FTP.
Note: To enable the FTP from the webpage, go to Configure > System Settings > Manage
Services
1. Turn the printer off.
2. Connect the Ethernet cable to the Ethernet port in the rear of the printer and
connect the other end of the cable to your network.
3. Turn the printer on.
4. If your printer uses a DHCP server to assign IP addresses, the IP address
appears in the lower left corner of the screen.
5. If you are not using a DHCP server to automatically assign IP addresses to
devices in your network, you must set a static IP address and other network
information manually. Continue with the next step.
6. For a non-DHCP network:
• From the Main Menu select Settings > Communications > Ethernet > IPv4
or IPv6 and change the settings as needed.
Configure Bluetooth Communications from the Web Page
The printer must be connected to an Ethernet or wireless network and you must
know the printer IP address.
1. Open a web browser on your PC and click Login
2. Type your Username and Password and click Login.
3. Click the Configure tab. The Configuration Summary page appears.
4. Click Communications > Bluetooth. The Bluetooth settings page appears.
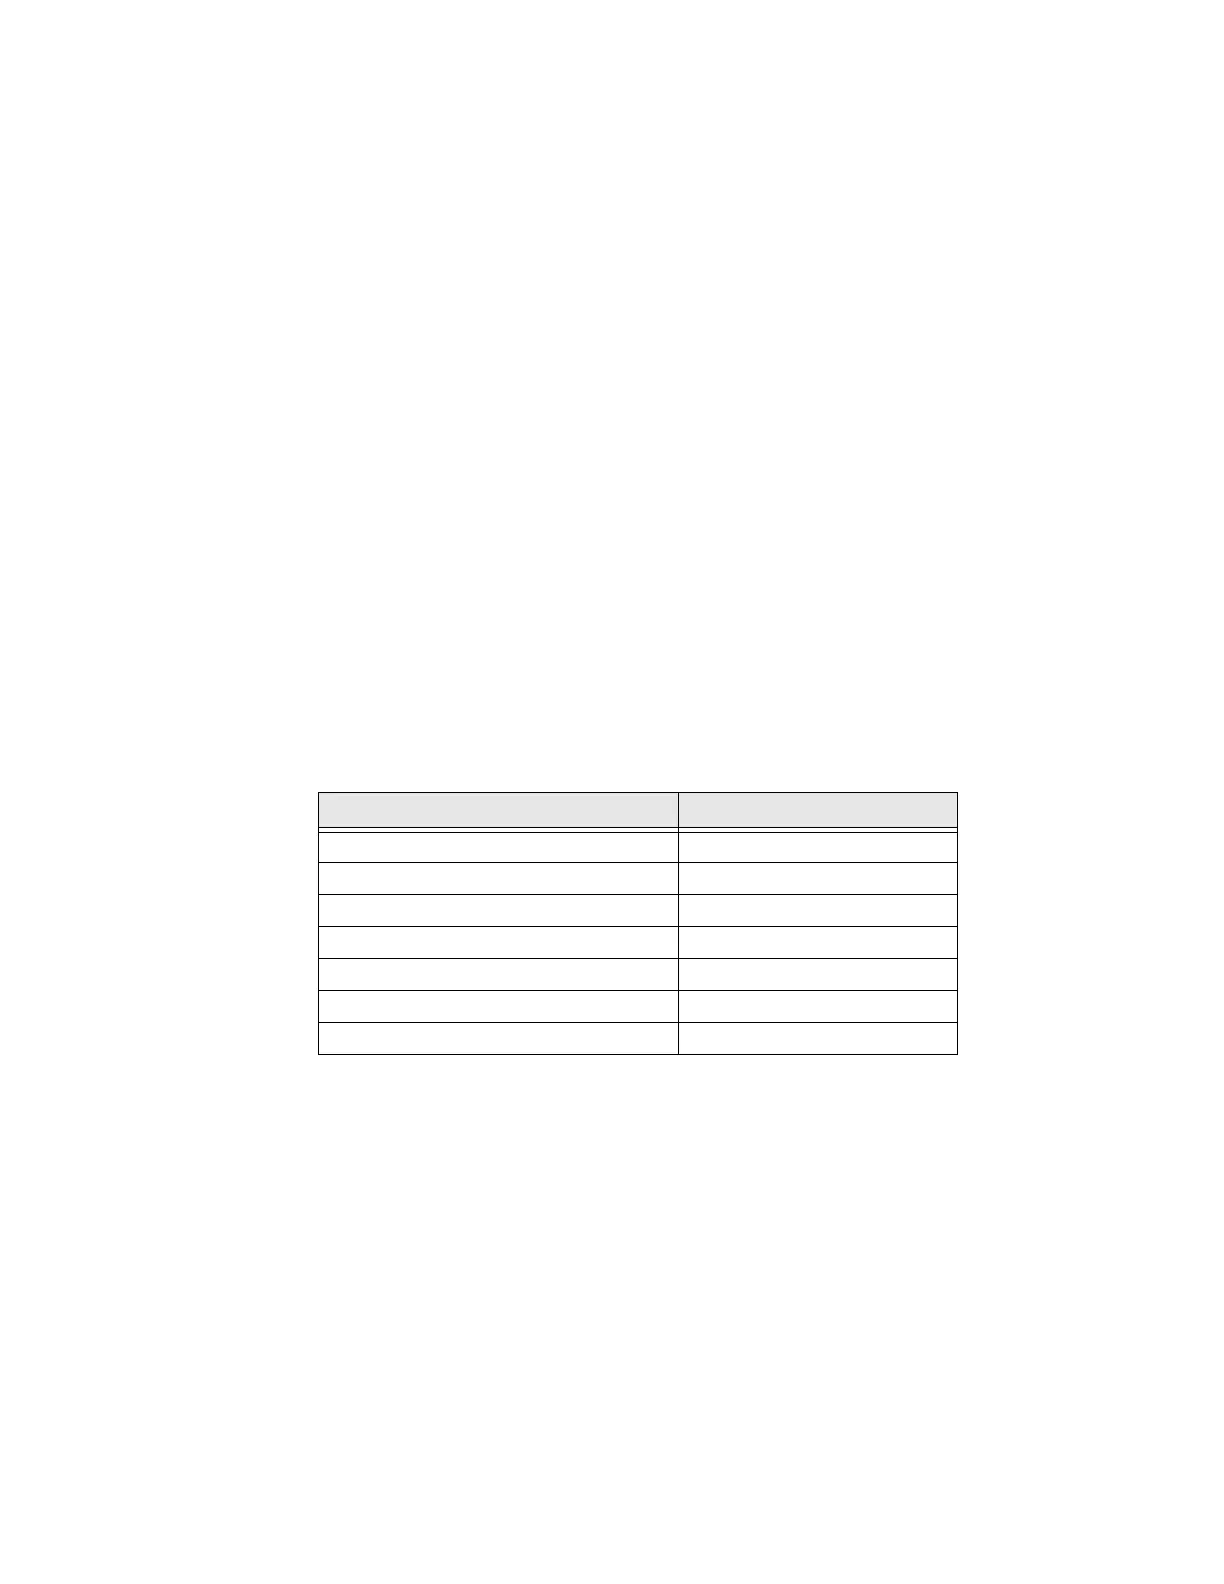
Setting Default
(IPv4) IP Assignment Method DHCP
(IPv4) IP Address 0.0.0.0
Subnet Mask 0.0.0.0
Default Router 0.0.0.0
DHCP Response Broadcast
(IPv6) IP Assignment Method Automatic
(IPv6) IP Address Automatic

 Loading...