Step 3 Lift the heat sink out of the server. See step (2) in Figure 5-6.
Step 4
● Do not use a tool or sharp object to lift the levers on the CPU socket.
Otherwise, the CPU or CPU socket may be damaged.
● There is a thermal compound layer between the heat sink and the CPU. At a
low temperature, the thermal compound securely adheres the heat sink to the
CPU. Before you remove the heat sink, use an air heater to heat and melt the
thermal compound. Then, you can remove the heat sink easily.
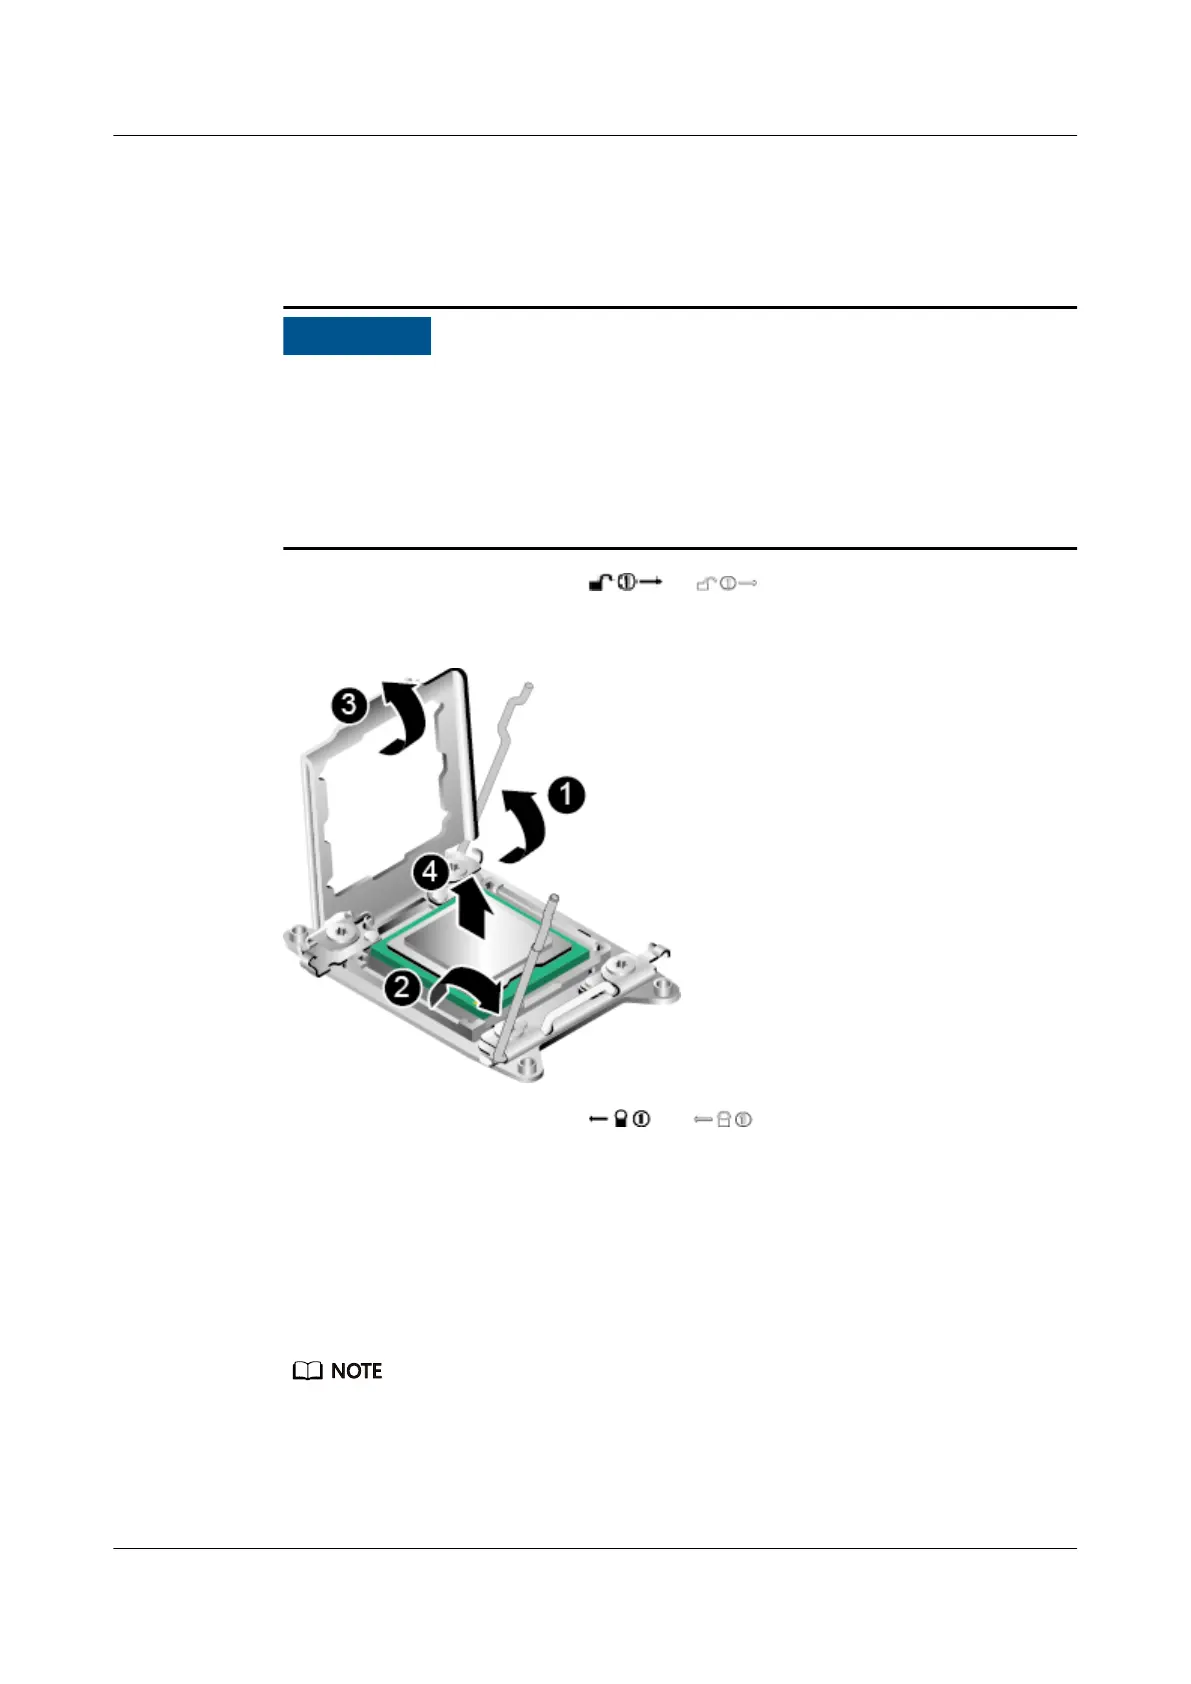
Raise the securing rod near the or label. See step (1) in Figure 5-7.
Figure 5-7 Removing a CPU
Step 5 Raise the securing rod near the or label. See step (2) in Figure 5-7.
Step 6 Lift the load plate to a fully open position, and remove the CPU from the socket.
See steps (3) and (4) in Figure 5-7.
Step 7 Use a tissue to clean o any residual thermal paste from the CPU, and place the
CPU installation tool with the CPU inside in an ESD bag.
Step 8 Align the CPU protective cover with the CPU socket and place the cover into the
socket. See step (1) in Figure 5-8.
An ill-positioned CPU socket cover may damage pins in the CPU socket.
Step 9 Close the CPU load plate. See step (2) in Figure 5-8.
Step 10 Close the securing rods. See steps (3) and (4) in Figure 5-8.
RH8100 V3 Server
User Guide 5 Removing and Installing Parts of the RH8100 V3
Issue 30 (2019-12-19) Copyright © Huawei Technologies Co., Ltd. 119

 Loading...


