Replace in reverse order.
Attention: To prevent damage to cards in the drawer, refer to drawing on “10 EIA-Unit
I/O Drawer Cable Routing” on page 42, and ensure the cables are routed correctly.
Drawer Indicator Panel Assembly
Before performing these procedures, read “Safety Notices” on page xiii.
Removal
1. Place the drawer in the service position, as described in “Service Position” on
page 512.
2. Remove the blowers, as described in “Hot-Swappable Blower Assembly” on
page 514.
3. Follow the steps described in “Media Devices (CD-ROM Drive, Tape Drive, Diskette
Drive)” on page 520.
4. Remove the diskette drive, as described in “Media Devices (CD-ROM Drive, Tape
Drive, Diskette Drive)” on page 520.
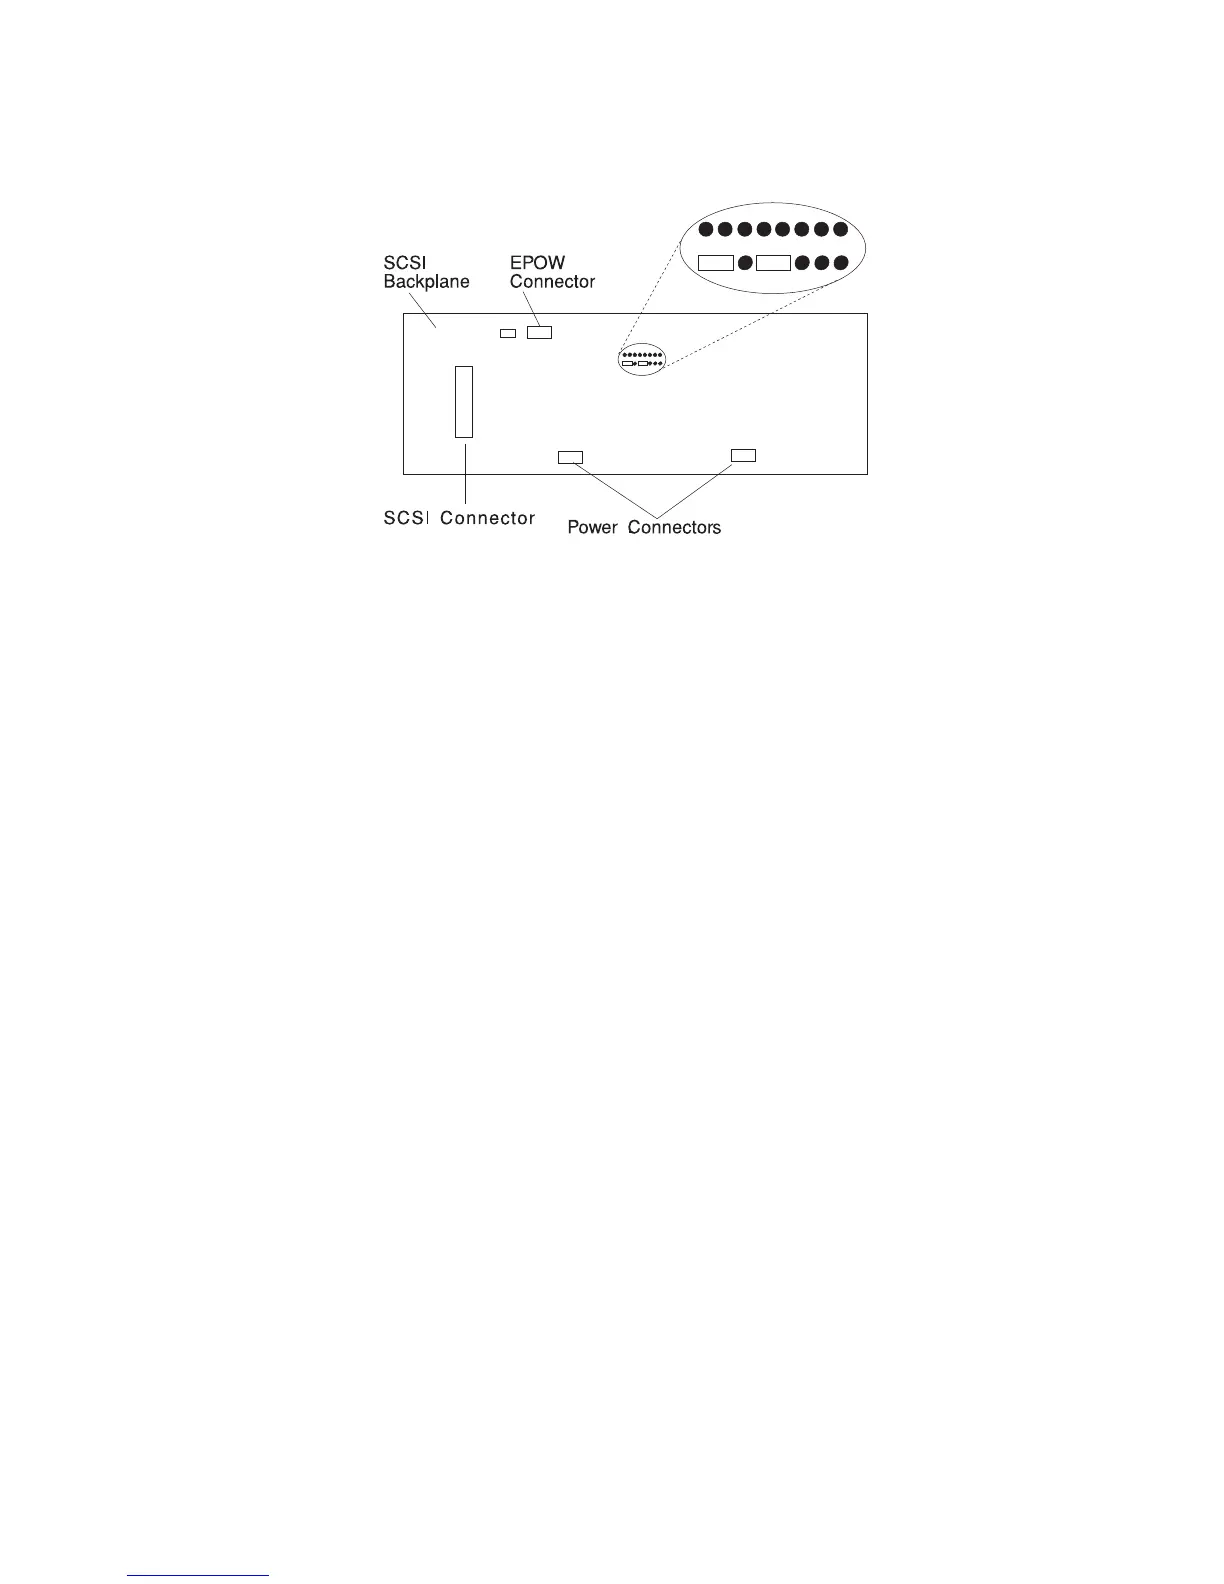
5. Note the locations of the cables that attach to the card.
6. Disconnect all cables from the drawer indicator panel assembly.
7. Release the assembly by compressing the spring clip at each side of the assembly.
8. Remove the card by pushing it to the rear and pulling it up.
Chapter 9. Removal and Replacement Procedures 529
 Loading...