Service Position
Before performing these procedures, read “Safety Notices” on page xiii.
CAUTION:
The stabilizer must be firmly attached to the bottom front of the rack to prevent
the rack from turning over when the drawers are pulled out of the rack. Do not
pull out or install any drawer or feature if the stabilizer is not attached to the
rack.
To gain access to the front of the drawer, follow these steps:
1. “Powering Off the System” on page 492.
2. Open the I/O rack doors.
3. Remove the ac power cords from the rear of the drawer.
4. Remove other cables as required from the rear of the drawer.
5. Remove the four screws that attach the front of the drawer to the rack.
6. Remove the two screws that attach the drawer to the rear of the rails in the rack.
7. Pull the drawer out until it stops (about 12 inches).
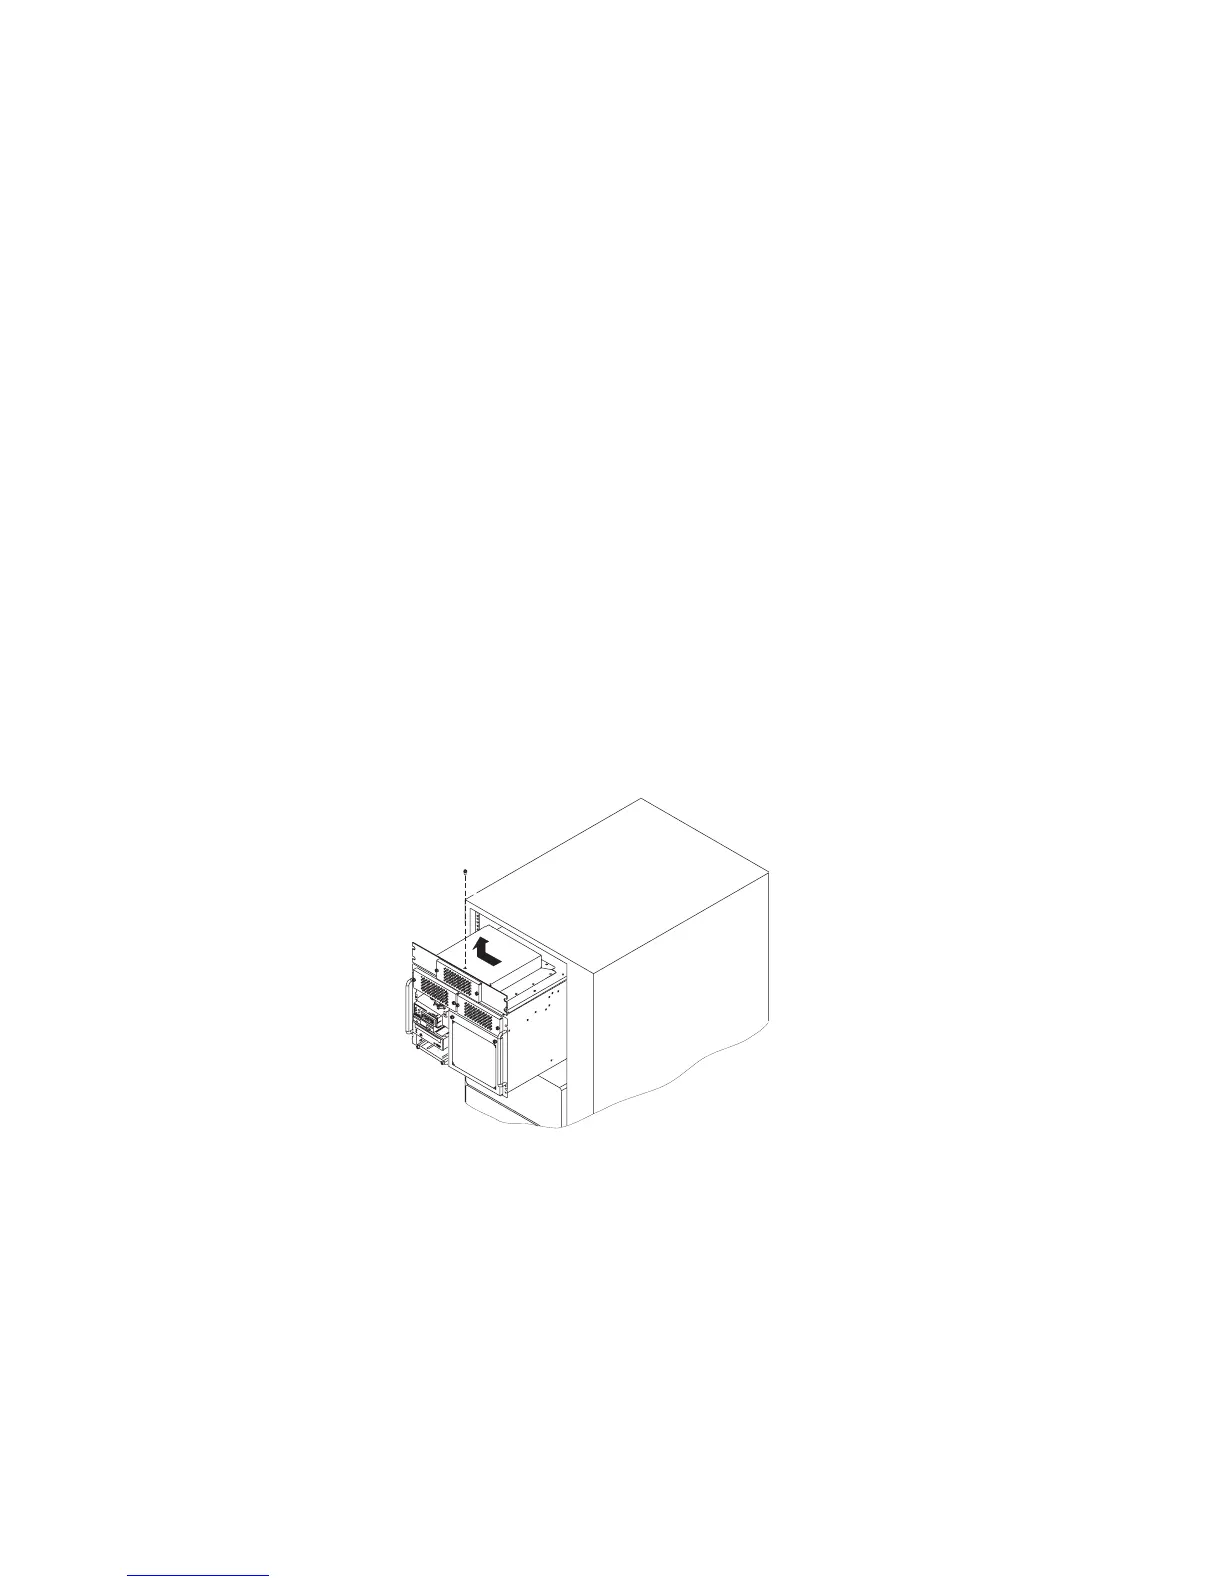
8. Remove the screws that attach the top cover and remove it from the drawer (the
cover of a 10 EIA-unit I/O drawer is removed by sliding it to the left and then lifting it
up and off).
9. Return to the procedure that directed you to place the drawer into the service
position.
Operating Position
Before performing these procedures, read “Safety Notices” on page xiii.
To place the drawer into the operating position, follow these steps:
1. Install all air ducts and covers on the drawer.
2. Slide the drawer into the rack. If the drawer does not slide all the way in, go to the
rear of the rack and realign the drawer, and then slide it in the rest of the way.
512 Service Guide
 Loading...