FX-1/FX-1R Maintenance Manual
2-6. Replacing the Belts
2-6-1. MNLA Head
<Replacing the timing belt Z (L151E421000)>
After the timing belt Z has been replaced, it is absolutely necessary to re-input the MS parameters
related to the Z-axis height. (For details of input items, see section 2-9.)
(1) Loosen the timing belt Z following the steps (1) through (3) in section 2-2-1.
(2) Replace the timing belt Z.
Apply Loctite 242 to the Z-motor mounting screws (4 pcs.) and tighten them with a
tightening torque of 2.3 Nm.
Adjust the belt tension following section 2-2-2 "Z-motor" (on page 2-5).
<Replacing the timing belt θ (L150E821000)>
After the timing belt θ has been replaced, it is absolutely necessary to re-input the MS parameters
related to the Z-axis home. (For details of input items, see section 2-9.)
(1) Loosen the timing belt θ to the direction indicated by the arrow following the steps (1) through
(3) in section 2-2-2.
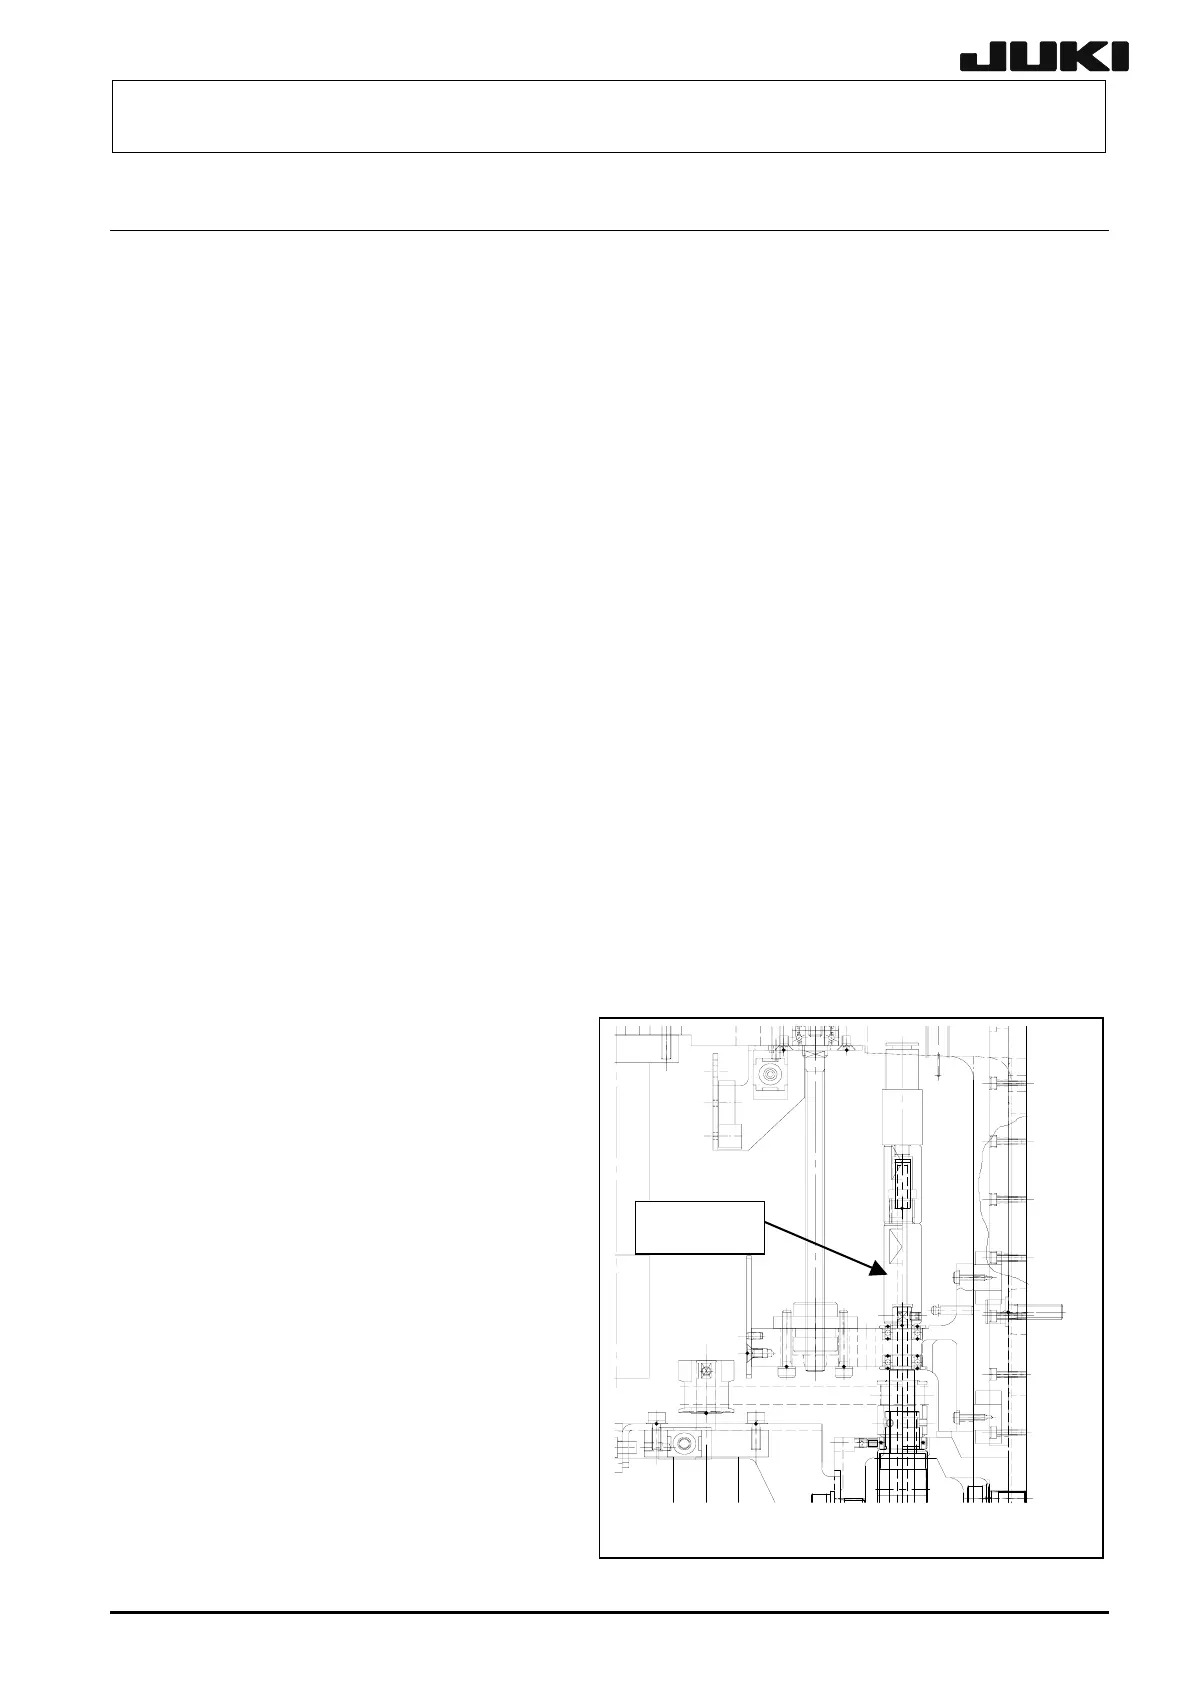
(2) Loosen the set collar mounting screws (2 pcs.) to detach the set collar from the spline shaft.
(3) Remove the spline shaft from the bearing of the Z-slide bracket.
(4) Replace the timing belt θ.
When fixing the set collar, exercise
care to avoid any clearance from
being formed between the collar and
the spline shaft.
Adjust the belt tension following
section 2-2-2 "θ-motor" (on page 2-6).
Figure 2-6-1
Set collar
2-10
Rev. 2.00
 Loading...


