CHAPTER 14
Providing Power to the SRX240 Services
Gateway
•
Connecting the SRX240 Services Gateway to the AC Power Source on page 69
•
Connecting the SRX240 Services Gateway DC Power Supply Model to a DC Power
Source on page 70
•
Powering On and Powering Off the SRX240 Services Gateway on page 74
Connecting the SRX240 Services Gateway to the AC Power Source
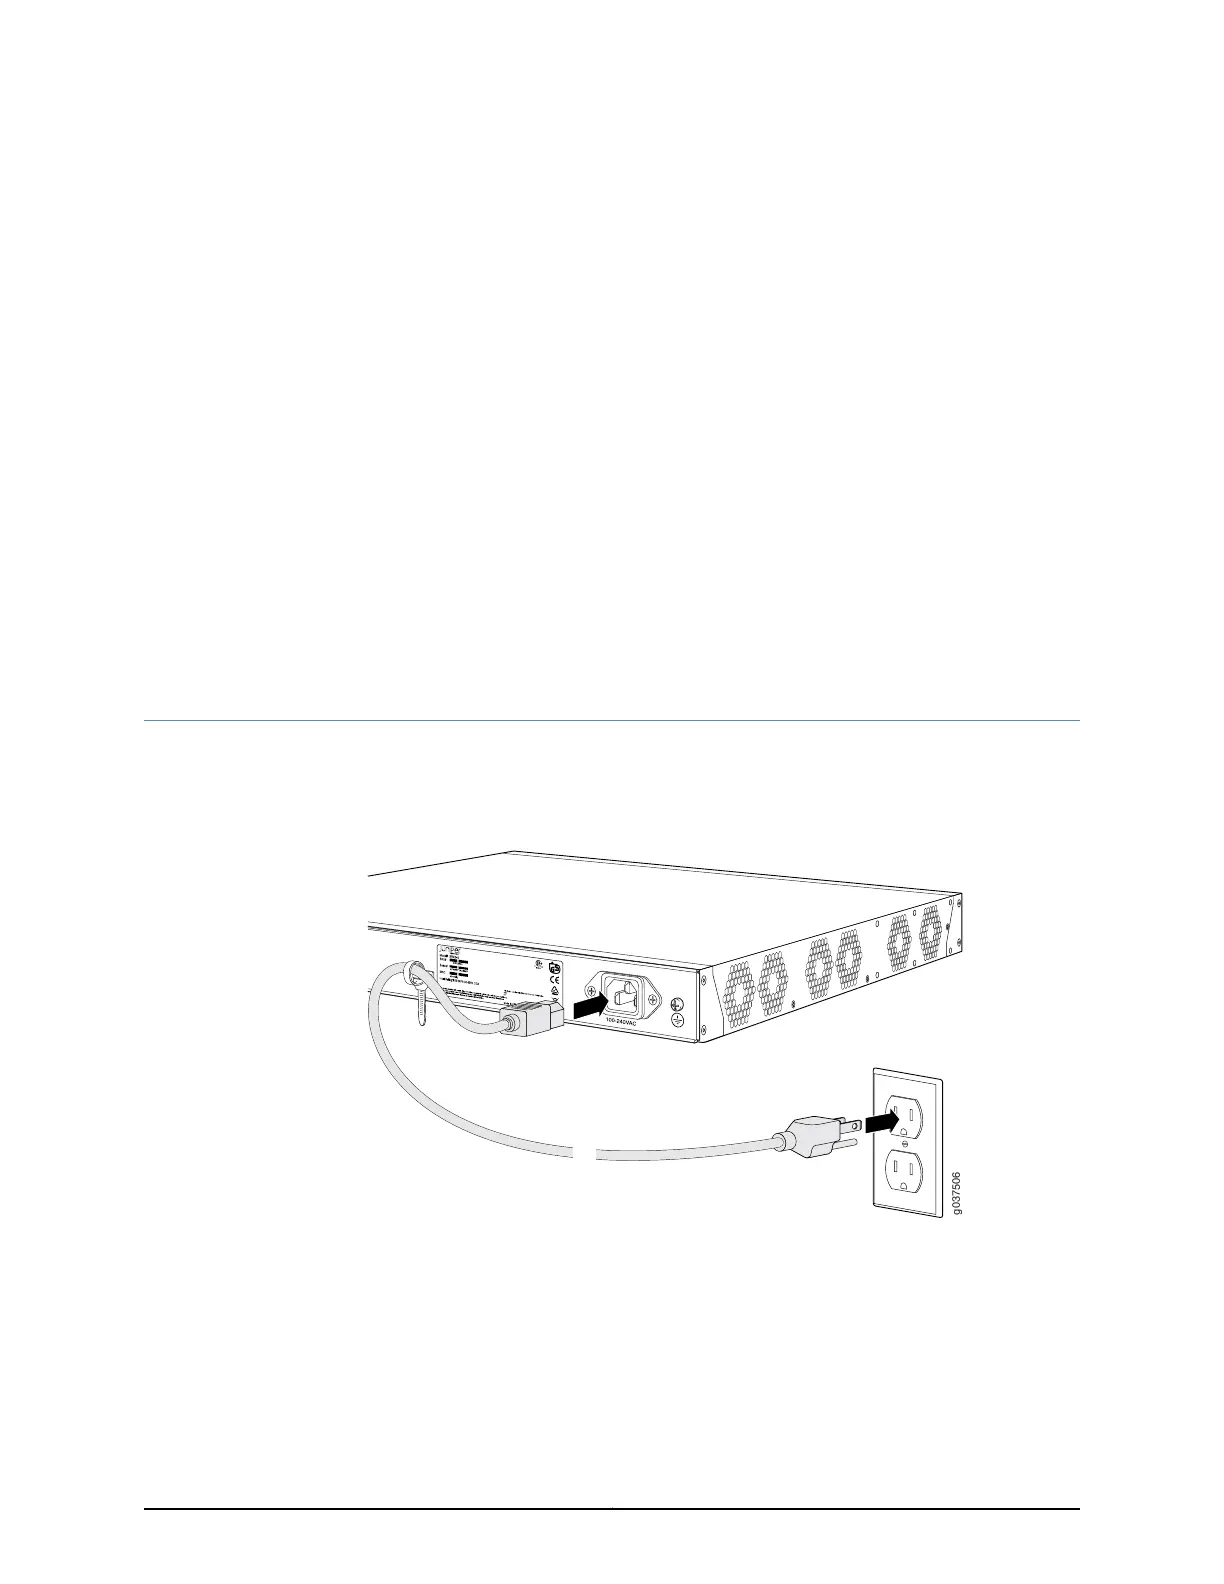
Figure 15 on page 69 shows how the SRX240 Services Gateway is connected to an AC
power source.
Figure 15: SRX240 Services Gateway Power Supply Connection
To connect the device to the power supply:
1. Attach an electrostatic discharge (ESD) grounding strap to your bare wrist, and connect
the other end of the ESD strap to the ESD point on the rack.
2. Insert the appliance coupler end of a power cord into the appliance inlet on the power
supply faceplate.
3. Insert the plug into an AC power source receptacle.
69Copyright © 2015, Juniper Networks, Inc.
 Loading...


