SERVICE WORK ON THE CHASSIS 13
95
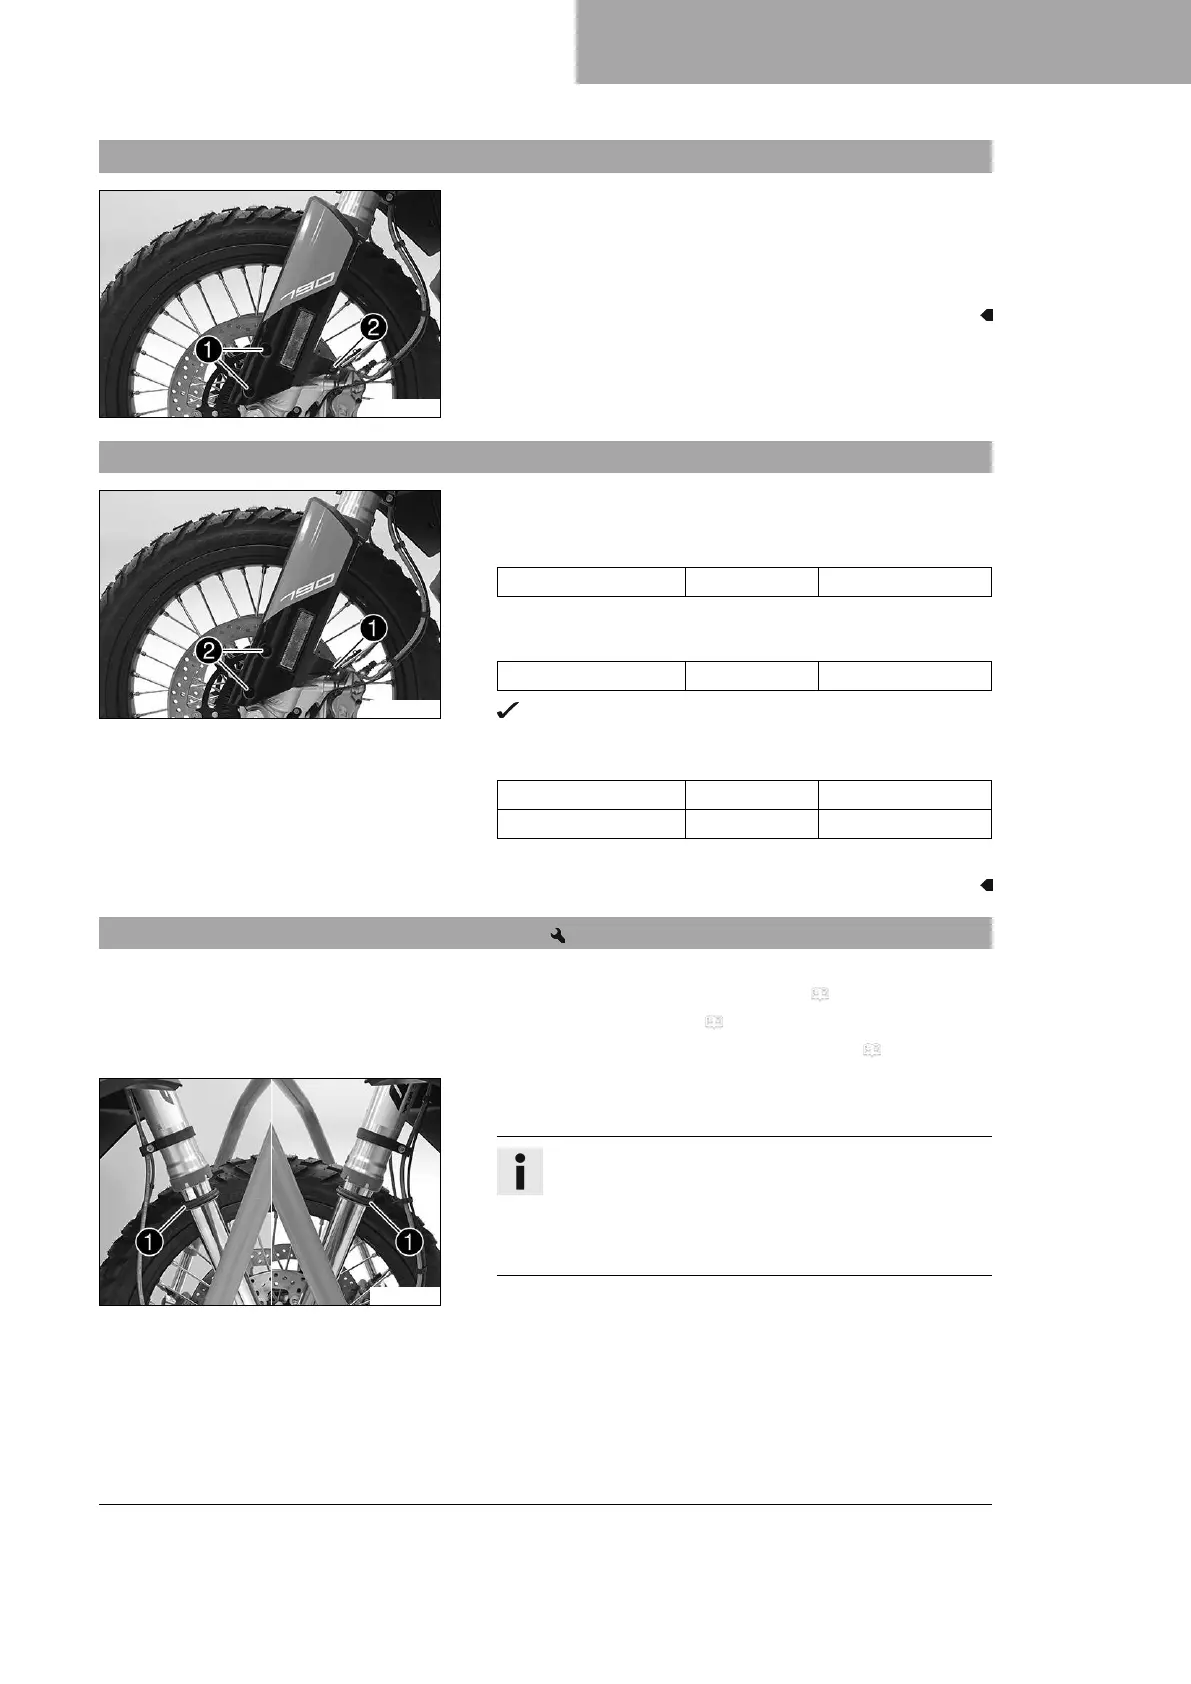
13.24 Removing fork protector
F02051-10
–
Remove screws
1
.
–
Remove screw
2
.
– Take off the fork protector at the front.
– Repeat these steps on the opposite side.
13.25 Installing the fork protector
F02051-11
–
Position the fork protector. Mount screw
1
, but do not
tighten yet.
Guideline
Screw, fork protector M5x12 5 Nm (3.7 lbf ft)
–
Mount screws
2
, but do not tighten yet.
Guideline
Screw, fork protector M5x17 5 Nm (3.7 lbf ft)
The fork protector is evenly aligned to the front.
– Tighten all screws of the fork protector.
Guideline
Screw, fork protector M5x12 5 Nm (3.7 lbf ft)
Screw, fork protector M5x17 5 Nm (3.7 lbf ft)
– Repeat these steps on the opposite side.
13.26 Cleaning the dust boots of the fork legs
Preparatory work
– Raise motorcycle with rear lifting gear. ( p. 81)
– Remove the front fender. ( p. 94)
– Lift the motorcycle with the front lifting gear. ( p. 81)
F02053-10
Main work
–
Push dust boots
1
of both fork legs downward.
Info
The dust boots remove dust and coarse dirt particles
from the inside fork tubes. Over time, dirt can accumu-
late behind the dust boots. If this dirt is not removed,
the oil seals behind can start to leak.
 Loading...