SP Pump Diagnostics and Repair
D-28
Part 1024496_06
2014 Nordson Corporation
Disassemble the Lower Ball Seat and the Pressure Ball Assemblies
See Figure D‐14.
1. Pull the siphon ball cage (1) off of the lower ball seat (4), and then
remove the siphon ball (2).
2. Remove the O‐ring (3) from the lower ball seat.
See Figure D‐15.
3. Unscrew the pressure ball seat (3) from the piston (1), and then remove
the pressure ball (2).
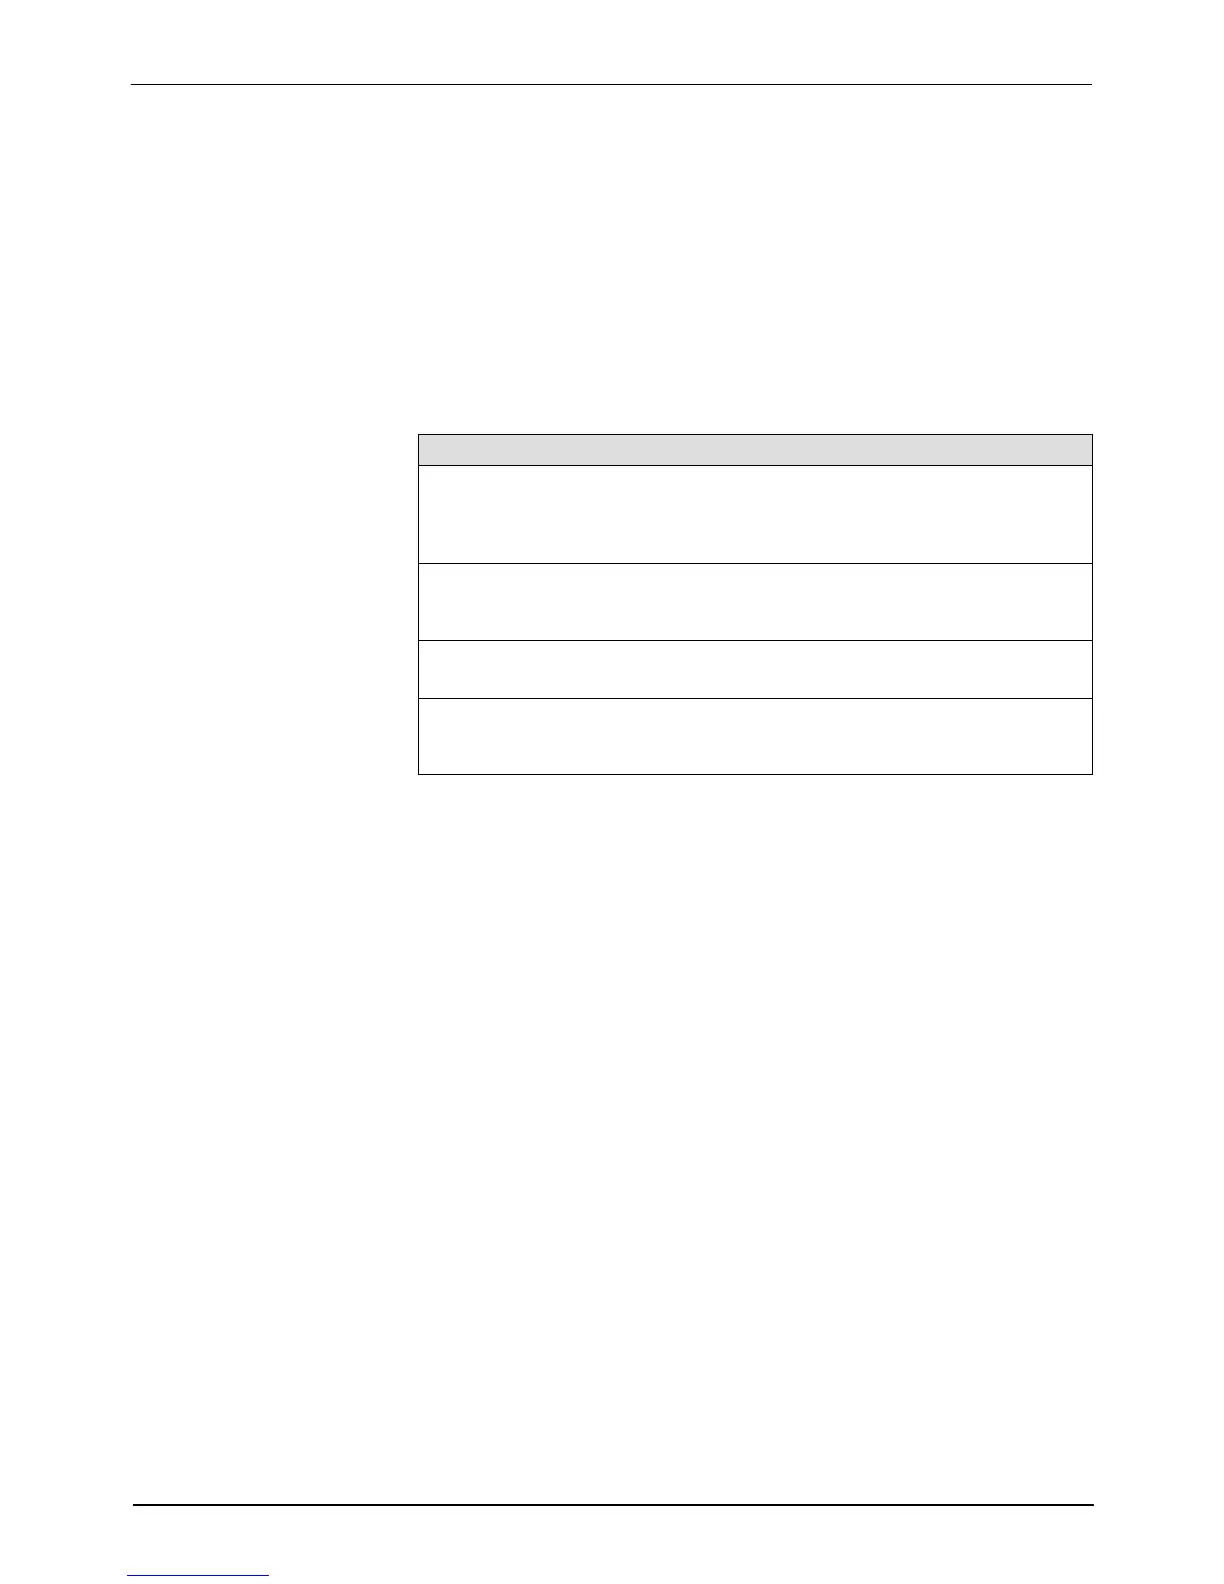
Check/Repair
Siphon ball
P/N 900001
Pressure ball
P/N 900000
Char buildup
Ball seats
P/N 1017320
Char buildup or damage Apply Never‐seez during
reassembly
Siphon ball cage
P/N 503696
Char buildup or damage
Lower ball seat O‐ring
P/N 945037
Nicked, gouged,
deteriorated, or swollen
Apply Parker lubricant
during reassembly
NOTE: Clean all hydraulic components in a container of Type R fluid before
reassembling them.
Special Reassembly Instructions
If the siphon ball cage does not fit tightly onto the lower ball seat, gently
bend the legs of the cage together to create a spring‐fit onto the seat.
 Loading...