Low‐level LED (yellow)
Operation
4-3
Part 1024496_06
2014 Nordson Corporation
Filling the Tank
Before filling the tank, confirm that the hot melt material is compatible with
the melter. Refer to Section 2, Intended Use, for information about hot melt
materials that should not be used in ProBlue melters.
The tank is equipped with a low‐level float switch. When the volume of
adhesive in the tank reaches approximately one‐half of the tank's rated
capacity, the float switch turns on the low‐level LED located on the control
panel.
To fill the tank
WARNING! Hot! Risk of burns! Use a scoop to fill the tank with hot melt
Never use your bare hands. Using your bare hands to fill the tank may result
in personal injury.
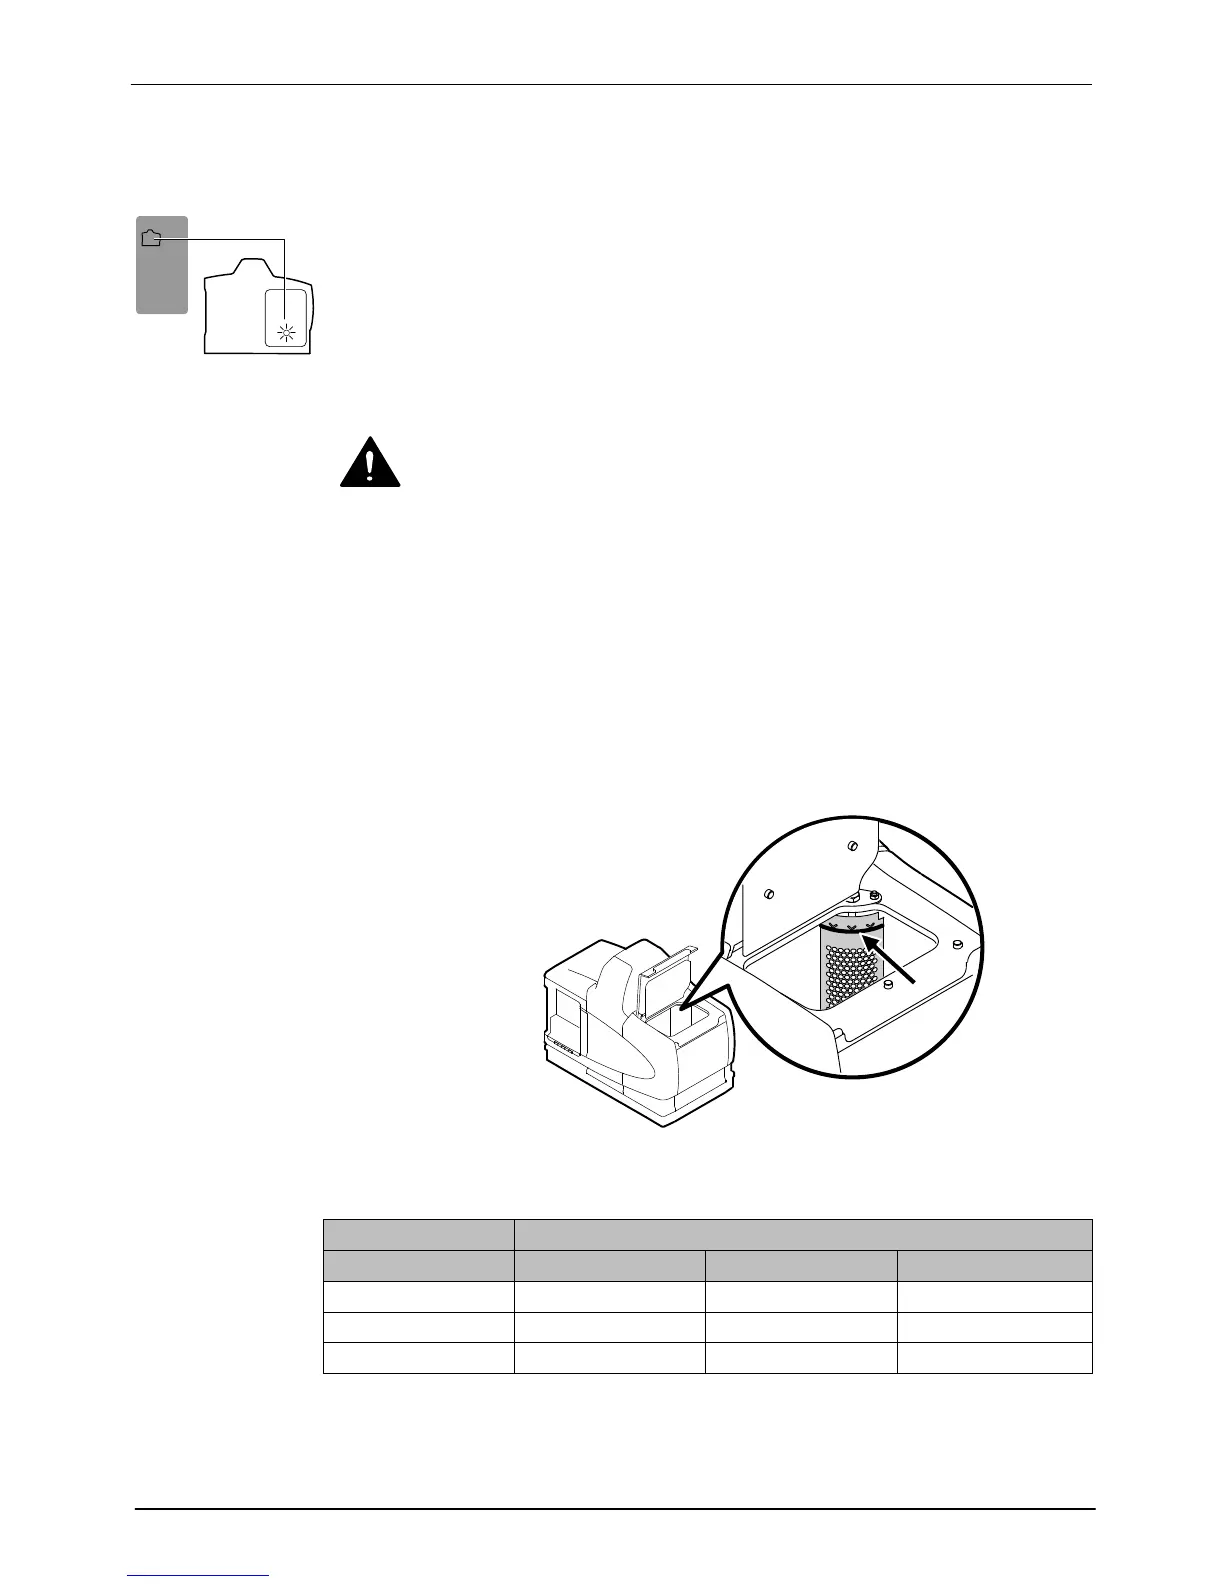
1. Open the tank lid.
See Figure 4‐1
2. Use a scoop to fill the tank with hot melt up to the tank fill line. The line is
marked on the screen that protects the tank float switch. Table 4‐1 lists
the tank capacity of each ProBlue melter.
3. Close the tank lid when you are finished filling the tank.
Figure 4-1 Tank fill line
Table 4‐1 Tank Capacity
Model Capacity
Liters Kilograms Pounds
P4 4 4
9
P7 7 7
15
P10 10 10
22
*Assumes a hot melt with a specific gravity of 1
 Loading...