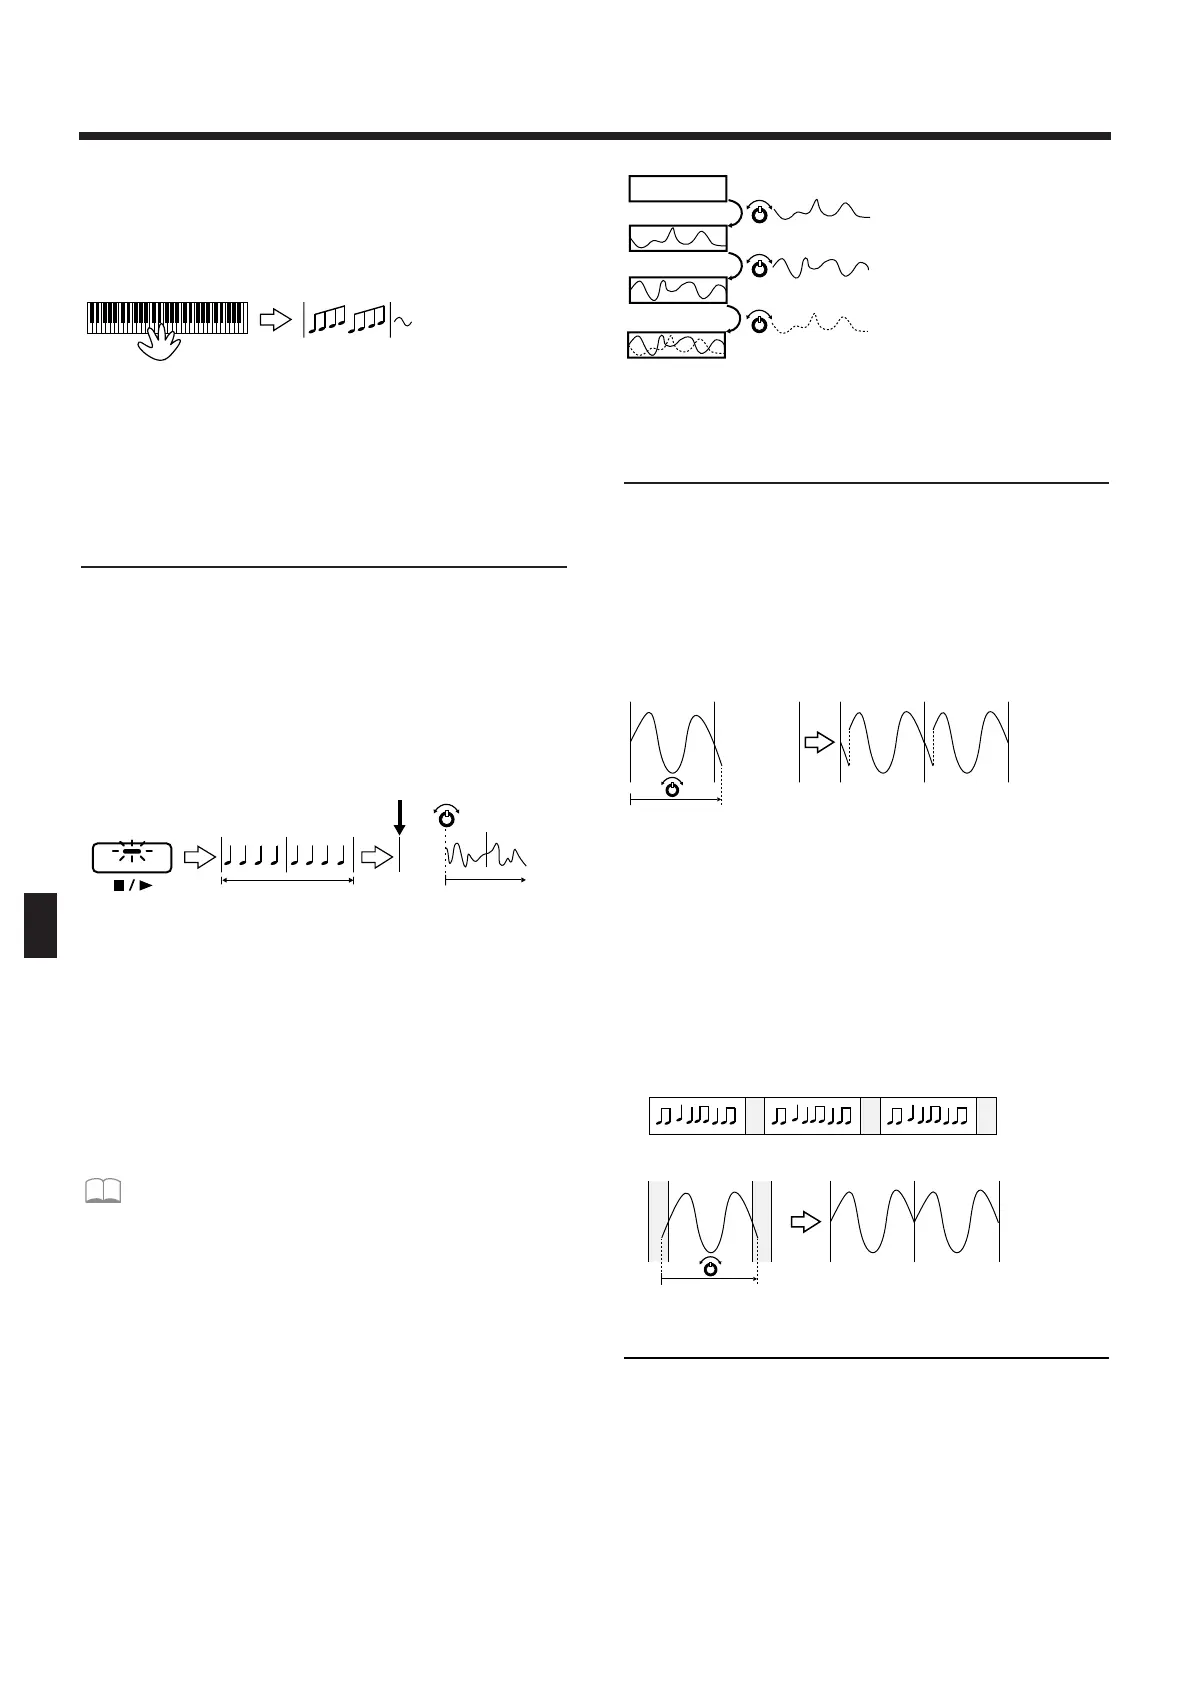
When the Count In setting is “WAIT NOTE”
Arpeggio performance and recording will begin at the
moment that you play a chord on the keyboard.
fig.8-11TEXT (=MC fig.10-13)
When recording begins, the [REC] indicator will light.
4. When you are finished recording, press
[STOP/PLAY].
Recording Knob Movements
(Modify Data)
1. Make preparations for recording (p. 125).
2. When you are ready, begin recording.
When recording begins, the [REC] indicator will light.
When you operate the knobs during recording, the
knob movements will be recorded from the time that
they are moved.
fig.8-12TEXT (#MC fig.10-14)
3. When you are finished recording, press
[STOP/PLAY].
●●●●●●●●●●●●●●●●●●●●●●●●●●●●●●●●●●●●●●●●●●●●●●●●●●●●●●●●●●●●●●●●●●●●●●●●●●●●●●●●●●●●●●●●●●●●●●●●●●●●
If the sound has been modified for the entire patch or
a rhythm group, the change will be recorded on the
corresponding recording part as a Control Change. If
effect parameters have been modified, the change will
be recorded on the [MUTE CTRL] part as a System
Exclusive message.
☞ “Using the Knobs to Modify the Sound
During Playback (Real-Time Modify)” (p. 38)
☞ “Musical Data Handled in Microscope
Mode” (p. 147)
●●●●●●●●●●●●●●●●●●●●●●●●●●●●●●●●●●●●●●●●●●●●●●●●●●●●●●●●●●●●●●●●●●●●●●●●●●●●●●●●●●●●●●●●●●●●●●●●●●●●
●●●●●●●●●●●●●●●●●●●●●●●●●●●●●●●●●●●●●●●●●●●●●●●●●●●●●●●●●●●●●●●●●●●●●●●●●●●●●●●●●●●●●●●●●●●●●●●●●●●●
Recording will take place repeatedly from the begin-
ning to the end of the pattern. Unlike recording of note
messages, Modify data for the same knob will be re-
written (overwritten) each time the pattern repeats,
but you may successively layer Modify data for differ-
ent knobs.
fig.8-13 (=MC fig.10-15)
●●●●●●●●●●●●●●●●●●●●●●●●●●●●●●●●●●●●●●●●●●●●●●●●●●●●●●●●●●●●●●●●●●●●●●●●●●●●●●●●●●●●●●●●●●●●●●●●●●●●
Recording Smoothly Across
Pattern Boundaries
When you record knob movements or arpeggios,
unwanted data may sometimes be recording at the
boundary of the pattern if you attempted to record
accurately from the beginning to the end. For example,
if you wish to record across pattern boundaries, the
following data might be recorded.
fig.8-14TEXT (=MC fig.10-18)
In such cases, turn the Loop Rest function on when
you set the recording parameters.
When Loop Rest is on, a one-measure blank will be
temporarily created between pattern boundaries. By
recording across this blank measure, you can record
smoothly across pattern boundaries. Only the count
will sound while the blank measure elapses.
fig.8-15TEXT (=MC fig.10-19)
Recording Part Mixer Operations
1. Make preparations for recording (p. 125).
Any part [1]–[R] can be selected as the recording part.
In actual recording, the part which corresponds to the
knob that you operate will be recorded (regardless of
the part you selected to be the recording part).
2. When you are ready, begin recording.
When recording begins, the [REC] indicator will light.
 Loading...