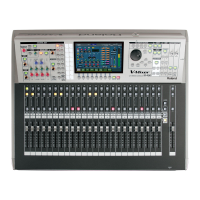
96
Metering
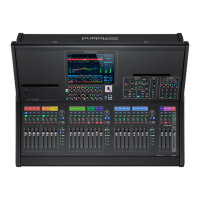
Metering
Editing the meter settings
In the METER SETUP popup you can change the level detection
point of the meter, and make peak hold settings.
1.
Press [METER] to access the METER screen.
fig.ScrMeter.eps
2.
Press [F6 (METER SETUP)] to access the METER SETUP
popup.
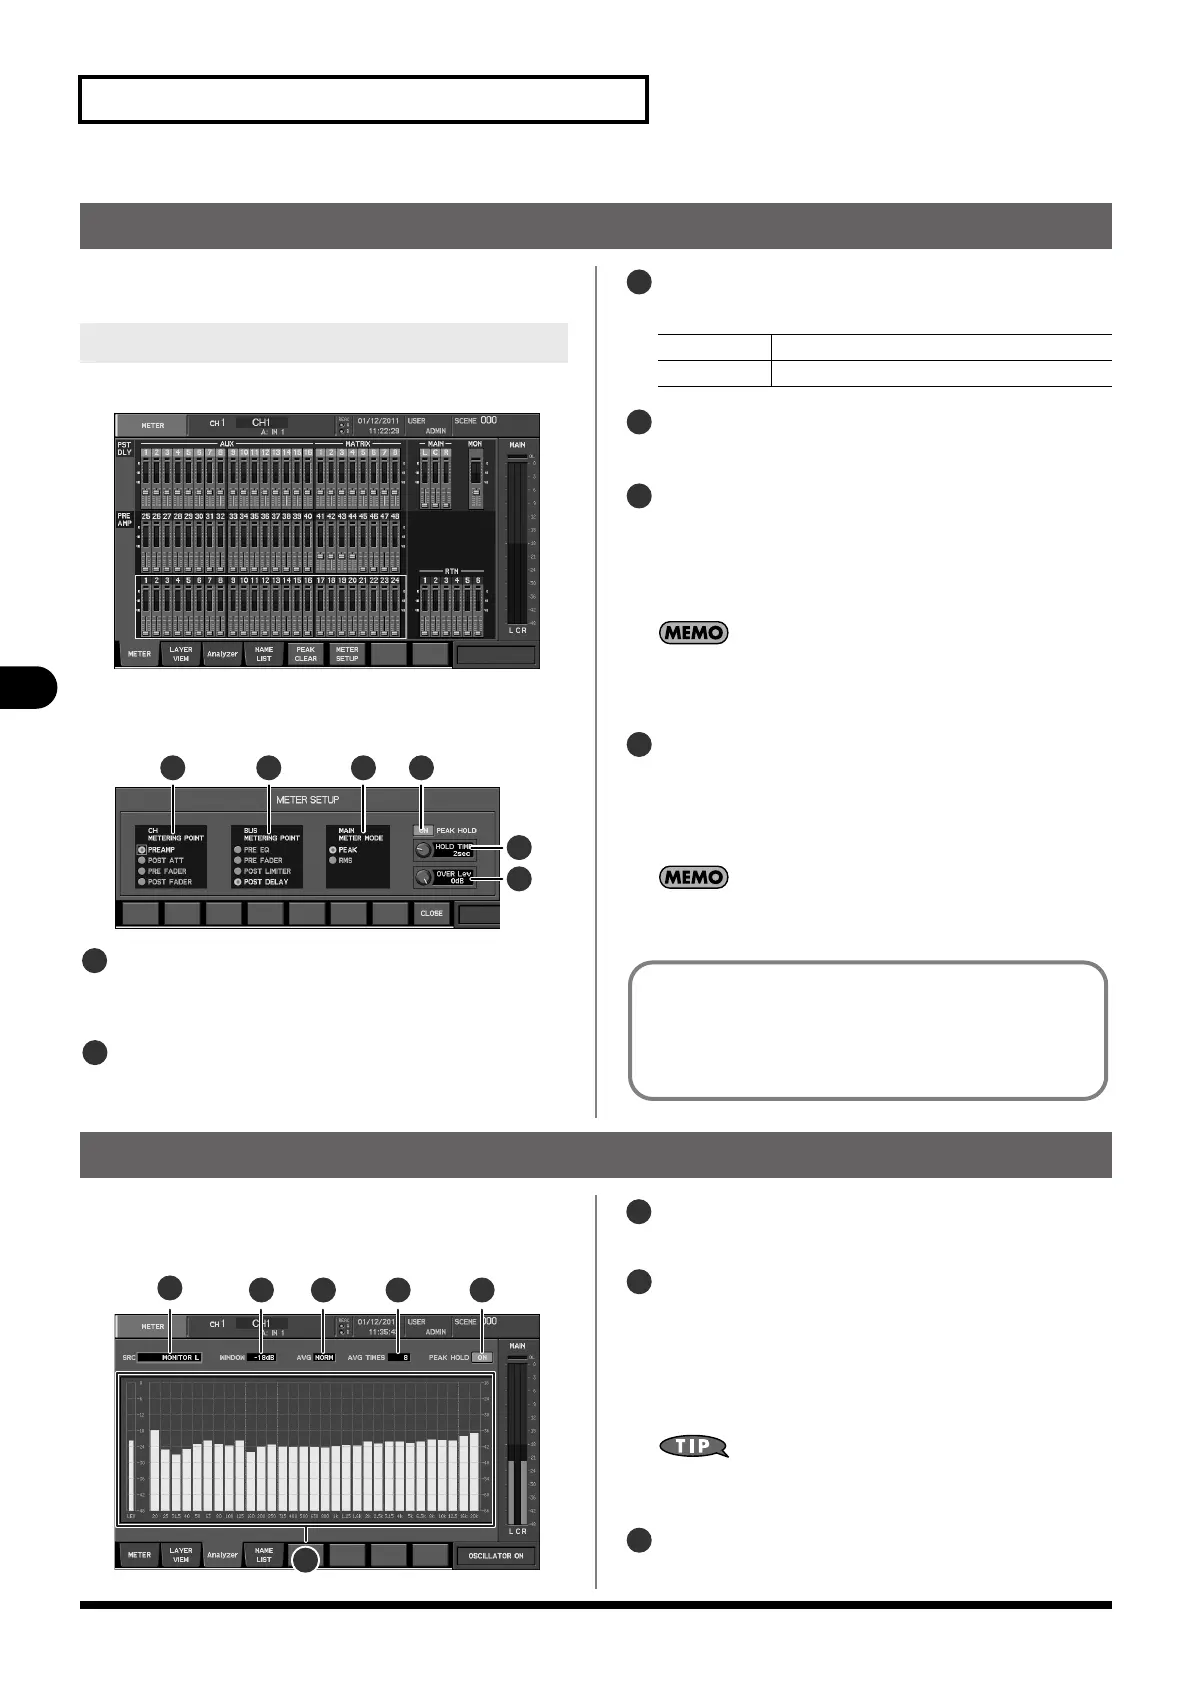
fig.ScrMeterSetupGuide.eps
CH METERING POINT selection buttons
Use these to select the level detection point for the CH1–48
and RTN1–6 meters.
BUS METERING POINT selection buttons
Use these to select the level detection point for the AUX,
MTX, and MAIN meters.
MAIN METER MODE
Use this to select the main meter mode:
PEAK HOLD button
This turns the meter’s peak hold function on/off.
HOLD TIME knob
This sets the duration that the meter’s peak hold or OVER
indication will stay lit, in a range of 1 sec–4 sec or CONTINUE.
Meter peak hold is enabled only when the PEAK HOLD
button is on.
If CONTINUE is selected, the indication will remain until you
execute the PEAK CLEAR operation (by pressing a function
button) in the METER screen, etc.
OVER Lev knob
This adjusts the level at which the OVER indication of the
meter will light, in a range of -18 dB–0 dB.
3.
Press [F8 (CLOSE)] to close the popup.
You can also make the setting for changing the level detection
point from a USER button (p. 140).
Accessing the METER SETUP popup
2
1
3 4
5
6
1
2
PEAK
Shows the peak main levels
RMS Shows the averaged main levels
3
4
5
6
The METERING POINT setting you make in the METER SETUP
popup will apply to the top panel meters, the meters in the
METER screen, the channel meters in the CHANNEL DISPLAY
screen, the MONITOR screen, and the meters in the
TALKBACK/OSC screen.
Using the analyzer
1.
Press [METER] to access the METER screen.
2.
Press [F3 (Analyzer)] to access the Analyzer tab.
fig.ScrAnalyzer_Guide.eps
Analyzer display
This shows a 31-band realtime analyzer and the source level.
SRC (source)
This selects the source for the analyzer.
If an input channel is selected, its direct out will be the
source for the analyzer.
If an output channel is selected, its output will be the source
for the analyzer.
If you select MONITOR L or MONITOR R, you can use [SOLO] to
conveniently switch the channel that’s being sent to the analyzer.
WINDOW
Here you can move the analyzer’s vertical display region in a
2
1
3 4 5 6
1
2
3
M-480_e.book 96 ページ 2011年3月2日 水曜日 午前9時20分
 Loading...