22
Configuring Recording Settings (User Settings)
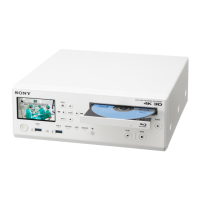
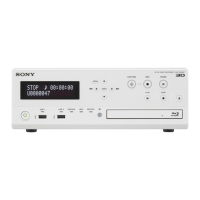
Chapter 2 Preparation
Configuring Recording
Settings (User Settings)
Select image inputs and configure image quality settings in
the [User Settings] screen.
You can navigate menus using the navigation buttons on
the front panel of the unit.
After the unit is turned off, any settings configured in the
[User Settings] screen (except those in the [Select Input]
tab) will revert to the settings configured under [System
Admin Settings].
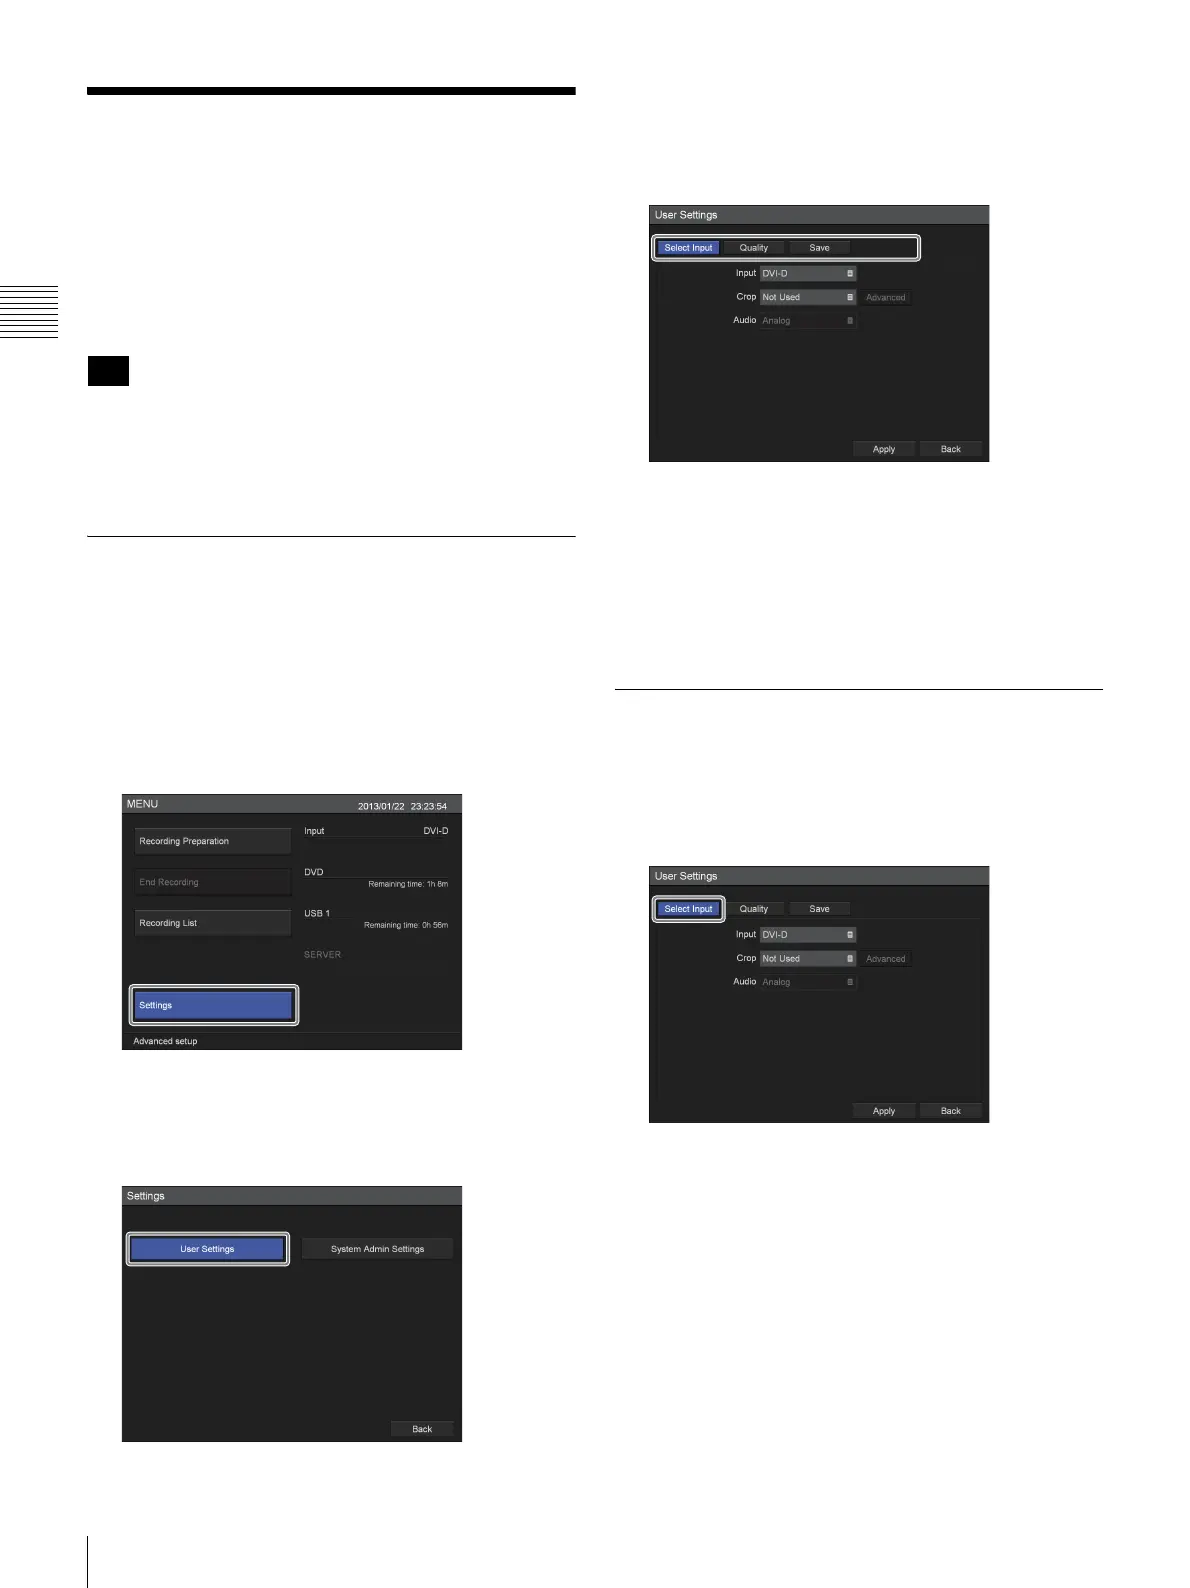
Displaying the [User Settings]
Screen
1
Press the MENU button.
The [MENU] screen appears.
2
Use the V and v buttons to select [Settings], and press
the ENTER button.
The [Settings] screen appears.
3
Use the B and b buttons to select [User Settings], and
press the ENTER button.
The [User Settings] screen appears.
4
Use the B and b buttons to select a tab, and press the
ENTER button.
5
Configure the settings in each tab as necessary.
6
When you finish configuration, use the V, v, B, and b
buttons to select [Apply], and press the ENTER
button.
The [Settings] screen appears again.
Configuring Input Signal Settings
Select video and audio input signals, and configure crop
settings for the input video.
1
Use the B and b buttons to select the [Select Input] tab.
2
Configure each setting.
Use the
V, v, B, and b buttons to select an item, and
press the ENTER button to display the setting screen
for that item.
Tip
 Loading...