60
Function Settings
Chapter 5 System Administrator Settings
For details on preparing a logo file, see “To prepare a
logo file” (page 60).
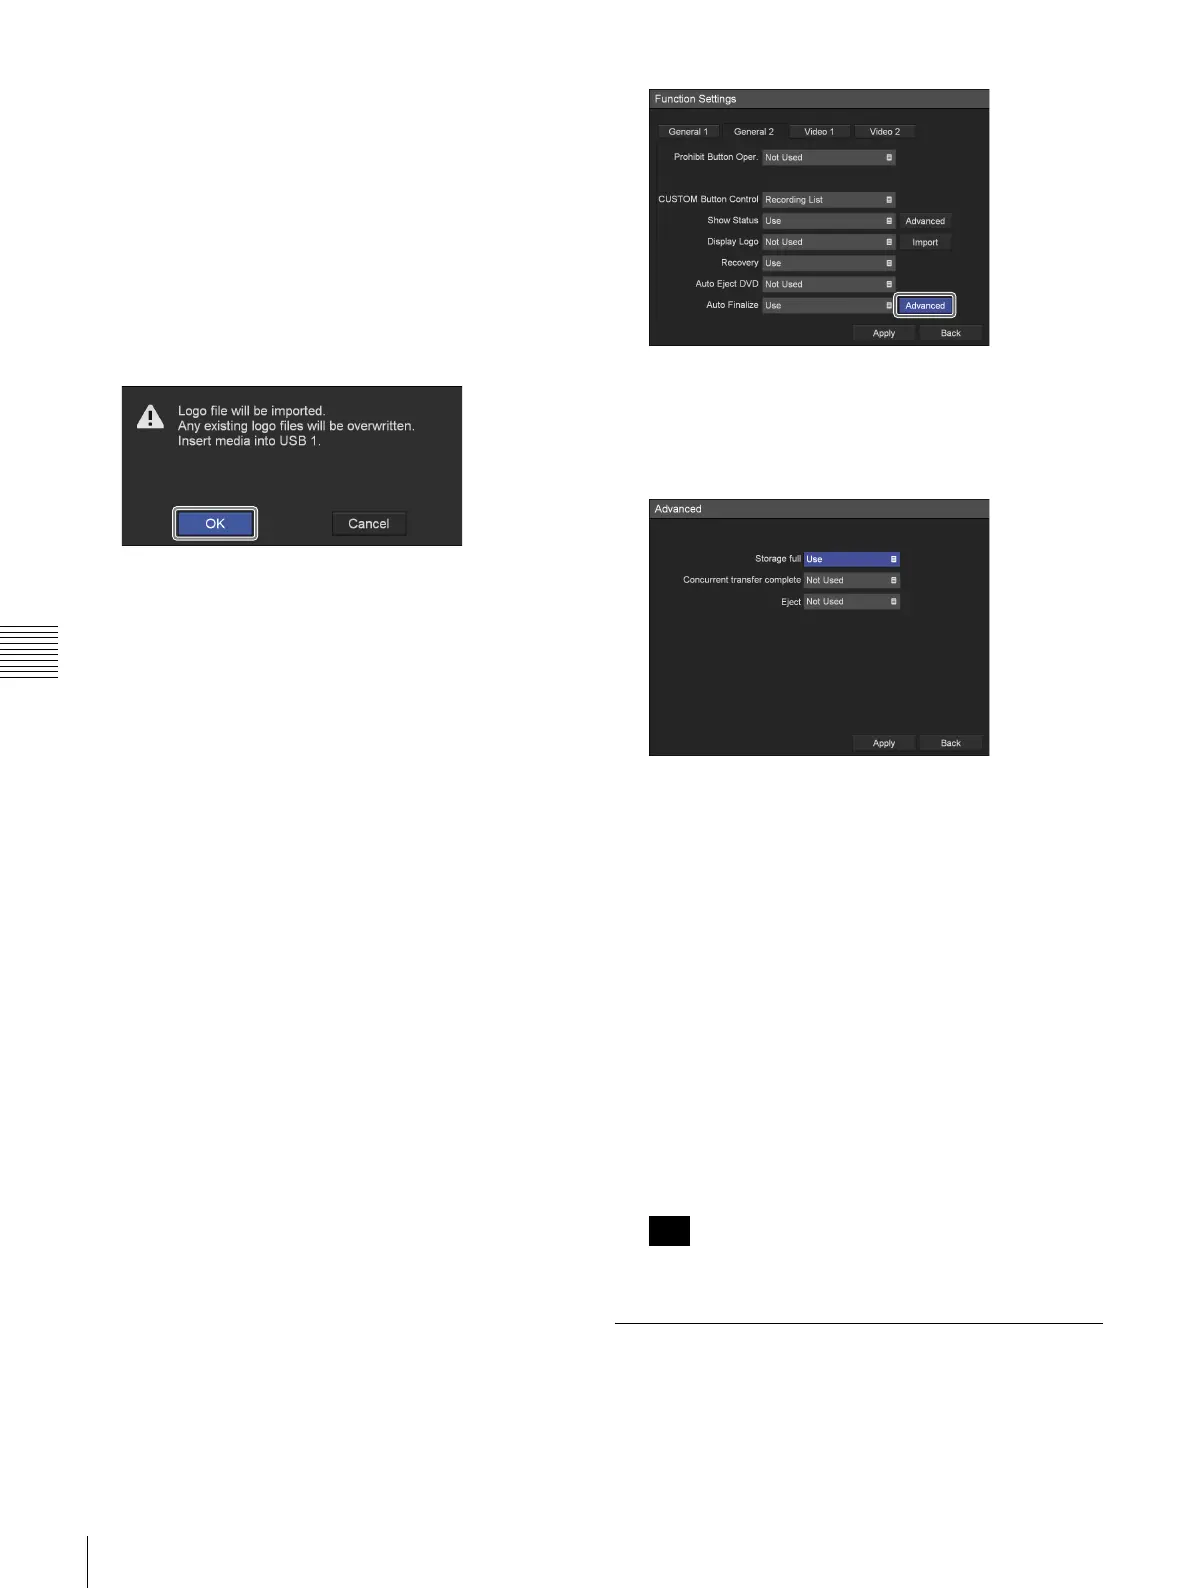
1
Copy the logo file onto a USB memory device, and
insert the device into a USB 1 port on the unit.
2
Use the B and b buttons to select [Import], and press
the ENTER button.
The following message appears.
3
Select [OK], and press the ENTER button.
When import of the logo file is complete, a notification
message will appear.
To prepare a logo file
To display a logo, prepare a logo file that can be imported
to the unit and copy it onto a USB memory device
beforehand.
1
Prepare the logo file.
The logo file must meet the following conditions.
File format: 24-bit bitmap
File name: MenuLogo.bmp
Size: 43 (height) × 400 (width) pixel
Background: RGB (102, 102, 102) gray
2
Copy the logo file onto a USB memory device.
Create a folder with the following name in the
uppermost directory of the USB memory device, and
copy the logo file.
Folder name: DisplayLogo
To configure advanced finalization
settings (HVO-550MD only)
Configure these settings to perform finalization
automatically.
1
Use the B and b buttons to select [Advanced], and
press the ENTER button.
[Advanced] appears when [Auto Finalize] is set to
[Use].
2
Configure each setting.
Select an item using the
V and v buttons, and press the
ENTER button to display the setting screen for that
item.
[Storage full]
Select whether to automatically finalize a DVD disc
when its storage capacity is full in the setting screen
that appears, and press the ENTER button.
The default setting is [Use].
[Concurrent transfer complete]
Select whether to automatically finalize a DVD disc
when concurrent storage to the disc is complete in the
setting screen that appears, and press the ENTER
button.
The default setting is [Not Used].
[Eject]
Select whether to automatically finalize a DVD disc
when you eject it in the setting screen that appears, and
press the ENTER button.
The default setting is [Not Used].
Finalizing can take up to 7 minutes to complete.
[Video 1] Tab
Configure recording settings.
1
Use the B and b buttons to select the [Video 1] tab.
Tip
 Loading...