71
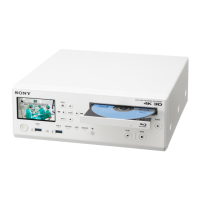
Network Settings
Chapter 5 System Administrator Settings
2
Use the V and v buttons to select the [Server] box, and
press the ENTER button.
The [Server] screen appears.
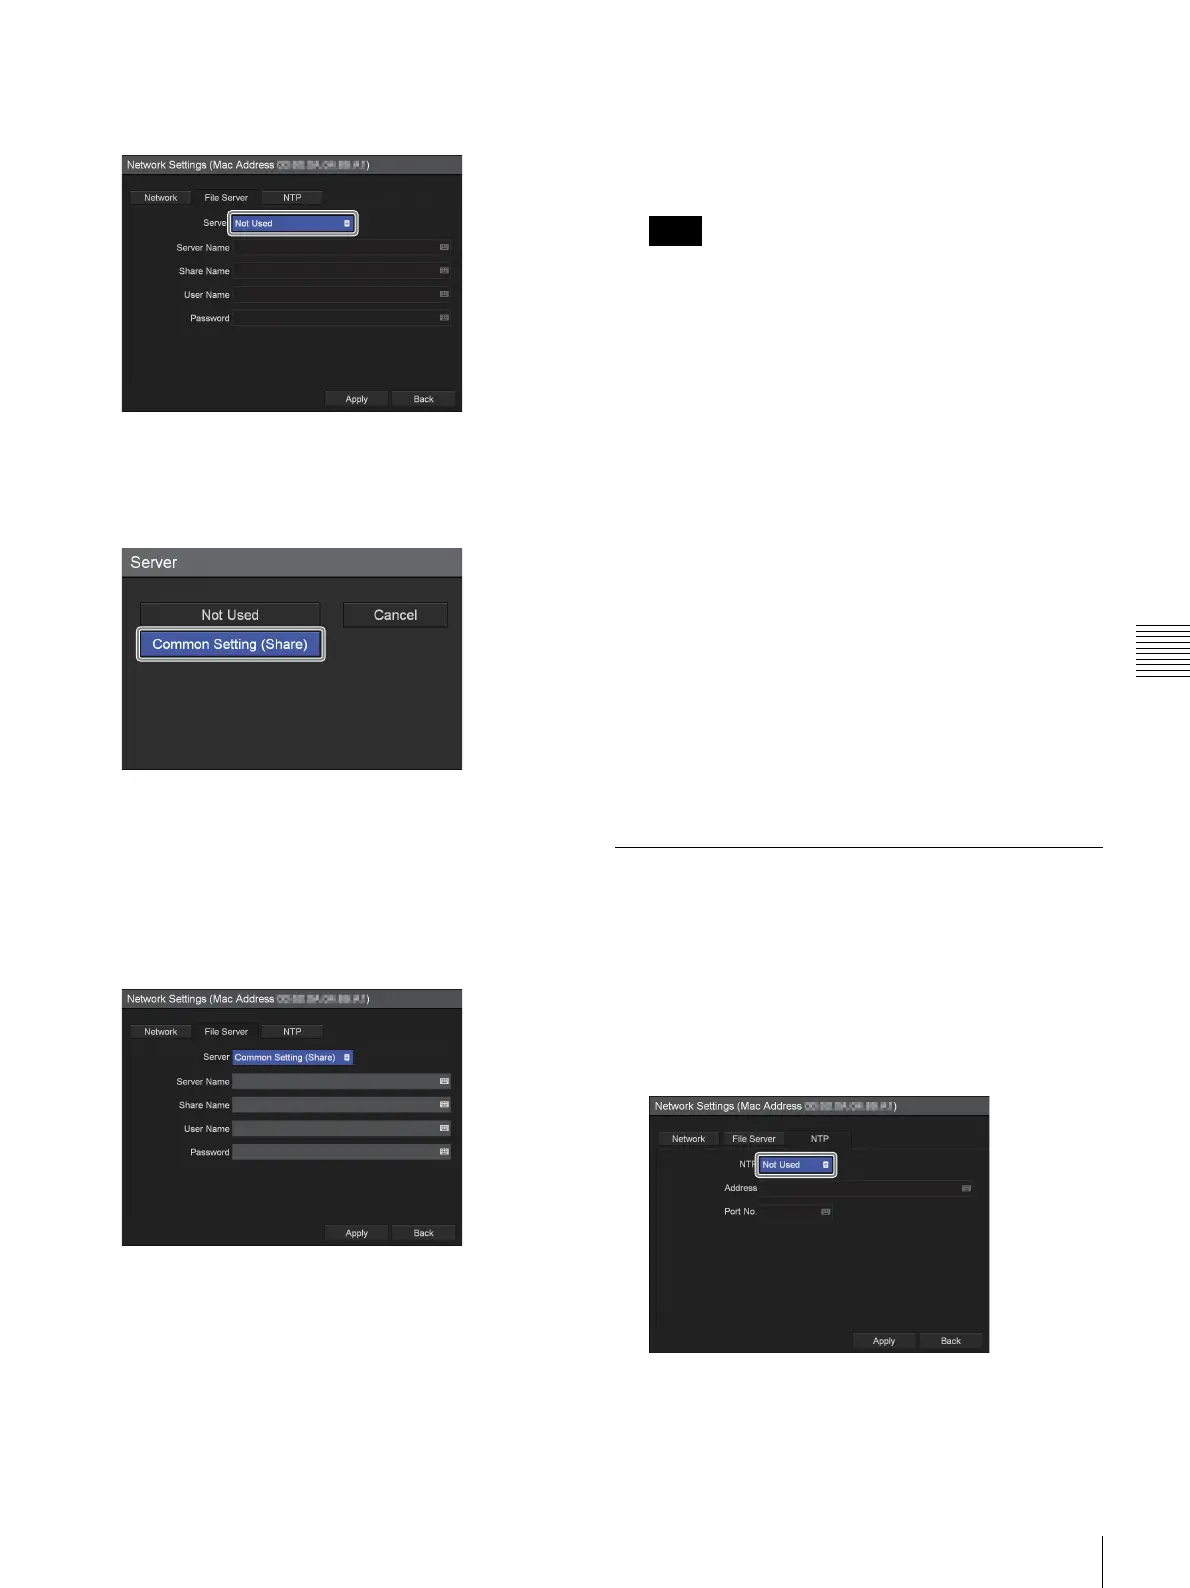
3
Use the V and v buttons to select [Common Setting
(Share)], and press the ENTER button.
Settings items for common setting (share) server
appear.
4
Configure each setting.
Select an item using the
V and v buttons, and press the
ENTER button to display the setting screen for that
item.
[Server Name]
Enter the server name using the on-screen keyboard.
For details on using the on-screen keyboard, see
“Using the On-Screen Keyboard” (page 26).
[Share Name]
Enter the share name using the on-screen keyboard.
Use only alphanumeric characters and symbols
(excluding " = / \ [ ] : | < > + ; , ? *).
For details on using the on-screen keyboard, see
“Using the On-Screen Keyboard” (page 26).
When saving recorded data in AVCHD format to
servers, do not specify the same share name (i.e., share
folder) on the same server as the storage destination
for multiple recorders. Performing multiple saving
operations at the same time may result in damage to
the recorded data.
[User Name]
Enter a user name using the on-screen keyboard.
For details on using the on-screen keyboard, see
“Using the On-Screen Keyboard” (page 26).
[Password]
Enter the password using the on-screen keyboard.
For details on using the on-screen keyboard, see
“Using the On-Screen Keyboard” (page 26).
5
To configure settings in other tabs, use the V, v, B,
and
b buttons to select a tab.
If you are finished configuring [Network Settings], use
the
V, v, B, and b buttons to select [Apply], and press
the ENTER button to save the configurations.
[NTP] Tab
Configure these settings to obtain the current time from the
NTP server.
1
Use the B and b buttons to select the [NTP] tab.
2
Use the V and v buttons to select the [NTP] box, and
press the ENTER button.
The [NTP] screen appears.
Note
 Loading...