RemotEye 4 User Manual – 90988-007 33
10. A confirmation of a successful install should be shown at the end of the update and the device will be
named SPEAr Com Port.
4.2.2 Install USB Driver (Windows 7)
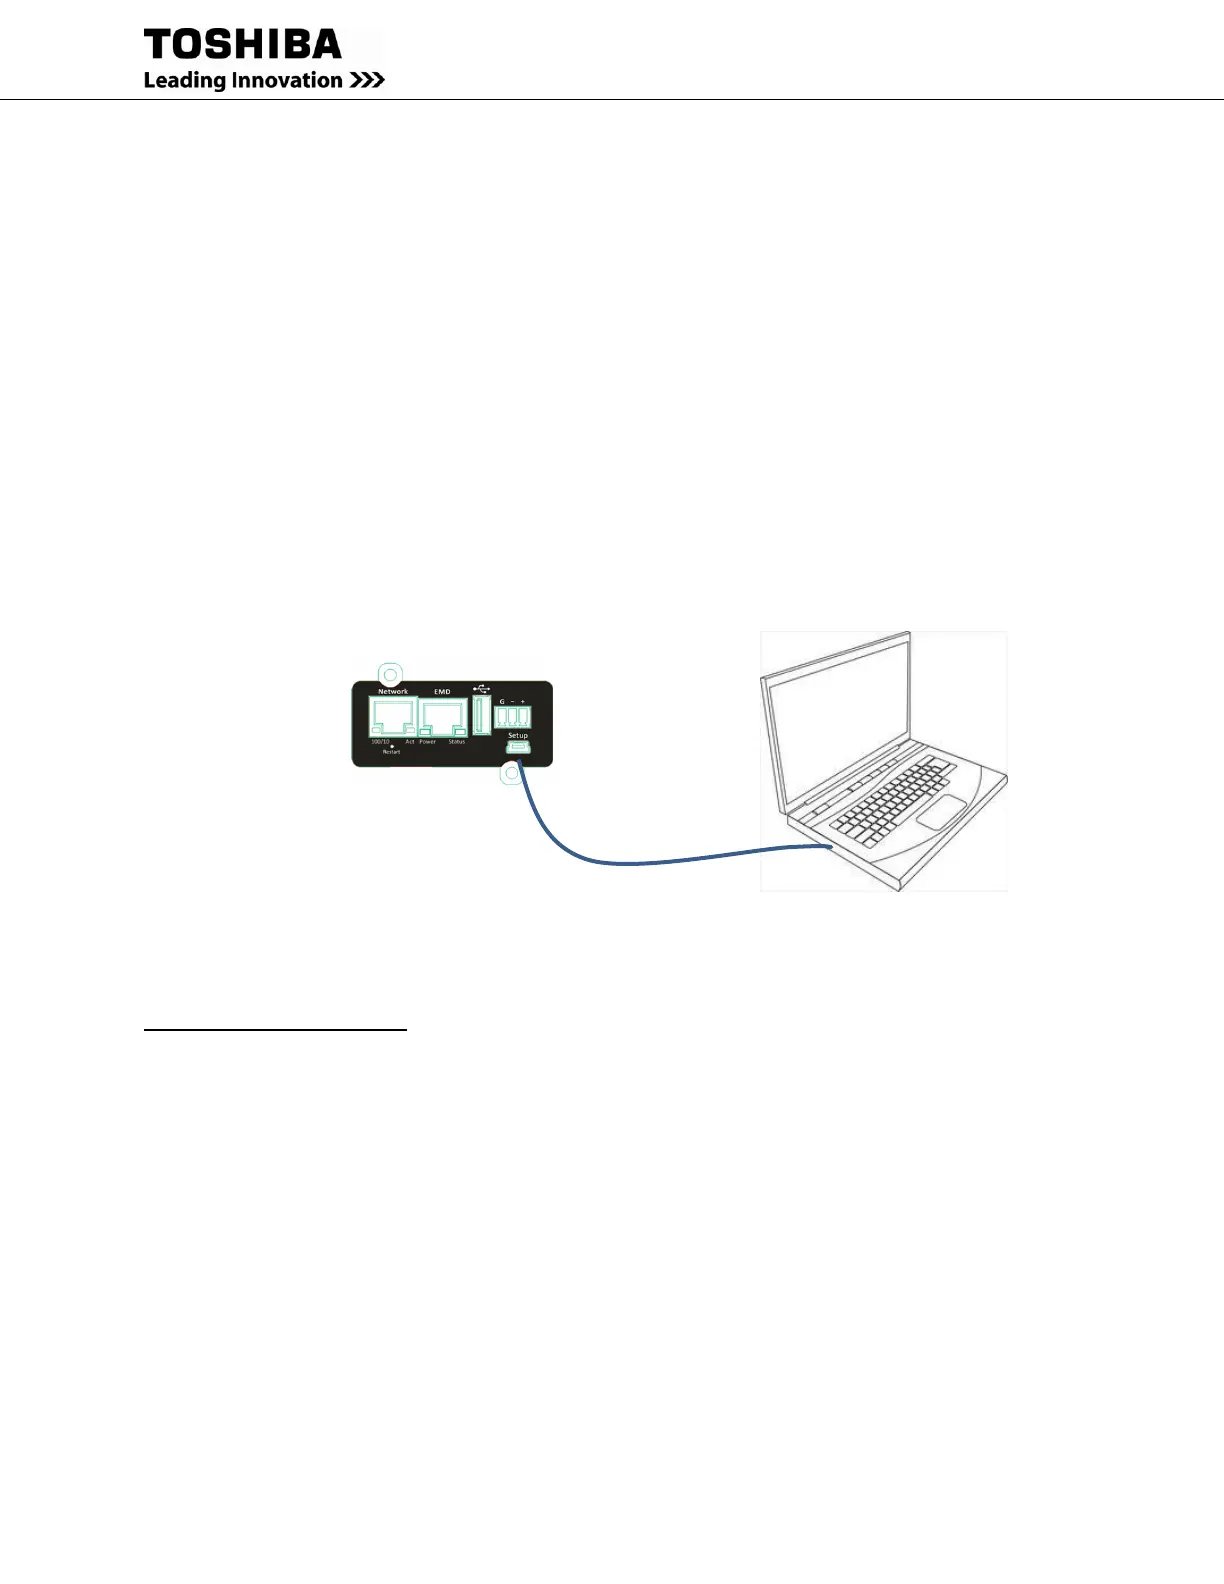
11. Connect the USB Cable between PC and RemotEye 4 Setup port.
12. Insert the factory-provided CD in the PC CD Drive.
13. Open Device Manager, right click on Gadget Serial vX.X and select Update Driver Software…, then
click on Browse my computer for driver software.
14. Press Browse then locate the RMTI-4 Vx.xx -> RemotEye 4 USB Driver->Win7 on the RemotEye 4 CD.
Then press OK.
15. Press Next and if a Windows Security window appears, press Install this driver software anyway.
16. A confirmation of a successful install should be shown at the end of the update and the device will be
named SPEAr Com Port.
Note: The SPEAr COM port will appear under a different name in some systems. If SPEAr doesn’t appear when
performing the following steps, check to ensure that it isn’t appearing under a different name in the Ports section of
the Device Manager.
Figure 4-2 PC to RemotEye 4 USB-mini-USB Cable Adapter
4.2.3 Establishing Comminication
Terminal Emulation Software: The PC must be running Terminal Emulation Software (TES) such as HyperTerm
(available in older versions of MS Windows). If HyperTerminal is not available, “Tera Term” is available for free
download from the internet, or use the TES program of your choice.
A direct configuration session can easily be established once the hardware and software are properly set up. Follow
these steps to begin configuration:
Determine the COM port used by RemotEye 4
1. Open the Control Panel, and click on Device Manager.
2. Click on Ports (COM & LPT) and note the COM port labeled SPEAr COM
3. Launch Tera Term. Click on Setup > Serial port.
 Loading...