09/2007
3-23
Phaser 8860/8860MFP Service Manual
IQ30, IQ31
Image Quality
Initial Issue
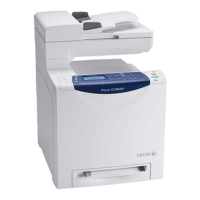
IQ30 Repeating Print Defects
This RAP addresses image quality problems associated with the Print Engine. Repeating
defects typically result from dirt, debris, or damage to an imaging component. The interval
between the defect can reveal the affected component. A repeating defect can appear as fol-
lows:
Figure 1 Example of Repeating Defects on Output
Initial Actions
1. Check that supported media is being used.
2. Print several test prints as a sample.
3. Measure the interval between defects and note their position.
Procedure
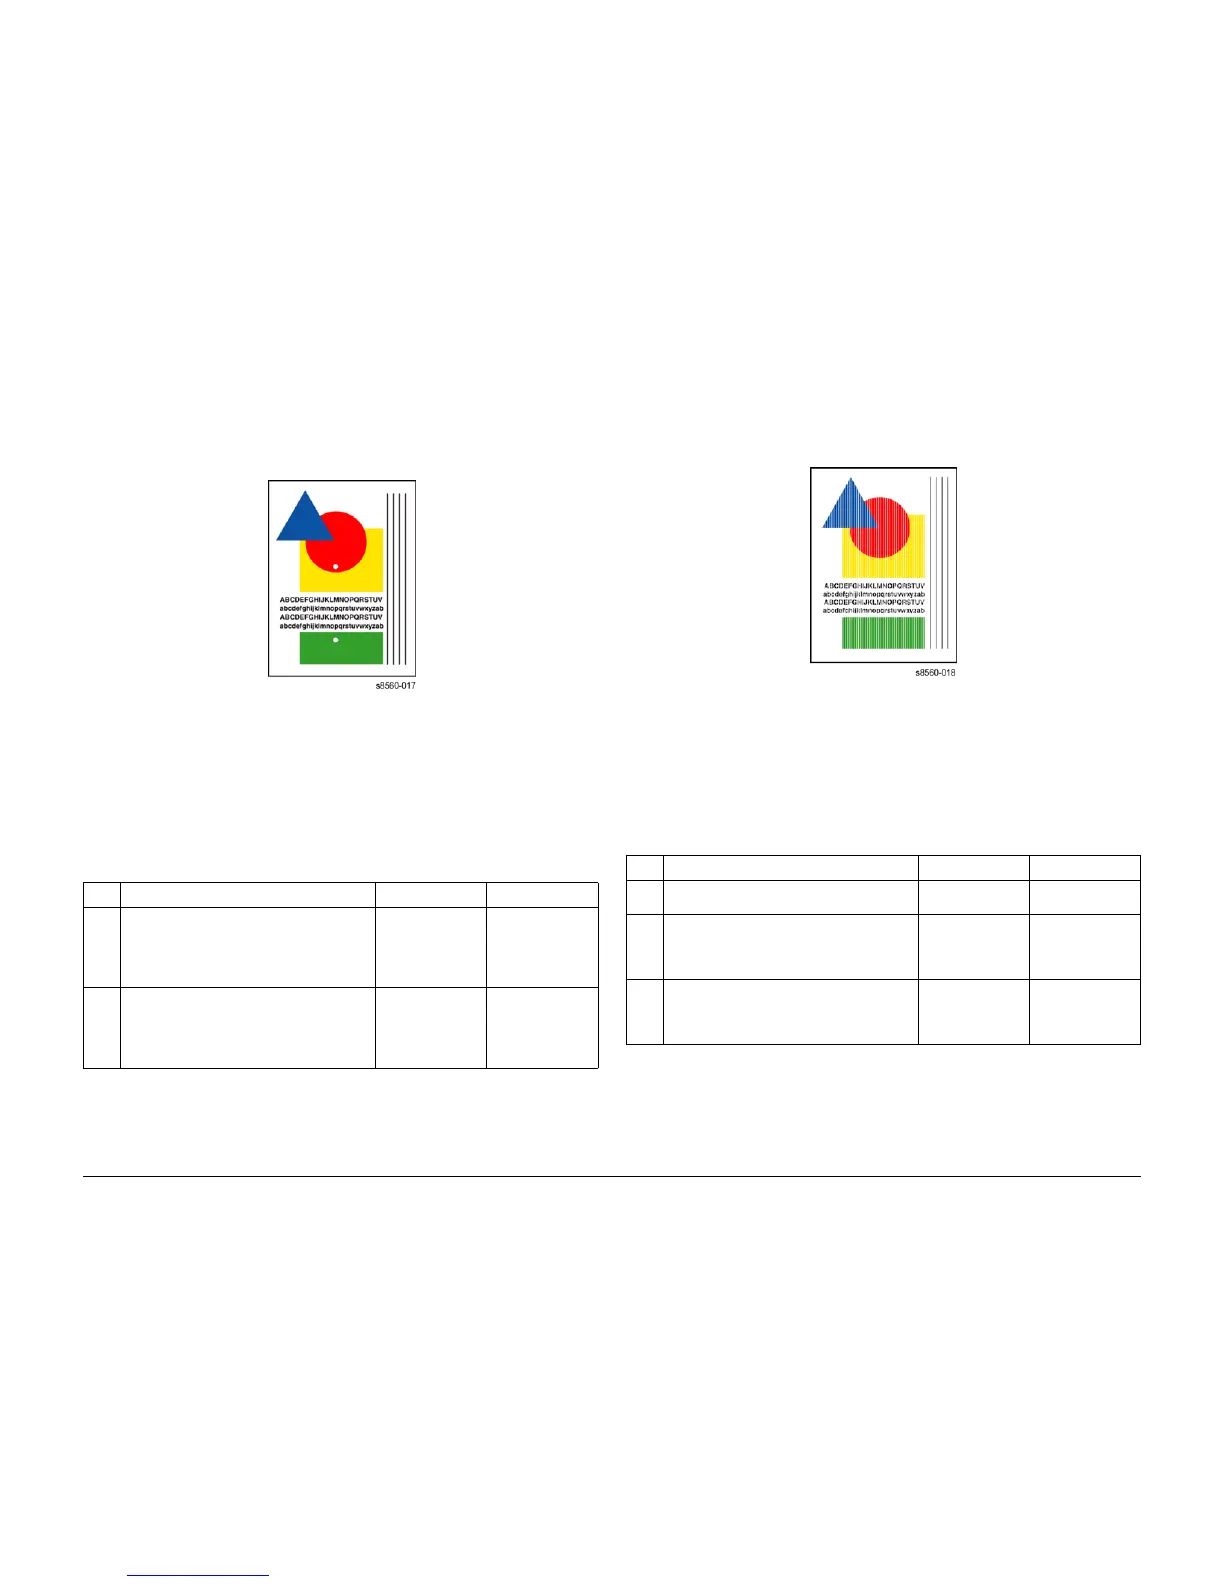
IQ31 White Stripes (Pinstripes)
This RAP addresses image quality problems associated with the Print Engine. White striping
appears as a series of evenly-spaced pinstripes approximately 6 mm (.25 in.) apart. This indi-
cates a malfunction in the X-Axis Drive. Pinstriping appears as follows:
Figure 1 Example of Pinstripes on Output
Initial Actions
1. Check that supported media is being used.
2. Print several solid-fill test prints as a sample.
Procedure
Table 1 IQ30 Repeating Print Defects
Step Questions and Actions Yes No
1 Repeating defects that occur every 11.6 cm
(4.58 in.) are caused by the Transfix Roller.
Clean or replace the Transfix Roller as
needed.
Does the problem persist?
Go to Step 2. Complete.
2 A repeating defect that has a different Y posi-
tion on each page, but has the same X posi-
tion indicates a defect on the Drum.
Clean the Drum.
Does the problem persist?
Replace the Drum
Assembly (REP
2.0.3).
Complete.
Table 1 IQ31 White Stripes (Pinstripes)
Step Questions and Actions Yes No
1 Print several solid-fill test prints.
Does the problem persist?
Go to Step 2. Complete.
2 Check the X-Axis motion.
Are there any obstructions, such as cables,
screws, or damaged parts?
Correct the inter-
ference. If the
problem persists,
go to Step 3.
Go to Step 3.
3 Check Printhead motion.
Is there any interference with the horizontal
motion of the Printhead?
Does the problem persist?
Correct the inter-
ference.
Replace the X-Axis
Motor (REP 4.0.5).

 Loading...