09/2007
4-41
Phaser 8860/8860MFP Service Manual
REP 2.0.17, REP 2.0.21
Repairs and Adjustments
Initial Issue
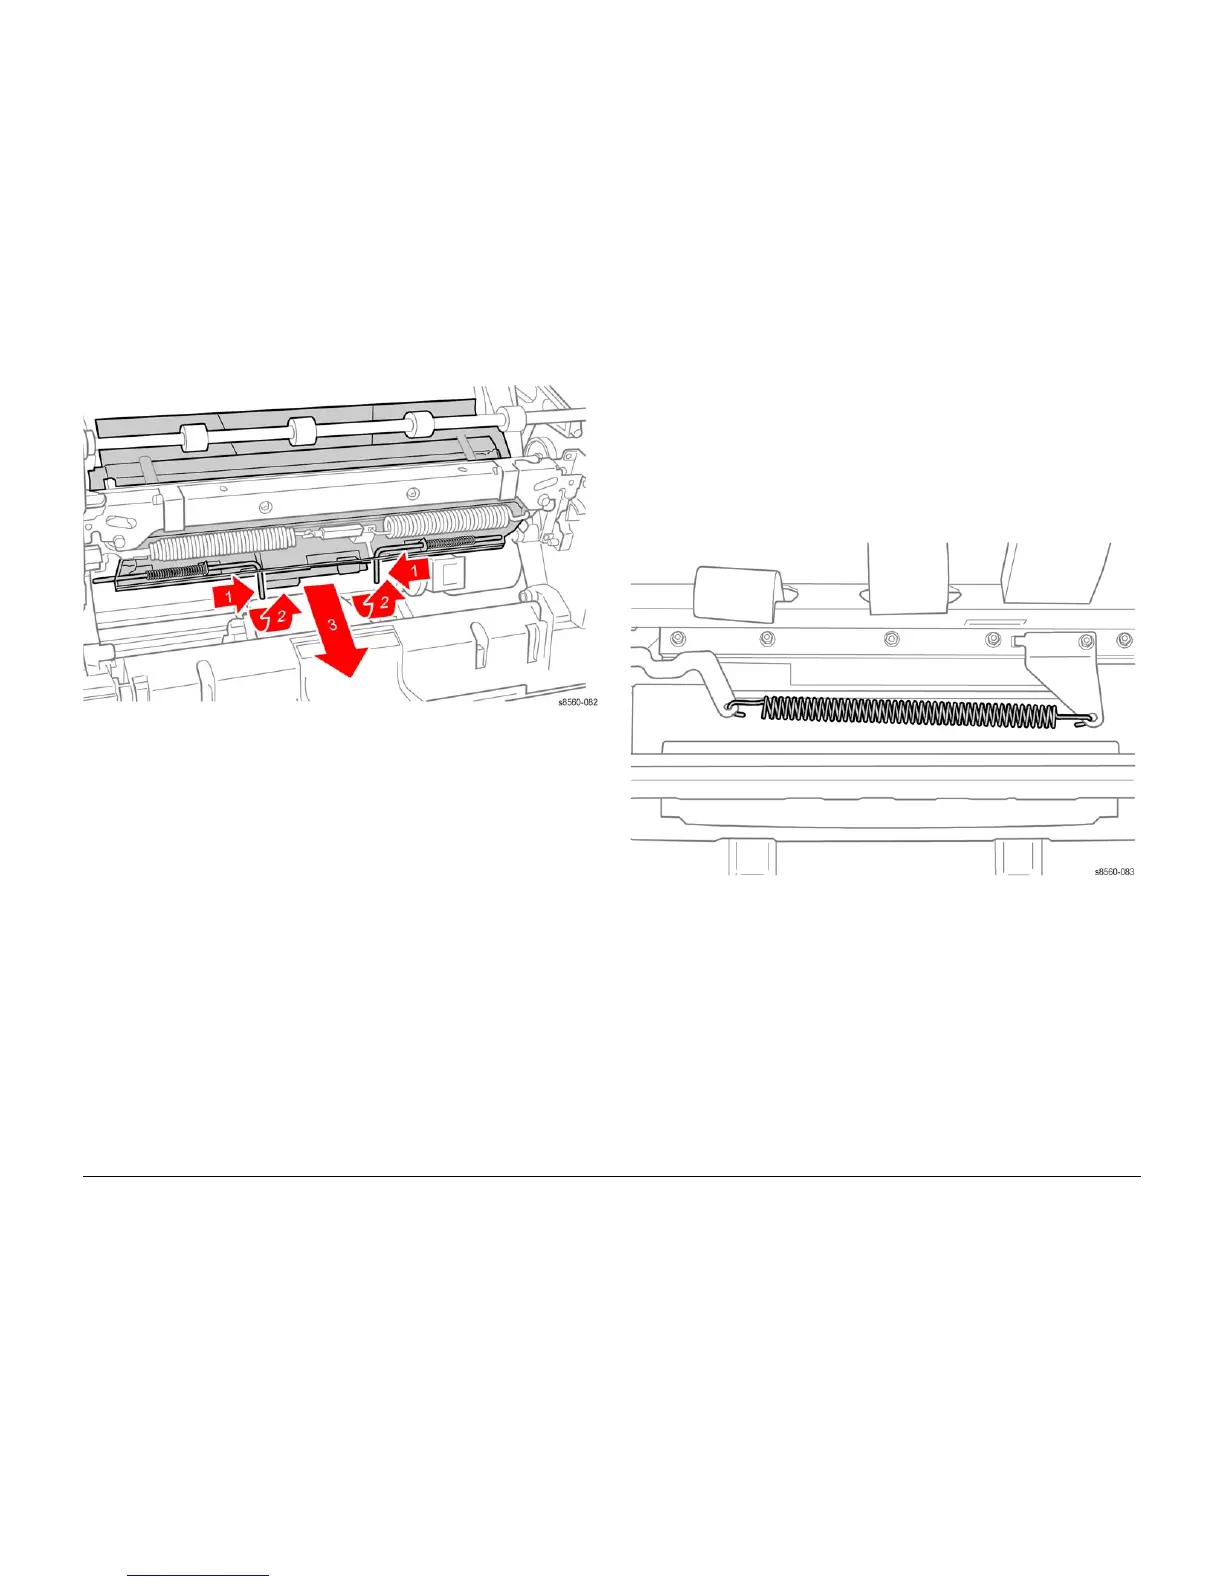
Figure 2 Removing the Preheater
6. Slide the Preheater out of the chassis.
Replacement
NOTE: Check that the connector P/J0670 on the back of the Preheater Board is secure before
installing the Preheater.
The fingers on the Inner Simplex Guide go over the segmented roller. To install, first snap the
left retainer in place, followed by the right. Make sure the sensors are properly positioned when
completing the installation.
REP 2.0.21 X-Axis Bias Spring
Parts List on PL 2.0
Removal
CAUTION
The X-Axis Bias Spring is in close proximity to the Drum Assembly. Use care to not damage the
Drum while servicing the spring.
1. Remove the Printhead (REP 2.0.2).
2. Remove the X-Axis Bias Spring using a spring hook or pliers.
Figure 1 Removing the X-Axis Bias Spring
Replacement
Do not rotate the spring more than one-quarter turn. Perform the Head Tilt Gear (ADJ 4.13.1),
and Process Drive Alignment (ADJ 4.7.1) adjustments before restoring system power.

 Loading...