2007020120070601
12-5-3
Image Transfer
k Connecting to a Projector
You can connect the calculator to a CASIO projector and project calculator screen contents
onto a screen.
u Connectable Projectors (As of July 2007)
XJ-S35, XJ-S36, XJ-S46
• You can also connect the calculator to a YP-100 Multifunctional Presentation Kit and
project from the projectors other than the model shown above.
u To project calculator screen contents from a projector
1. From the Main Menu, enter the LINK mode.
2. Press 4(CABL).
• This displays the cable type selection screen.
3. Press 1(USB).
4. Press 6(CAPT).
• This displays the image transfer setting screen.
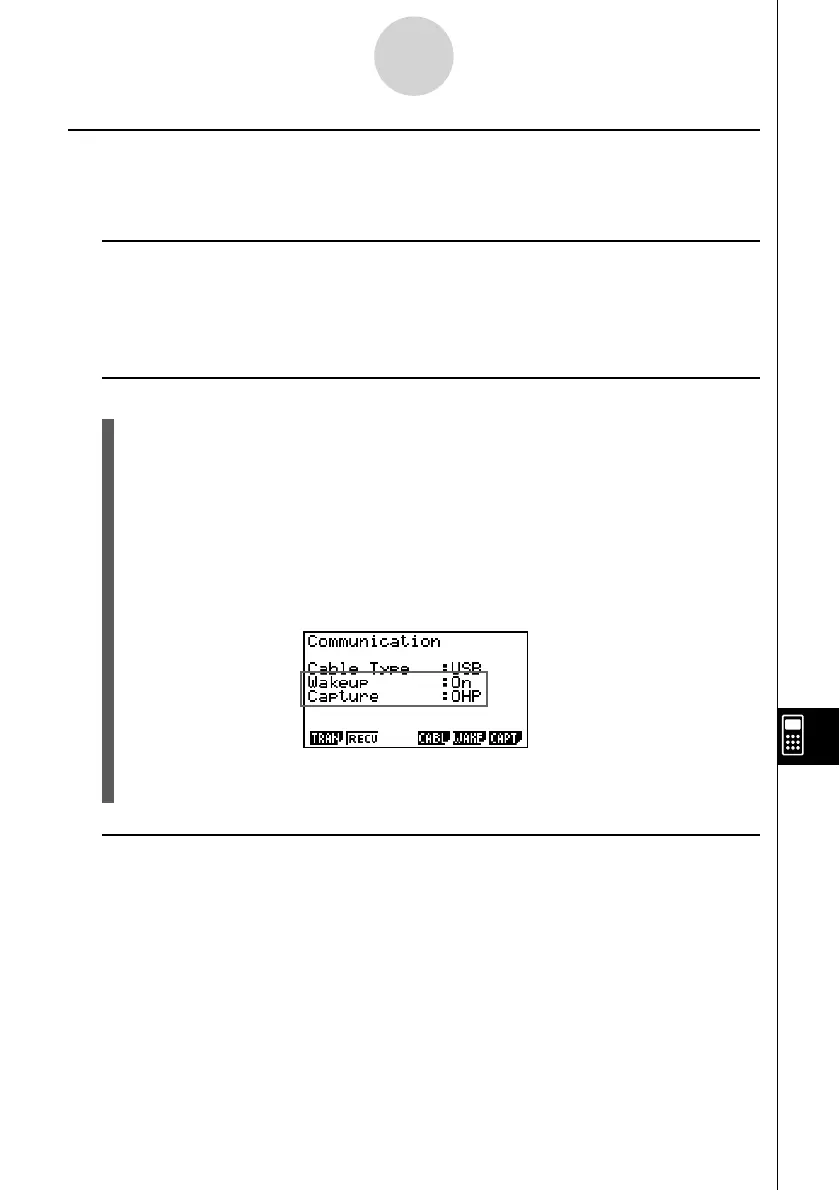
5. Press 3(OHP).
• This displays the data communication main menu shown below.
6. Use the USB cable that comes with the calculator to connect to the projector (or
YP-100 unit).
u Precautions when Connecting
• Be sure to confi gure the calculator’s “Wakeup” and “Capture” settings before connecting.
• An hourglass fi gure may remain projected on the screen after you connect the calculator
to a projector (or YP-100). If this happens, performing some operation on the calculator
will restore normal display.
• If the calculator stops operating normally, disconnect the USB cable and then reconnect
it. If this does not correct the problem, disconnect the USB cable, turn the projector (or
YP-100) off and then back on, and then reconnect the USB cable.
 Loading...