User Authentication
405
25
User Authentication
Using the user authentication function of the printer, it is possible to create and manage up to 18 user accounts
secured with a password. Each user of the accounts can customize the home screen and save the changes.
For the Dell™ Cloud Multifunction Printer | H815dw only, it is also possible to associate NFC (Near Field
Communication) capable ID Cards to an user account. When the ID card is associated with a user account, you can
login to that user account by waving the ID card over the NFC reader.
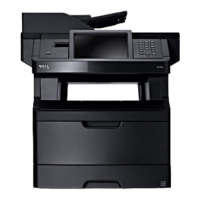
For the Dell Smart Multifunction Printer | S2815dn only, it is also possible to select the user authentication method
from either local authentication or remote authentication. To use the remote authentication method, the LDAP or
Kerberos server is required to authenticate the user. To select the user authentication method, see "Desktop Login"
or "Desktop Authentication."
NOTE:
The Dell Cloud Multifunction Printer | H815dw supports the following card types:
• MIFARE Ultralight
• MIFARE Standard (Classic) 1K
• MIFARE Standard (Classic) 4K
NOTE:
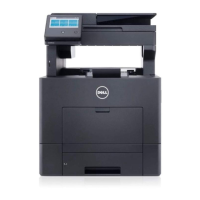
The images used in this manual are those of the Dell Cloud Multifunction Printer | H815dw unless otherwise mentioned.
Creating and Editing the User Accounts
To use user authentication, you must first create a user account.
Creating a New User Account
1
Turn on the printer and wait until the portal screen is displayed.
2
Ta p .
NOTE:
If the
Panel Lock Control
is set to
Enable
, you need to enter the four-digit password to proceed
further.
The dialog box is displayed to confirm to enter the edit mode.
3
Ta p
OK
.
The printer enters the edit mode, and the
Add Account
tile is displayed in the portal screen.
NOTE:
In the edit mode, each tile except the
Add Account
tile has .
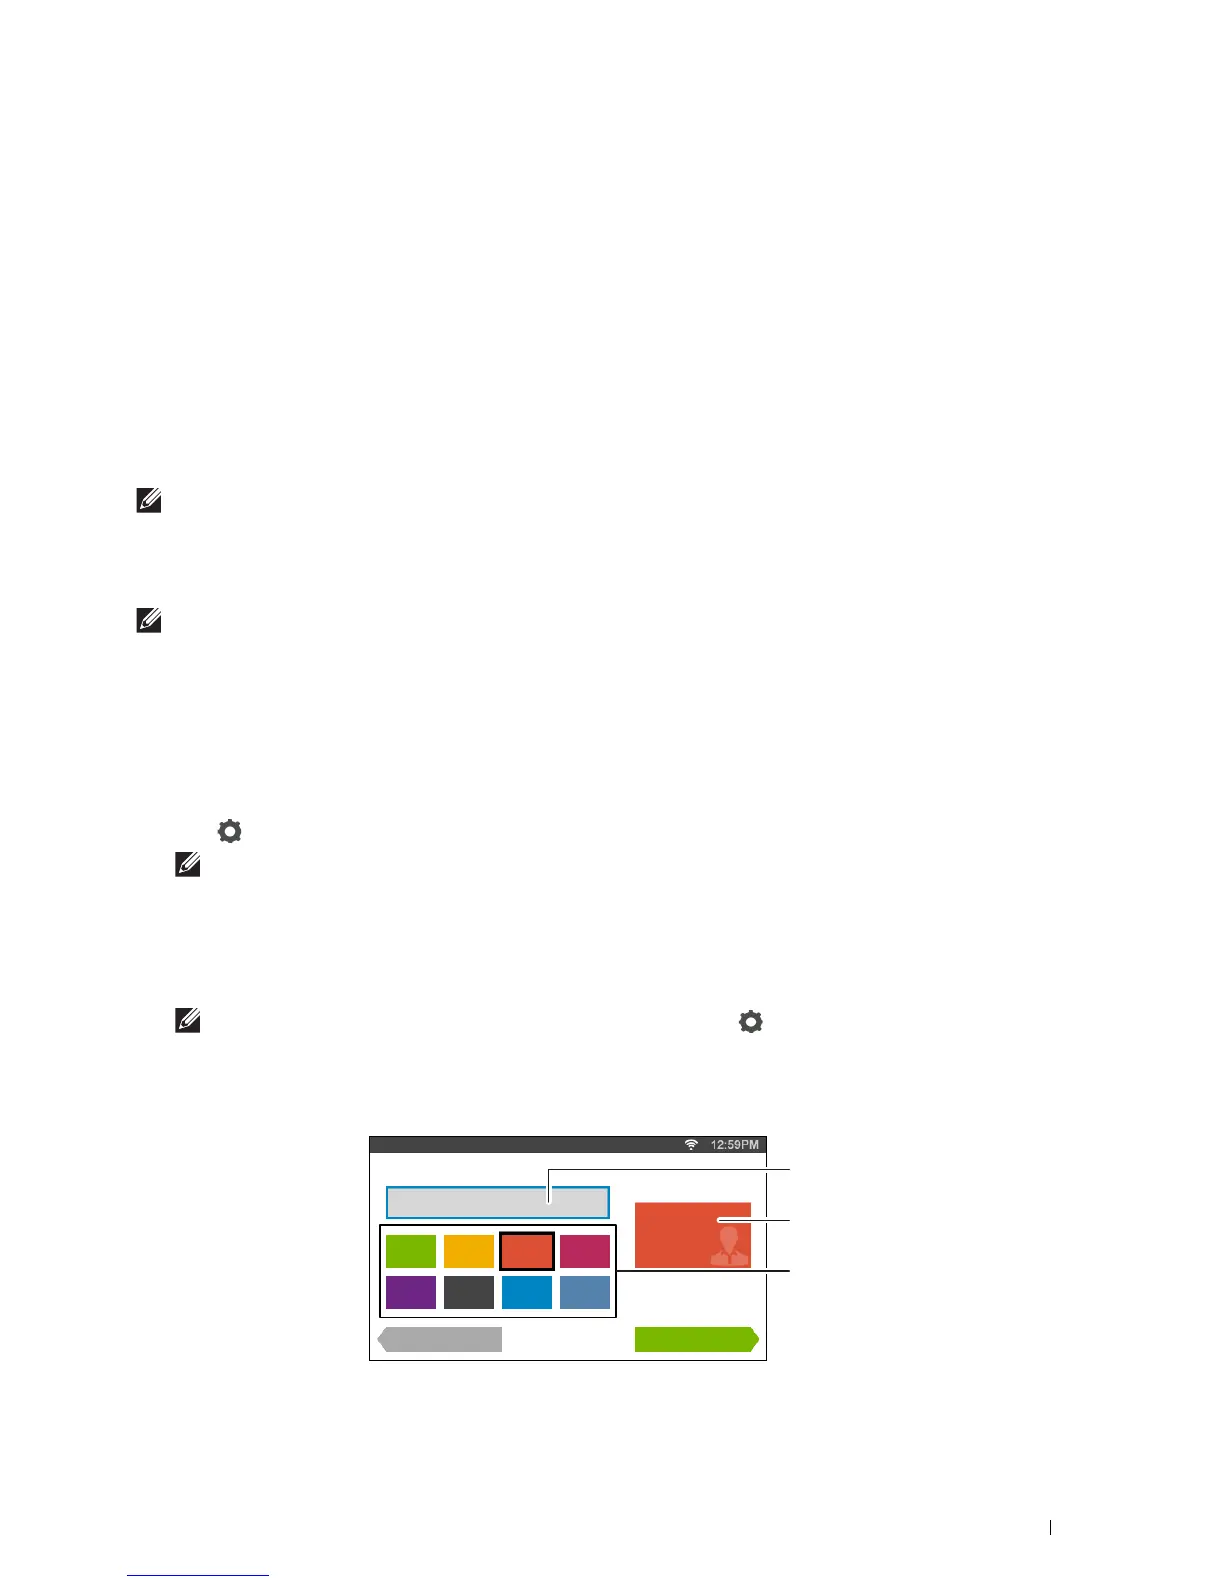
4
Enter the account name and select the tile color.
You can preview the image of your custom tile in
Preview
.
Guest
Print
Account Settings 1/2
Guest
Preview
Back Next
Account Name
Preview
Tile Color
 Loading...