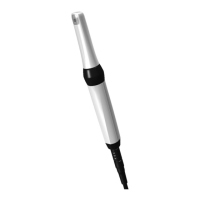
LED dis-
play
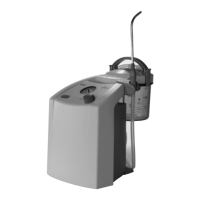
Water amount
3 45 ml/min
Illumination
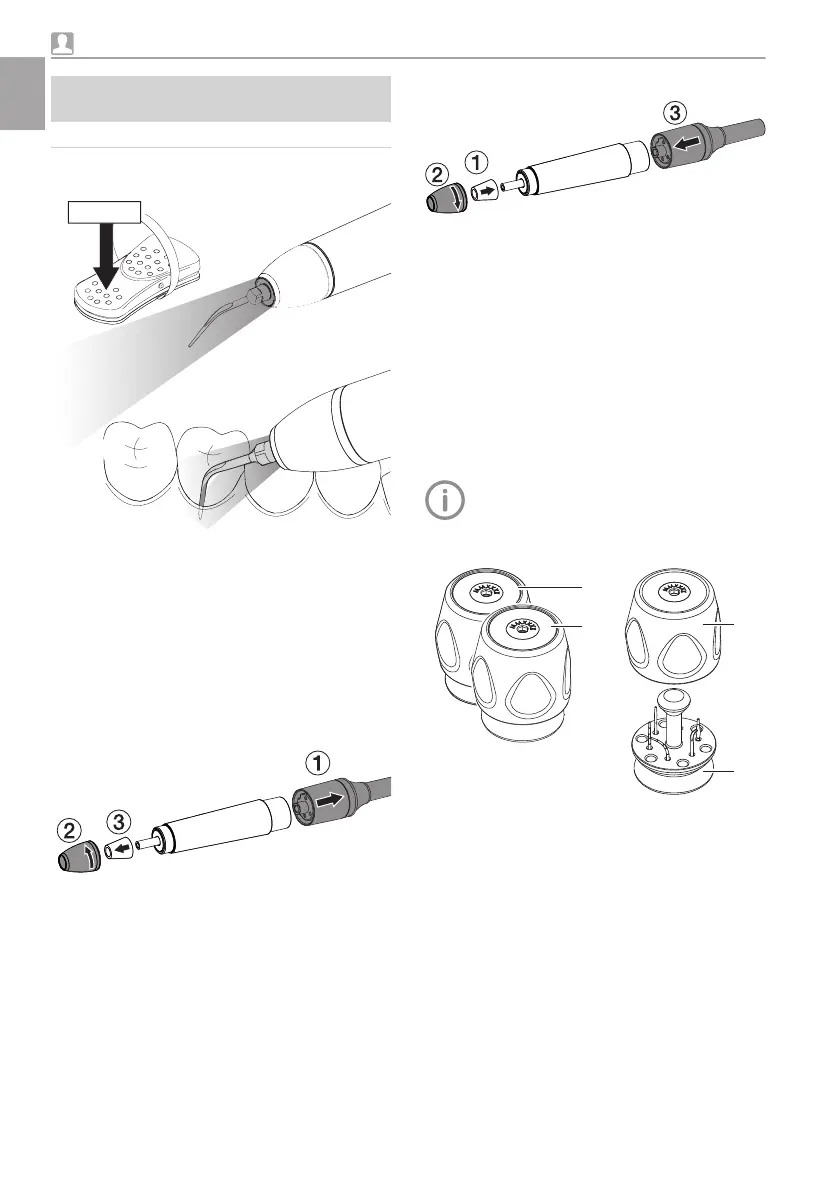
6 LEDs are integrated into the front section of the
handpiece. The light conductor is located under
the front cover. As soon as the flexible foot
switch is operated and "Power" is selected on
the operating panel, the LEDs light up. The LEDs
go out approx. 4 seconds after the flexible foot
switch is released.
The LEDs are actuated individually so that if one
LED stops working the light source remains lit.
Disassembly
❯
Dismantle the instrument.
❯
Pull off the hose connection from the hand-
piece.
❯
Unscrew the front cover from the handpiece
working anti-clockwise.
❯
Disconnect the light conductor.
Assembly
❯
Connect the light conductor.
❯
Screw the front cover onto the handpiece
working clockwise.
❯
Connect the hose connection at the hand-
piece.
9.3 Instruments and tool kits
Overview
Instruments of various shapes, lengths and mate-
rials are available. These are grouped according
to their different applications and arranged in the
tool kits.
These instruments are specially designed
for use with the Vector unit. No other
instruments must be used.
12 Paro tool kit
13 Recall/Implant tool kit
21 Tool kit cover
26 Instrument tray
Usage
24 9000-615-28L02 1903V004
EN
 Loading...