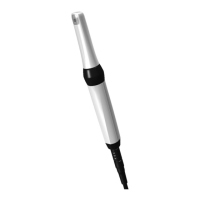
11.4 Use of the Scaler instruments
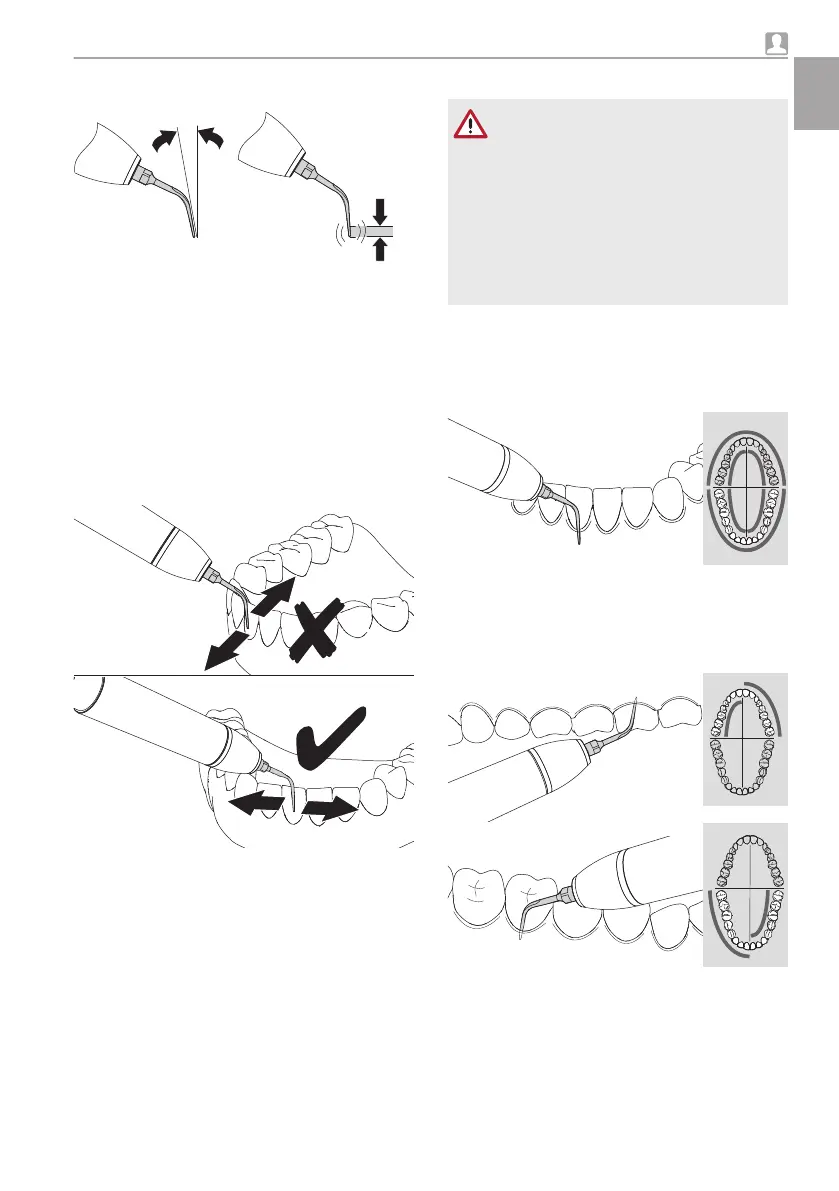
A Contact angle approx. 10°
b Working area 2 mm
The active working area of the instrument is in
the area of the front 2 mm.
Thanks to the minimal pain generation, treatment
with the Vector Scaler can also be carried out on
acute, painful parodontopathies.
❯
Activate the handpiece by operating the flexible
foot switch.
❯
Hold the instrument at an angle of approx. 10°
against the tooth and work away from the
tooth.
❯
Keep the instrument constantly in motion: in
the longitudinal direction of the tooth or trans-
versely across the approximal surface lingually
or buccally away from the tooth.
❯
Guide the instrument with minimal pressure in
such a way that the movements of the tip are
always parallel to the tooth surface.
❯
Make sure that only the side surfaces of the
instruments are used. Never use the front or
rear surface of the instruments.
❯
Perform effective and targeted suction to pro-
vide good visibility of the field of treatment.
Application areas
CAUTION
Risk of injury
Accidental activation or uncontrolled
activities of the handpiece can cause
injuries.
❯
Insert the handpiece in the handpiece
holder when it is not in use.
❯
Dismantle the instrument or push on
the torque wrench.
– Scaler instrument P1, 30 mm, straight, for the
removal of subgingival deposits in deep gingi-
val pockets (up to 4 mm).
POWER
2 LEDs: 40 % operating performance
– Scaler instrument P2, 60 mm, curved right,
for the removal of subgingival deposits
POWER
2–4 LEDs: 40 % - 80 % operating perfor-
mance
– Scaler instrument P3, 60 mm, curved left, for
the removal of subgingival deposits
POWER
2–4 LEDs: 40 % - 80 % operating perfor-
mance
Usage
9000-615-28L02 1903V004 39
EN
 Loading...