FLEX-6000 Signature Series – Maestro User Guide
Copyright 2024 FlexRadio, Inc. All Rights Reserved. | Page 175
35.3.5 Horizontal Zoom
The FLEX-6500, FLEX-6600(M), and FLEX-6700 Panadapters support a display range of a few KHz to
a maximum of 14 MHz. The FLEX-6300 and FLEX-6400M Panadapters support a display range of a
few KHz to a maximum of 7 MHz. There are five methods for adjusting the zoom of the
Panadapter.
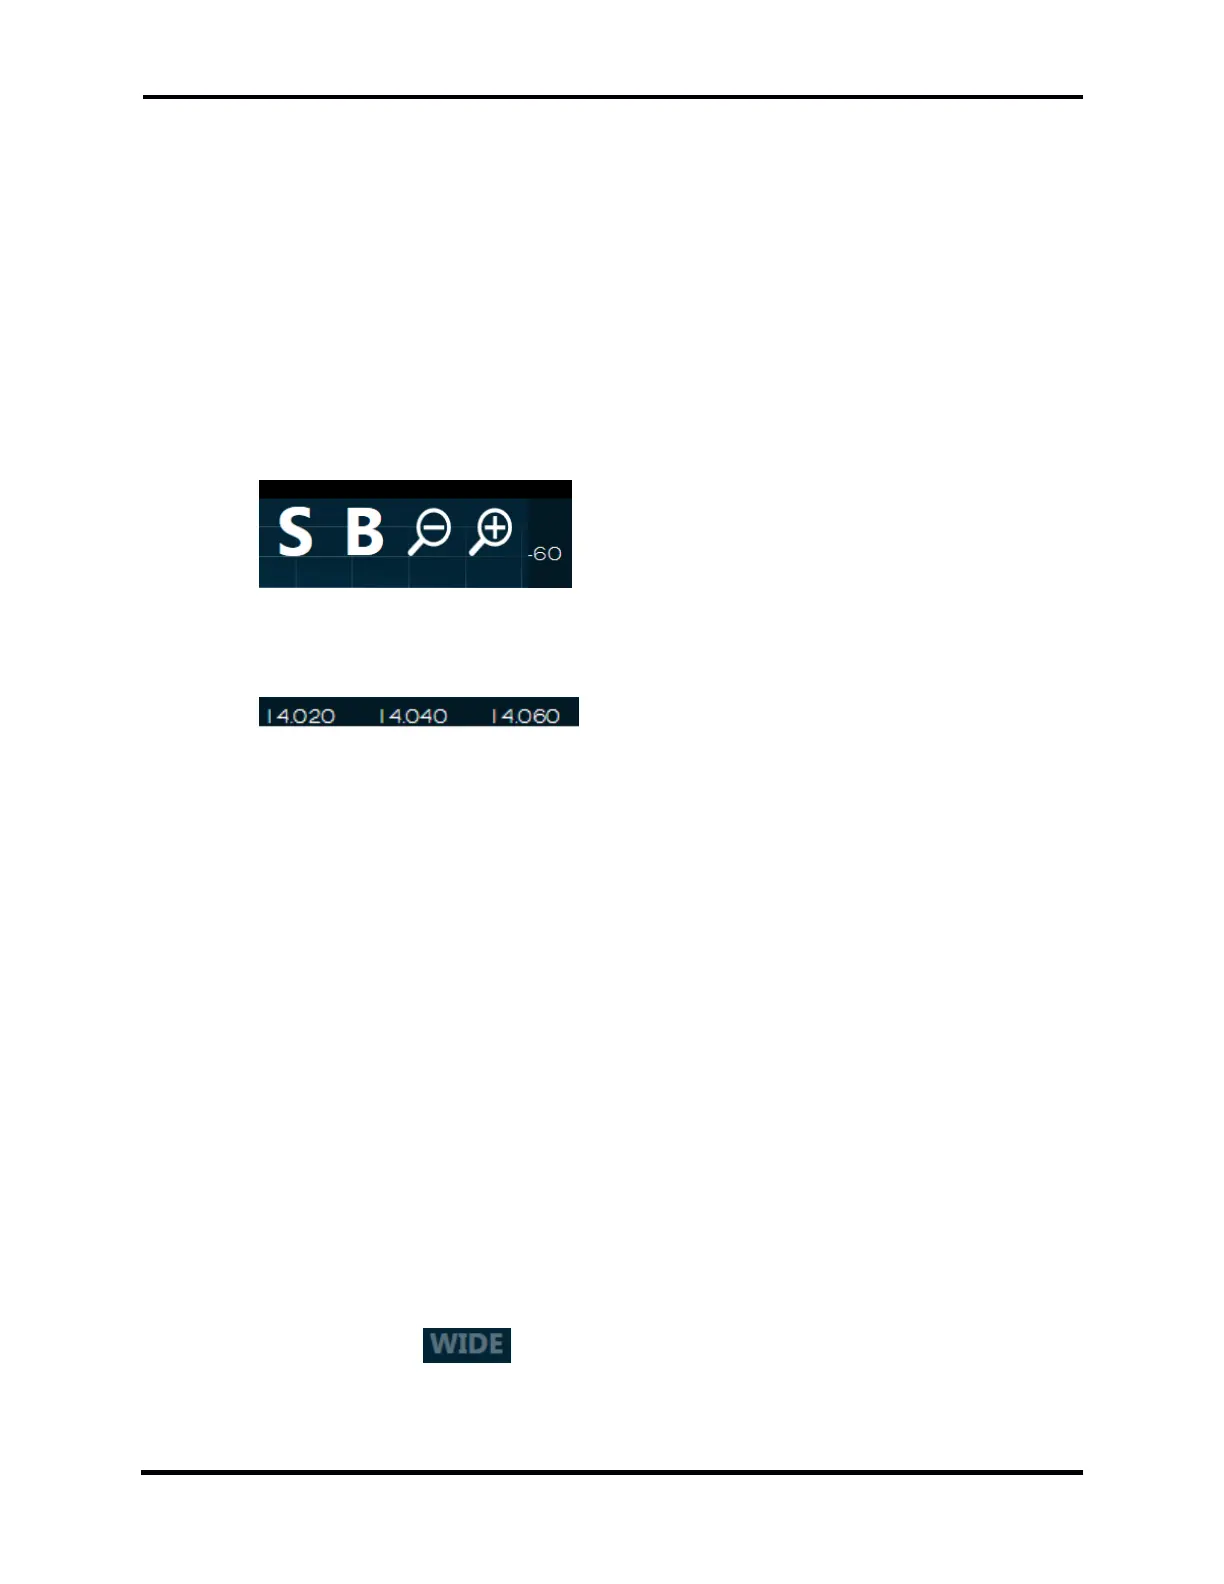
The first is by use of the plus and minus buttons located in the upper right corner of the
Panadapter. Tap on the upper half of a Panadapter display to reveal the buttons. Zooming
out (-) will double the bandwidth presented in the Panadapter while zooming in (+) will
halve the bandwidth. The frequency at the center of the Panadapter will remain the same
after tapping a zoom button. The buttons are removed from the display a few seconds
after their last use.
The second is the “pinch zoom” method. Touch the panadapter with two fingers at once.
Move them apart to zoom in, move them together to zoom out.
The third is a tap-and-drag method using the horizontal axis for more precise zooming.
The tap-and-drag method will zoom in by dragging to
the right and vice-versa. With this method, the frequency at the point where your finger
was located at the tap event will remain stationary in the Panadapter.
The fourth is the “zoom to band” method. Next to the plus and minus buttons located in
the upper right corner of the Panadapter display, you will see the B control as shown in the
image above. Tapping this control changes the zoom level so that the entire band that
contains the Active Slice Receiver is displayed on the Panadapter. Tapping the control
again returns the Panadapter zoom to its previous level. This control is available as part of
the set of controls that can be mapped to function buttons. See section 33.4, Function F1-
F6 Tab for more details.
The fifth is the “zoom to segment” method. Next to the plus and minus buttons located in
the upper right corner of the Panadapter display, you will see the S control as shown in the
image above. Tapping this control changes the zoom level so that the entire segment
(CW/Phone) of the band that contains the Active Slice Receiver is displayed on the
Panadapter. Tapping the control again returns the Panadapter zoom to its previous level.
This control is available as part of the set of controls that can be mapped to function
buttons. See section 33.4, Function F1-F6 Tab for more details.
When zooming out with a FLEX-6000 radio there are certain points where the size of the data used
to create the display on the screen will need to be doubled. As this occurs there will be more noise
taken into account while processing the display which will cause a noticeable increase in the noise
floor. The reverse occurs when zooming in on a Panadapter. After zooming out to a certain point,
the hardware will switch to wideband mode. When this occurs, any Panadapters that are affected
by this change will display in the top right corner to indicate that it is in wideband mode.
In Wideband mode, the radio will open the Bandpass Filters to their maximum for any Panadapter
using the associated antenna.

 Loading...