Getting Started
1-70 LOGIQ V2/LOGIQ V1 – User Guide
Direction 5610736-100
Rev. 9
Scanning without entering any patient data
For R1.0.x software:
To scan a patient without entering any patient data until the end
of the exam:
1. Select End Exam on the control panel to end the last
patient’s exam. The system permanently stores all images
of that patient automatically.
2. Scan the new patient and save images to the clipboard
without patient information. The system displays a warning
message “Warning: A patient must be selected for
permanent storage of image”. Select OK.
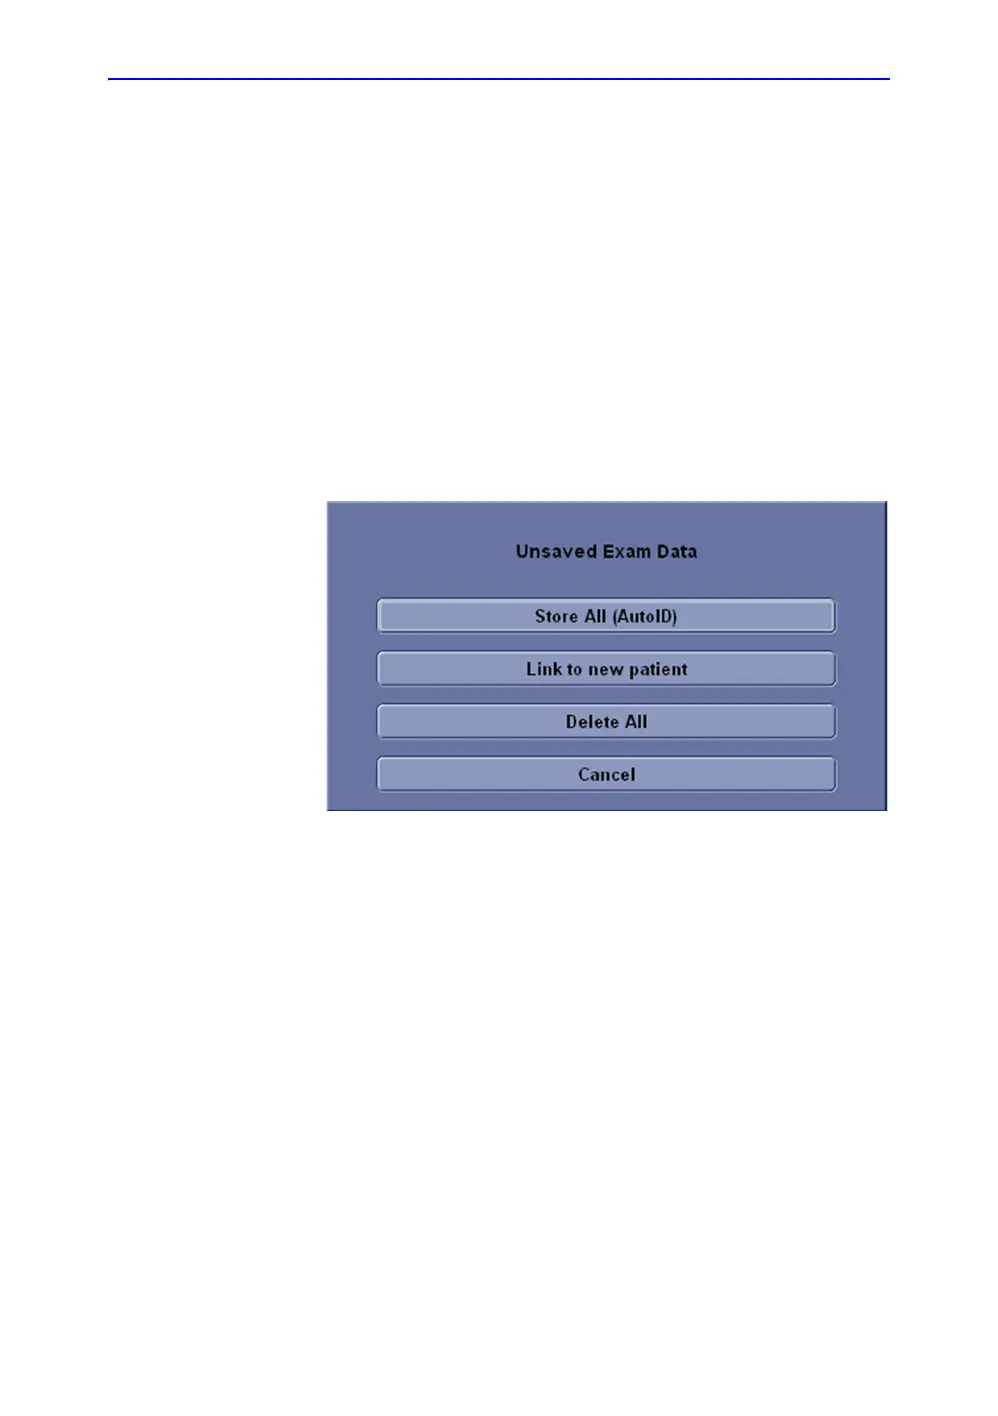
3. Select Patient on the control panel to create a new patient,
the following dialog displays if there is unsaved exam data.
Figure 1-48. Unsaved Exam Data
a. Store All (Auto ID). Store the unsaved data to the
patient that is auto created by the system, and then a
new patient screen displays.
b. Link to new patient. A new patient screen displays,
and link the unsaved images to the new patient.
c. Delete All. Delete all the unsaved images, and then a
new patient screen displays.
d. Cancel. Do nothing with the unsaved data, and return to
scanning.

 Loading...


