Installation
XPR300 Instruction Manual 809480 105
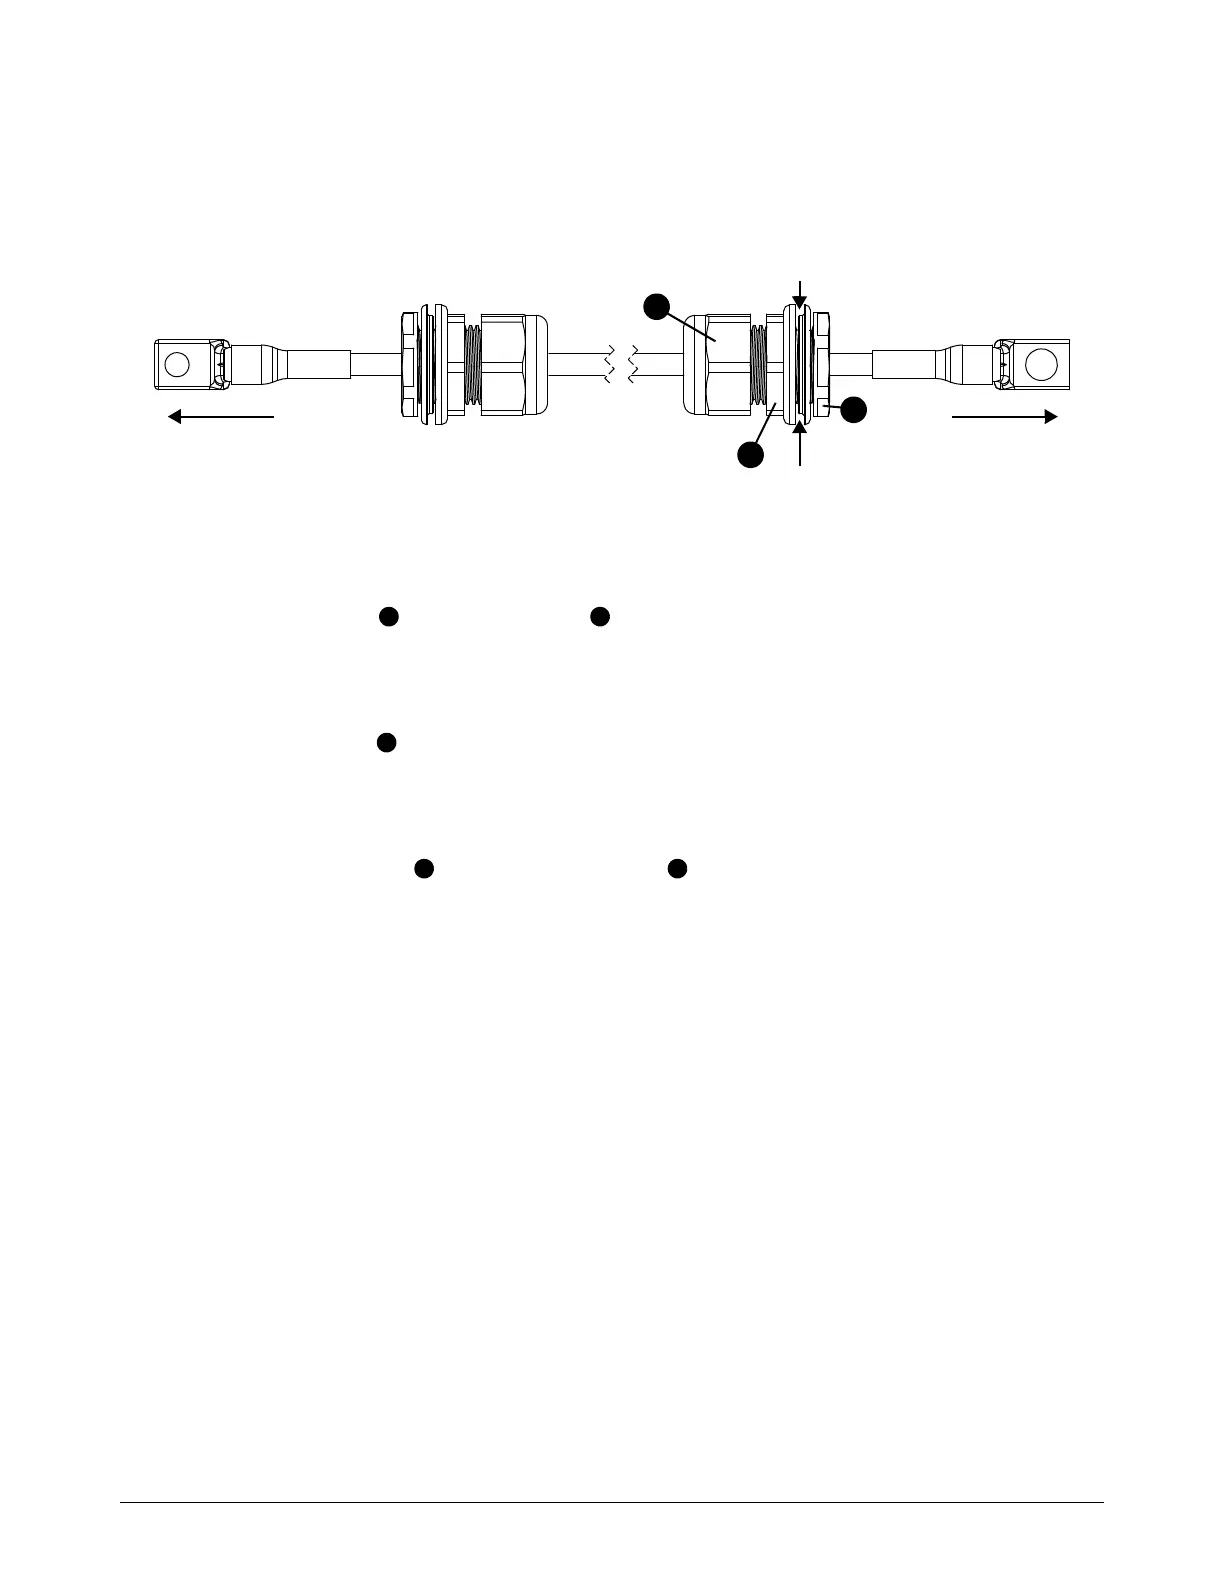
Connect the negative lead with strain relief
Figure 20 – Negative lead with strain relief
For lengths, refer to Negative lead with strain relief on page 393 of the
Parts List.
1. Put the outer nut and strain relief nut onto the negative lead.
2. Put the negative lead and strain relief nut through the hole in the gas connect console or plasma
power supply.
3. Put the inner nut over the end of the lead.
4. Connect the gas connect console end of the lead to the coolant block, or connect the plasma
power supply end of the lead to the negative (-) connector.
5. Tighten the inner nut onto the strain relief nut .
3
To plasma power supply
To gas connect console
Sheet metal of console panel intersects
here
2
1
 Loading...


