Diagnostics and Troubleshooting
318 809480 Instruction Manual XPR300
Low shield gas pressure code (534)
1. Make sure that the consumables are correct for the operator-selected process.
2. Examine gas hoses and fittings. Look for:
Damage and kinks that can restrict flow.
Leaks that can decrease pressure.
3. If the hoses and fittings are good, look at the CNC or XPR web interface to identify the shield
gas pressure.
For information about the recommended shield gas pressure by process
type, refer to the XPR Cut Charts Instruction Manual (809830).
4. Send a command to test preflow. Make sure that the pressure is within the correct range for the
active process.
For information about how to do this, refer to the instruction manual that
came with your CNC.
5. Send a command to test cutflow and continue with the following steps:
Make sure that the pressure on P14 is achieved. An error occurs only if
the value is less than 75% of the setpoint for at least 600 milliseconds.
a. If the pressure is too high or too low, use the optional external shield gas regulator to
decrease or increase the pressure.
b. Examine voltage going to J21.1 and J21.2 for B2 and J7 for V11 Refer to
Valve states during
operation on page 410 to identify if V11 is enabled. Look for voltage between 5 VDC –
24 VDC.
c. If B2 and V11 do not have the correct voltage, examine the connections between the
control board (141334) and the valves. Make sure that the connections are fully engaged.
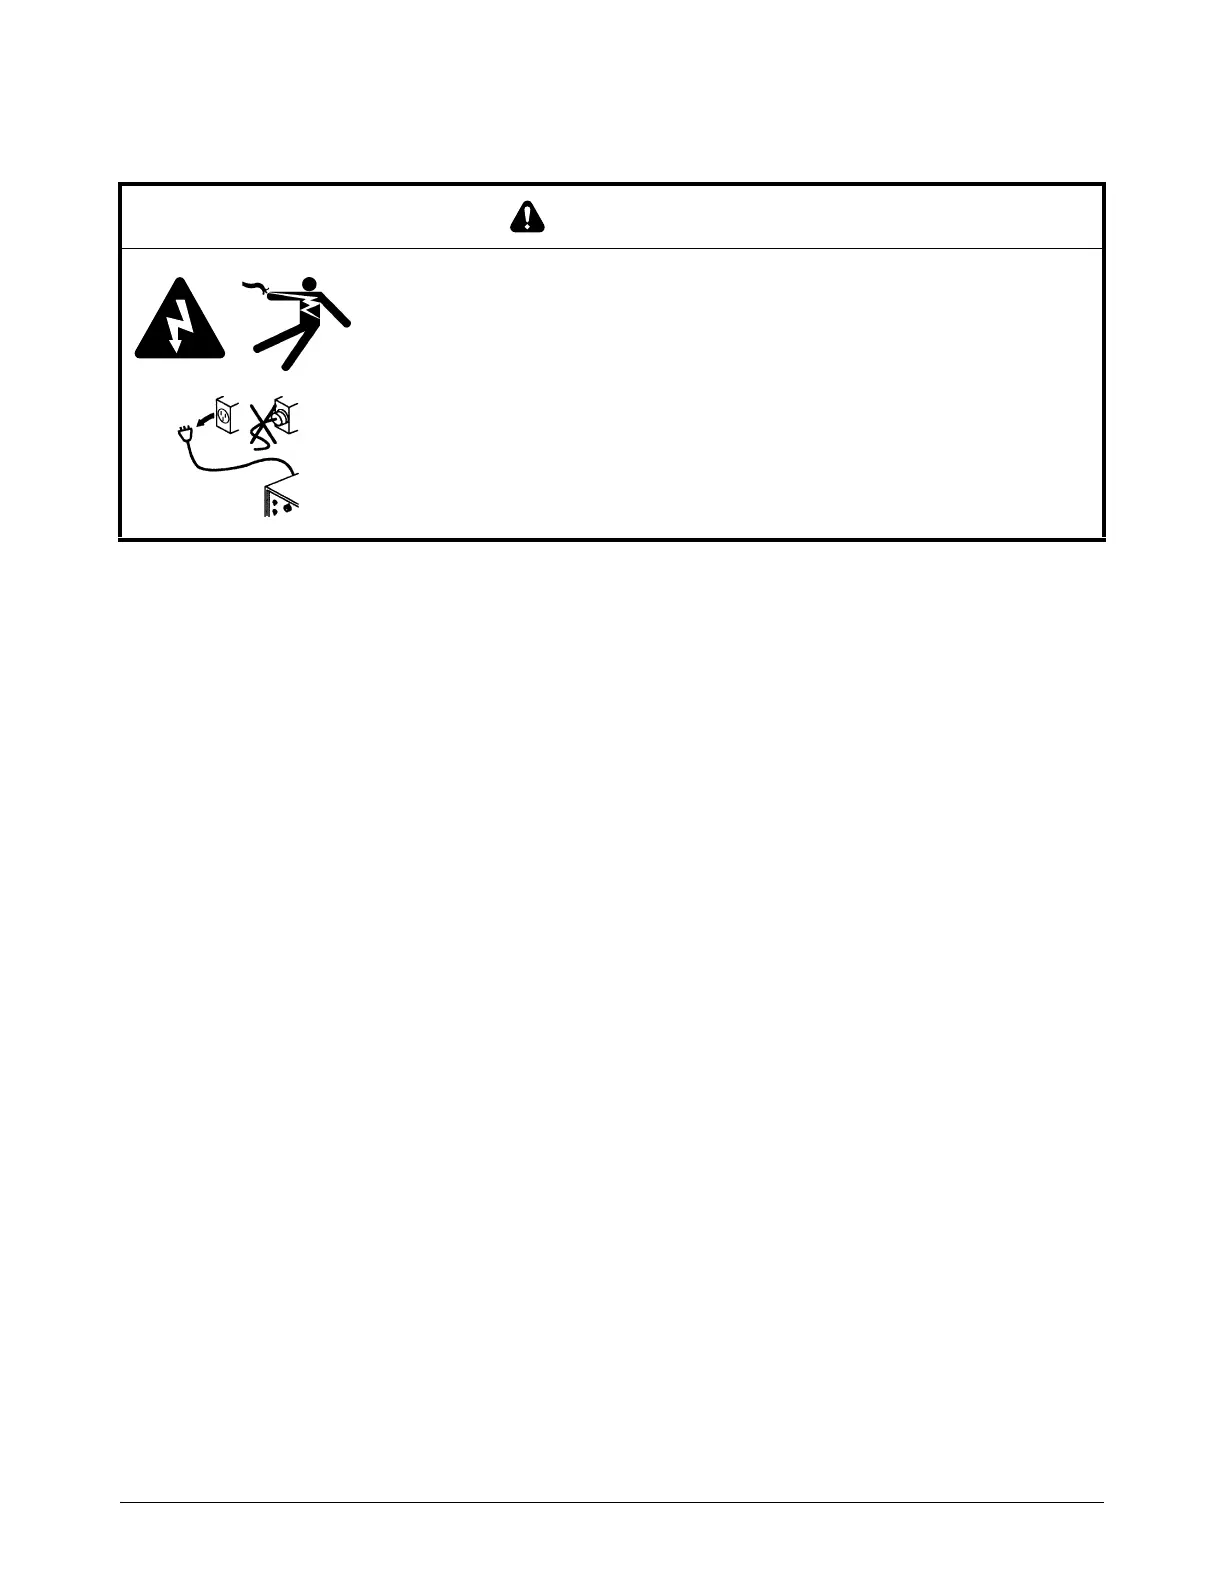
WARNING
ELECTRIC SHOCK CAN KILL
Disconnect electrical power before doing troubleshooting or diagnostic work.
All work requiring removal of the plasma power supply outer cover or panels
must be done by a qualified technician.
See the Safety and Compliance Manual (80669C) for more safety
information.

 Loading...


