17
17-14 bizhub C554/C454/C364/C284/C224
[Printer Adjustment]
To display: [Utility] - [Administrator Settings] - [System Settings] - [Expert Adjustment] - [Printer Adjustment]
Adjust the print start position and defective print images.
[Leading Edge Adjustment]
To display: [Utility] - [Administrator Settings] - [System Settings] - [Expert Adjustment] - [Printer Adjustment]
- [Leading Edge Adjustment]
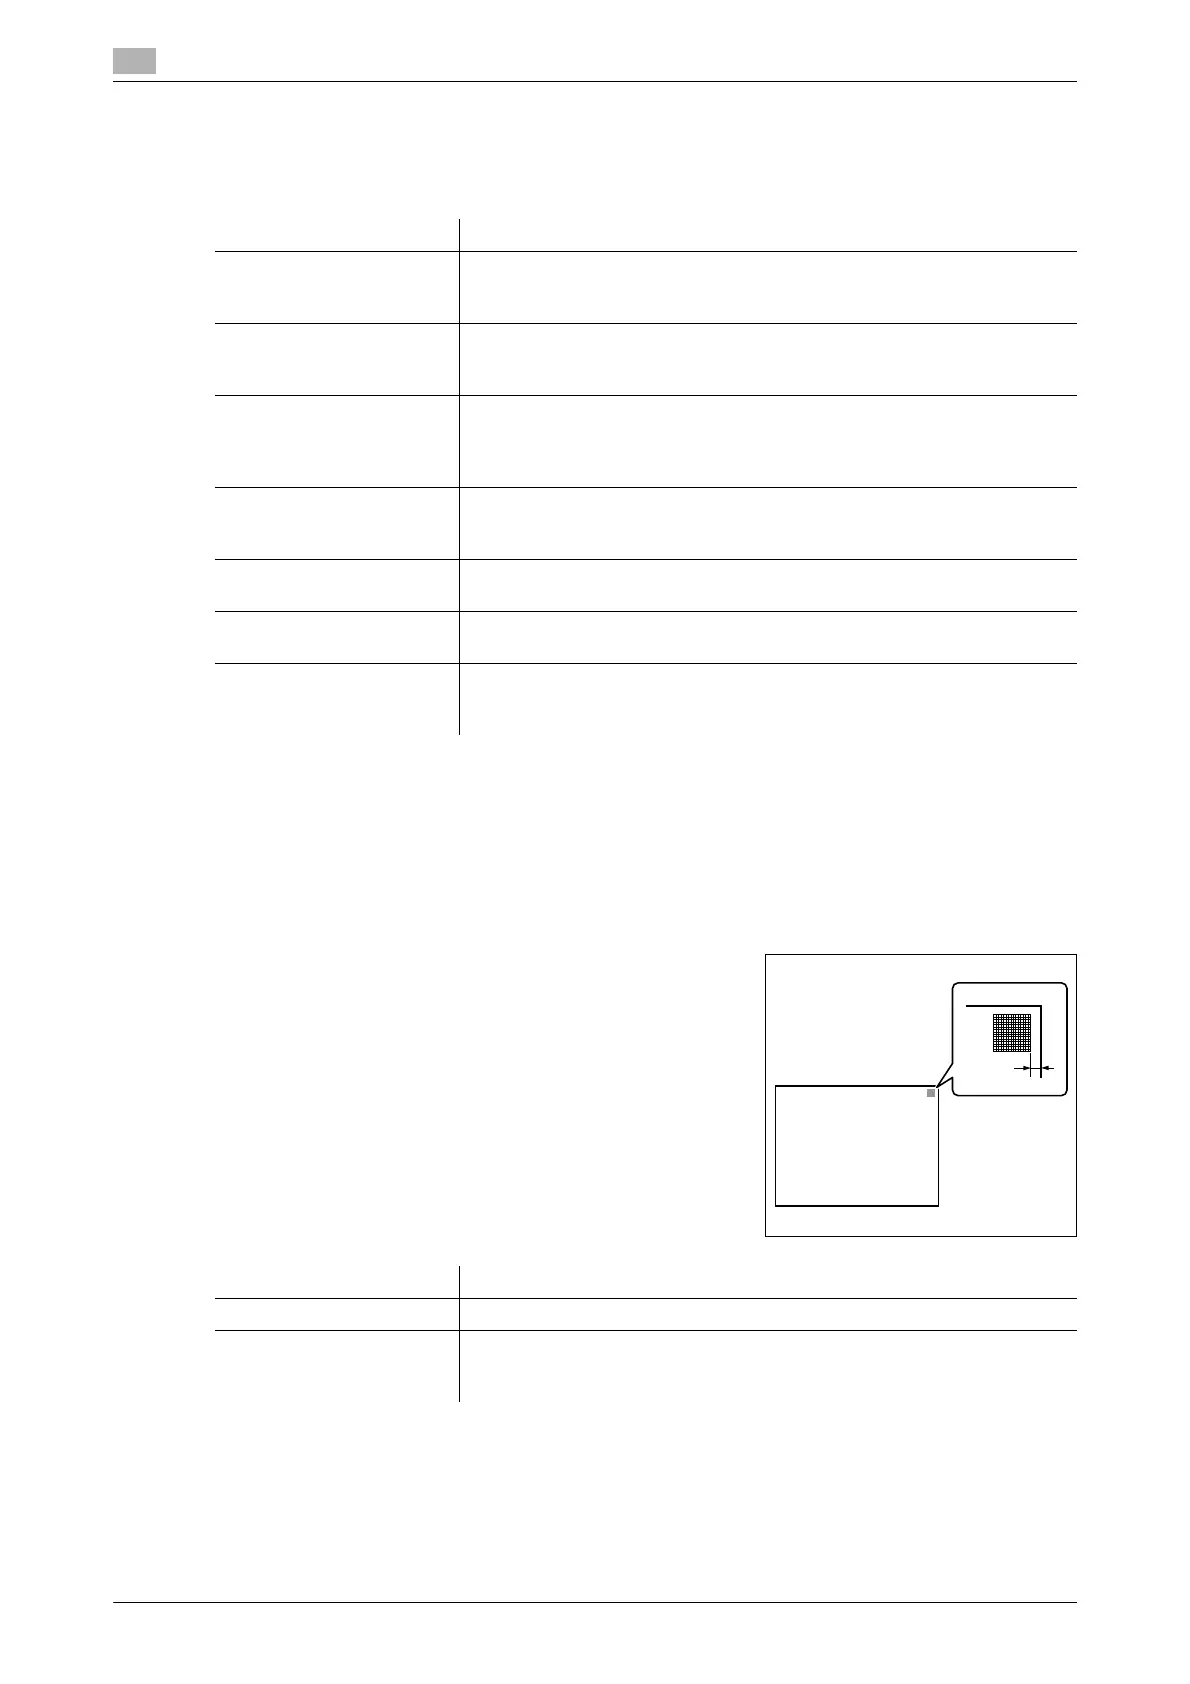
Adjust the print start position at the leading edge of the paper relative to the paper discharge direction.
Press Start to print a test pattern. Check the test pattern and adjust so that the margin between the leading
edge of the paper and the print start position is 3/16 inches (4.2 mm). Repeat adjustments, as required.
Settings Description
[Leading Edge Adjustment] Adjust the print start position at the leading edge of the paper relative to
the paper discharge direction.
For details, refer to page 17-14.
[Centering] Adjust the print start position on the left edge of the paper relative to the
paper discharge direction.
For details, refer to page 17-15.
[Leading Edge Adjustment
(Duplex Side 2)]
Adjust the print start position at the leading edge of the back side of the
paper relative to the paper discharge direction for printing the back side in
2-sided printing.
For details, refer to page 17-15.
[Centering (Duplex 2nd
Side)]
Adjust the print start position at the left edge of the paper relative to the
paper discharge direction for printing the back side in 2-sided printing.
For details, refer to page 17-16.
[Erase Leading Edge] Adjust leading edge erase width. For details, contact your service repre-
sentative.
[Vertical Adjustment] Adjust the feed direction zoom ratio of paper types. For details, contact
your service representative.
[Media Adjustment] Adjust print defects (voids, white spots, roughness) that are caused by pa-
per properties for each paper type.
For details, refer to page 17-17.
Settings Description
[Paper Type] Select the type of paper that is used to adjust the start position for printing.
[Adjust Value] Enter an adjustment value between -3.0 and +3.0 mm by tapping [-] and
[+].
[0.0 mm] is specified by default.
 Loading...