Actions Yes No
Step 5
a Remove the right cover. See “Right cover removal” on
page 420.
b Check the cable connections between the HVPS and J15 on
the controller board. If necessary, reseat the cables.
Does the problem remain?
Go to step 6. The problem is
solved.
Step 6
Replace the HVPS. See
“HVPS removal” on page 421.
Does the problem remain?
Contact the next
level of support.
The problem is
solved.
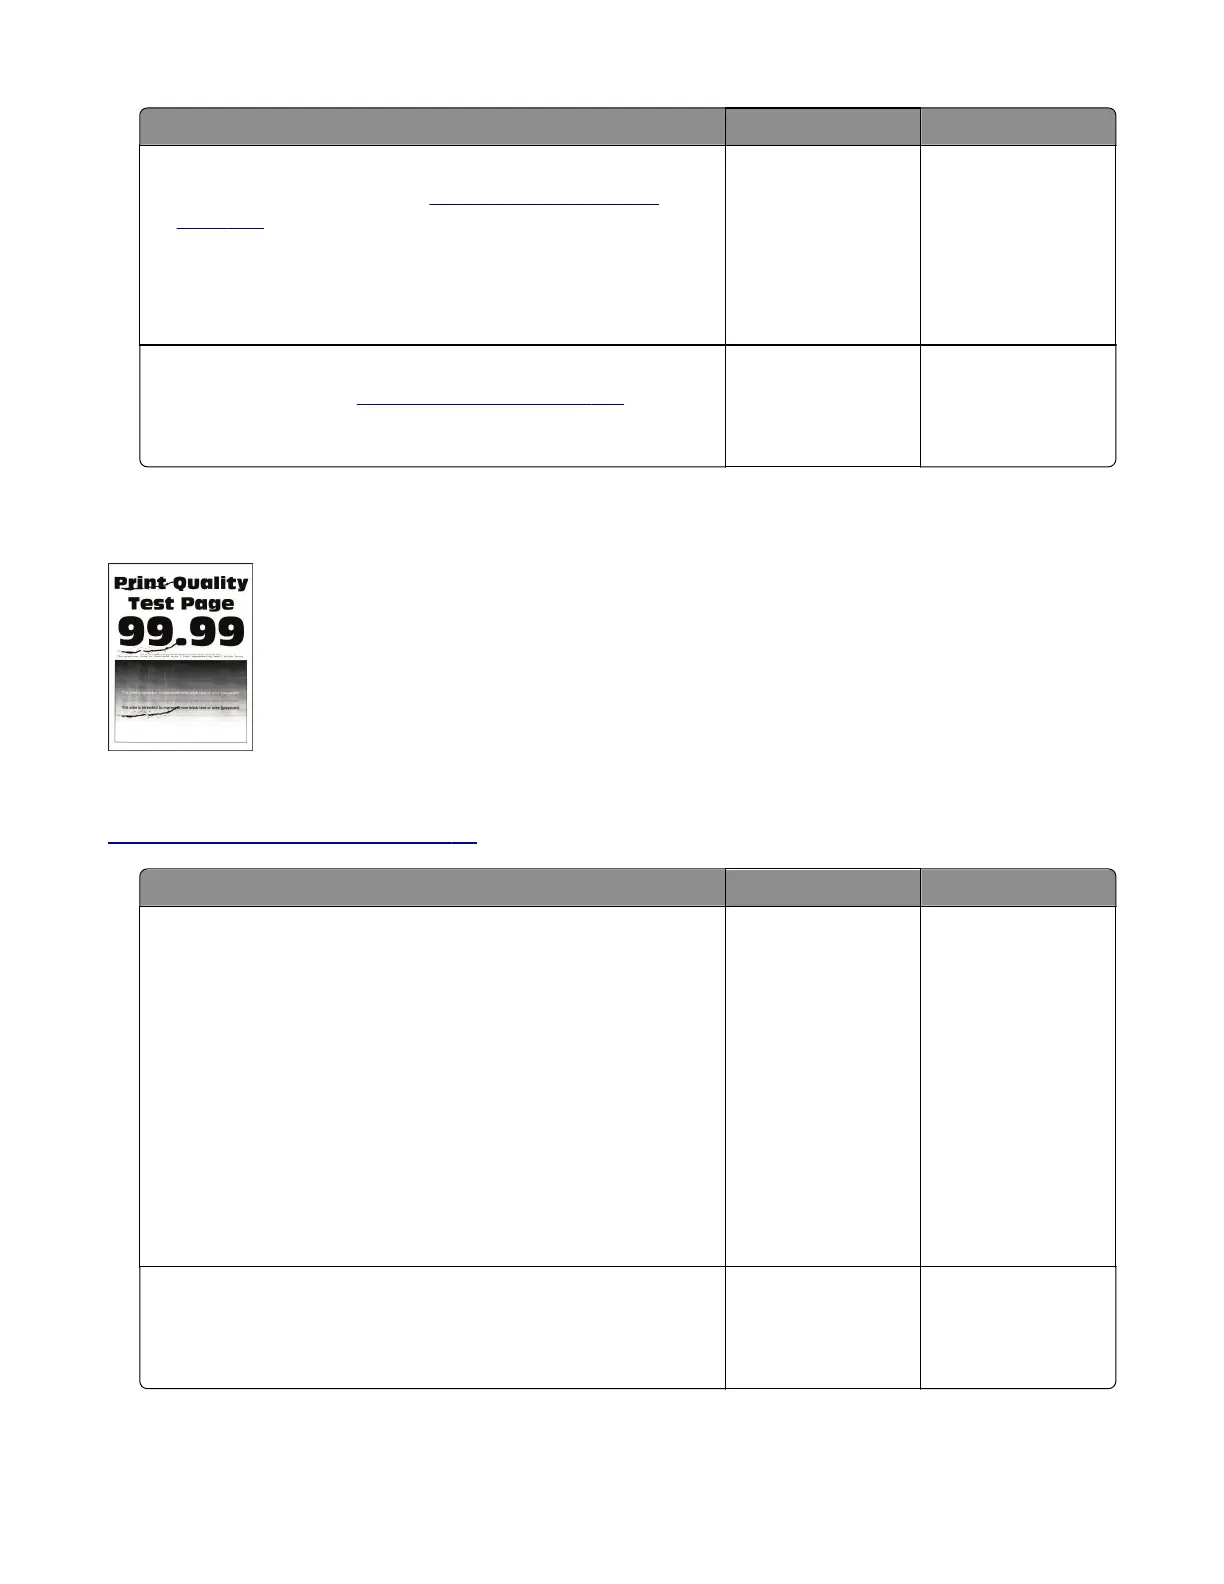
Repeating defects appear on prints check
Note: Before performing this print quality check, go to the control panel home screen and navigate to
Settings > Troubleshooting > Print Quality Test Pages, and then perform the initial print quality check. See
“Initial print quality check” on page 44.
Actions Yes No
Step 1
a From the control panel, navigate to:
Menu > Help > Print Defects Guide
b Using the Print Defects Guide, check if the distance between
defects is equal to any of the following:
• 96 mm (3.78 in.)
• 49 mm (1.93 in.)
• 47.5 mm (1.87 in.)
• 30.2 mm (1.18 in.)
Note: Make sure to measure the defect interval accurately.
Does the distance measured match any of the items listed?
Go to step 2. Go to step 3.
Step 2
Replace the imaging unit.
Does the problem remain?
Go to step 3. The problem is
solved.
4064
Diagnostics and troubleshooting
59
 Loading...