Chapter 7 Assembly of the Devices
144
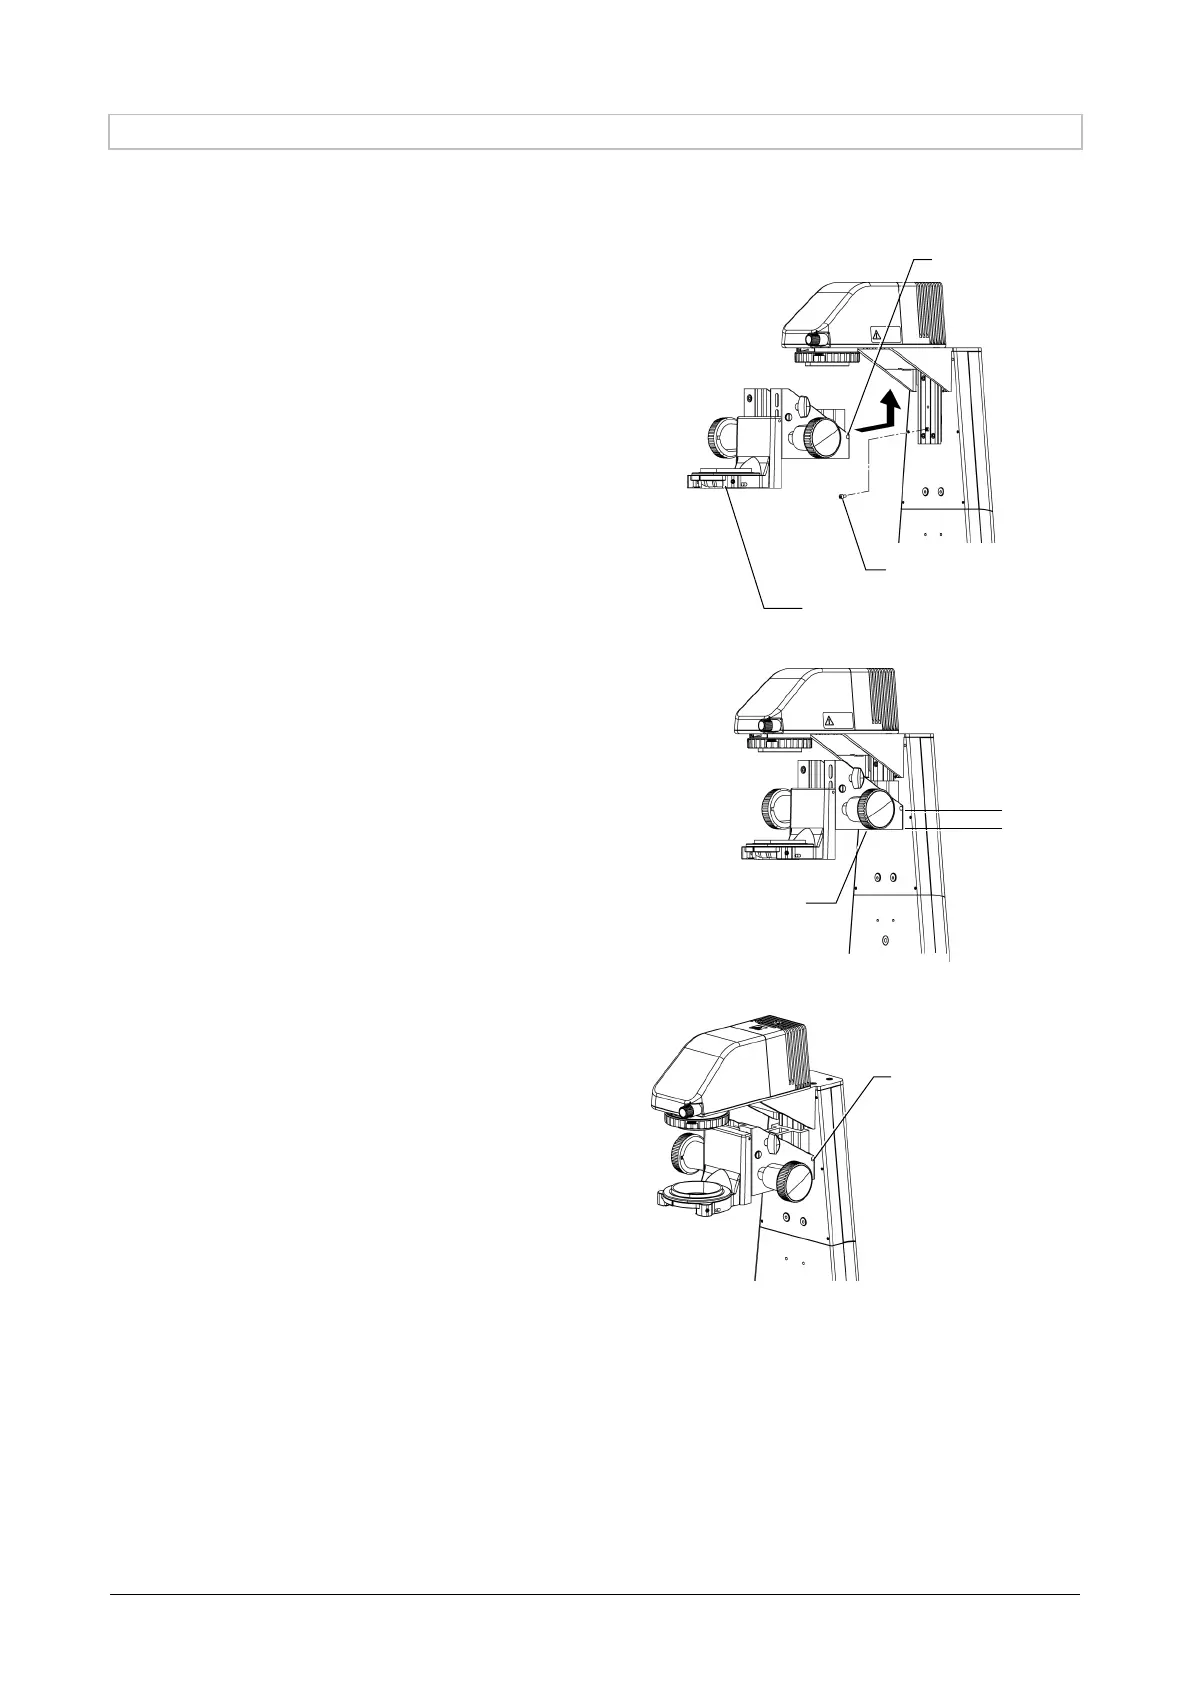
7.8.2 Attaching the Condenser Holder
Attach the condenser holder to the illumination pillar. (Tool: 2 mm hexagonal screwdriver, supplied with the
microscope main body)
1. Remove the fall-stop screw (hex socket
head cap screws) using a hexagonal screw-
driver.
2. Attach the condenser holder upward along
the dovetail grooves of the illumination
pillar.
Slide the condenser holder upward as far as it
goes and affix it provisionally using the fixing
screw on the right side.
3. Affix fall-stop screw on the illumination
pillar side.
4. Loosen the provisionally tightened fixing
screw, slide the slider of the condenser
holder to the default position, and firmly
tighten the fixing screw using a hexagonal
screwdriver.
The default position of the condenser holder is
as follows:
ELWD and ELWD-S condensers:
Before affixing, slide the condenser holder so
that the bottom surface of the condenser
holder slider matches the index position
marked “ELWD” on the illumination pillar.
Condenser lens other than the above:
Before affixing, slide the condenser holder so
that the bottom surface of the condenser
holder slider matches the index position
marked “LWD” on the illumination pillar.
ELWD
LWD
Fixing screw
Fixing screw
Condenser holde
Fall-stop screw
Bottom surface of the
condenser holder slide

 Loading...


