Basic Melter Operation
4-4
Part 1128350_02
E 2020 Nordson Corporation
Starting the Melter for the First Time
Before starting the melter for the first time, confirm that the melter i s fully
installed, including hoses and applicators, and any optional equipment.
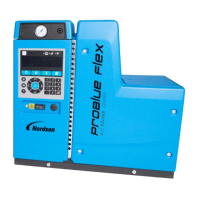
1. SwitchthemelterOn.Seefigureontheleftforthemelterpowerswitch
location.
NOTE: The melter goes through a self-check, and after all the LEDs and
indicators briefly illuminate, the Commissioning Setup Wizard starts.
Refer to Commissioning Setup Wizard giveninthefollowingpage.
2. Fill the tank with adhesive and wait a few minutes until enough has
melted to purge the air from the new pump.
3. Remove the front panel of the melter by loosening the four latches.
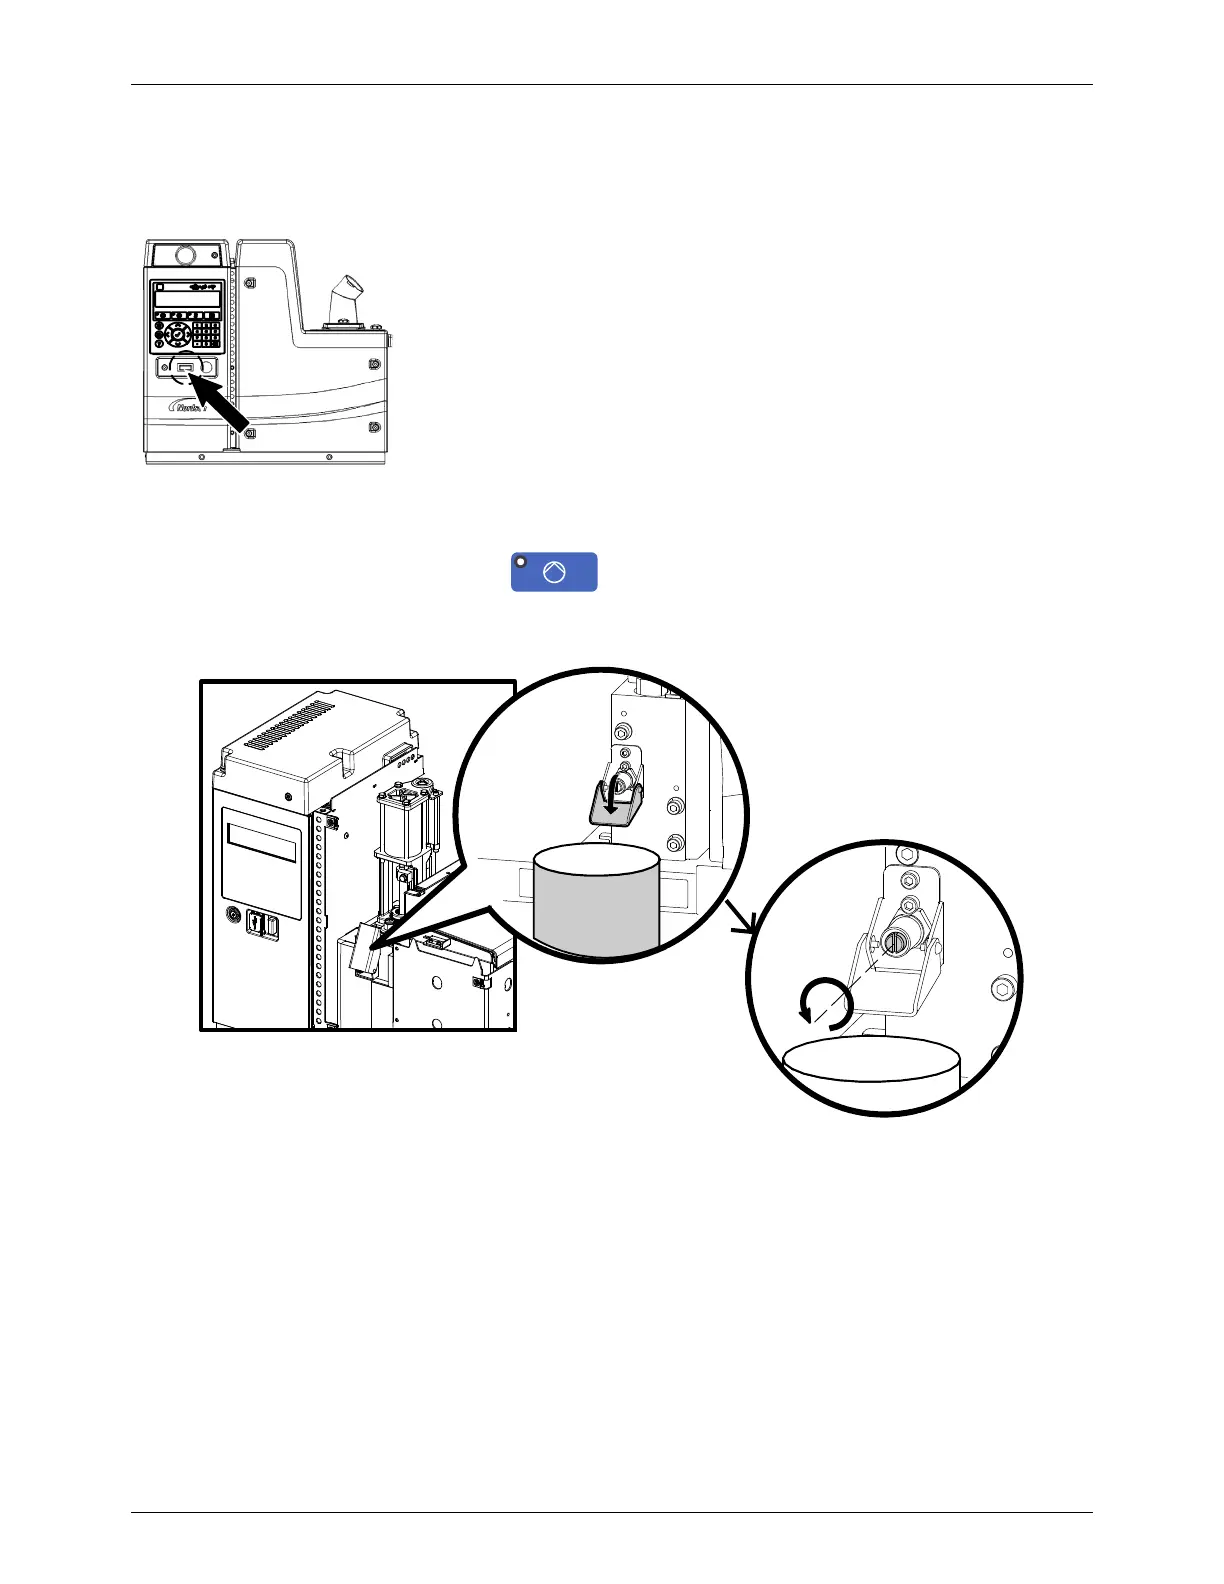
4. SeeFigure4-2.Lowerthedrainvalvechuteandopenthedrainvalve.
5. Set the pump air pressure to 1.03 bar (15 psi).
6. Press
on the OLED user interface to enable the pump.
7. Allow adhesive to flow from the drain valve until there are no air bubbles
present.
Figure 4-2 Location of the drain chute and the drain valve
8. Close the drain valve.
 Loading...