43984801TH Rev.1
51 /
Oki Data CONFIDENTIAL
3. Parts replacement
3.3.14 Fuser-Assy
Note! Replace the Fuser-Assy by Assy unit.
It is forbidden for disassembling the Fuser-Assy, also, reusing the disassembled Fuser-Assy.
(1) Open Rear-Cover-Assy.
(2) Open Stacker-Cover-Assy.
(3) Remove Cover-Side-R and Cover-Side-L. (Refer to 3.3.3/3.3.4)
(4) Remove Stacker-Cover-Assy. (Refer to 3.3.13)
(5) Unplug connector (Motor-Fan)
①
and connector (Semester)
②
from high voltage power board, and
remove Piece-Guide
③
.
(6) R
emove Motor-Fan
④
. Remove Piece-Guide
⑤
.
(7) U
nplug the connector
⑥
of Fuser-Assy, which is at the back side of Piece-Guide
⑤
.
(8) R
emove the 4 screws (Silver)
⑦
. Remove the Fuser-Assy
❽
by bowing down the lock at the left side.
(9) I
nstalling is performed by the inverse procedure with removing.
Note! Fuser-Assy
❽
may be really hot, beware of handling.
(Note on removing / installing)
1. I
nstall the screw (Silver)
⑦
in its original groove. (Do not make new screw tap.)
2. D
o not add excessive pressure while tightening the screw (Silver)
⑦
.
3. B
eware of not to touch the DC motor inattentively (Do not rotate the motor).
4. I
nstall the Motor-Fan
④
by combining the arrow indicating Fan flowing direction and the arrow
direction that is incused on the Fan-Lower.
5. B
eware of not to deform the thermistor while replacing the Fuser-Assy.
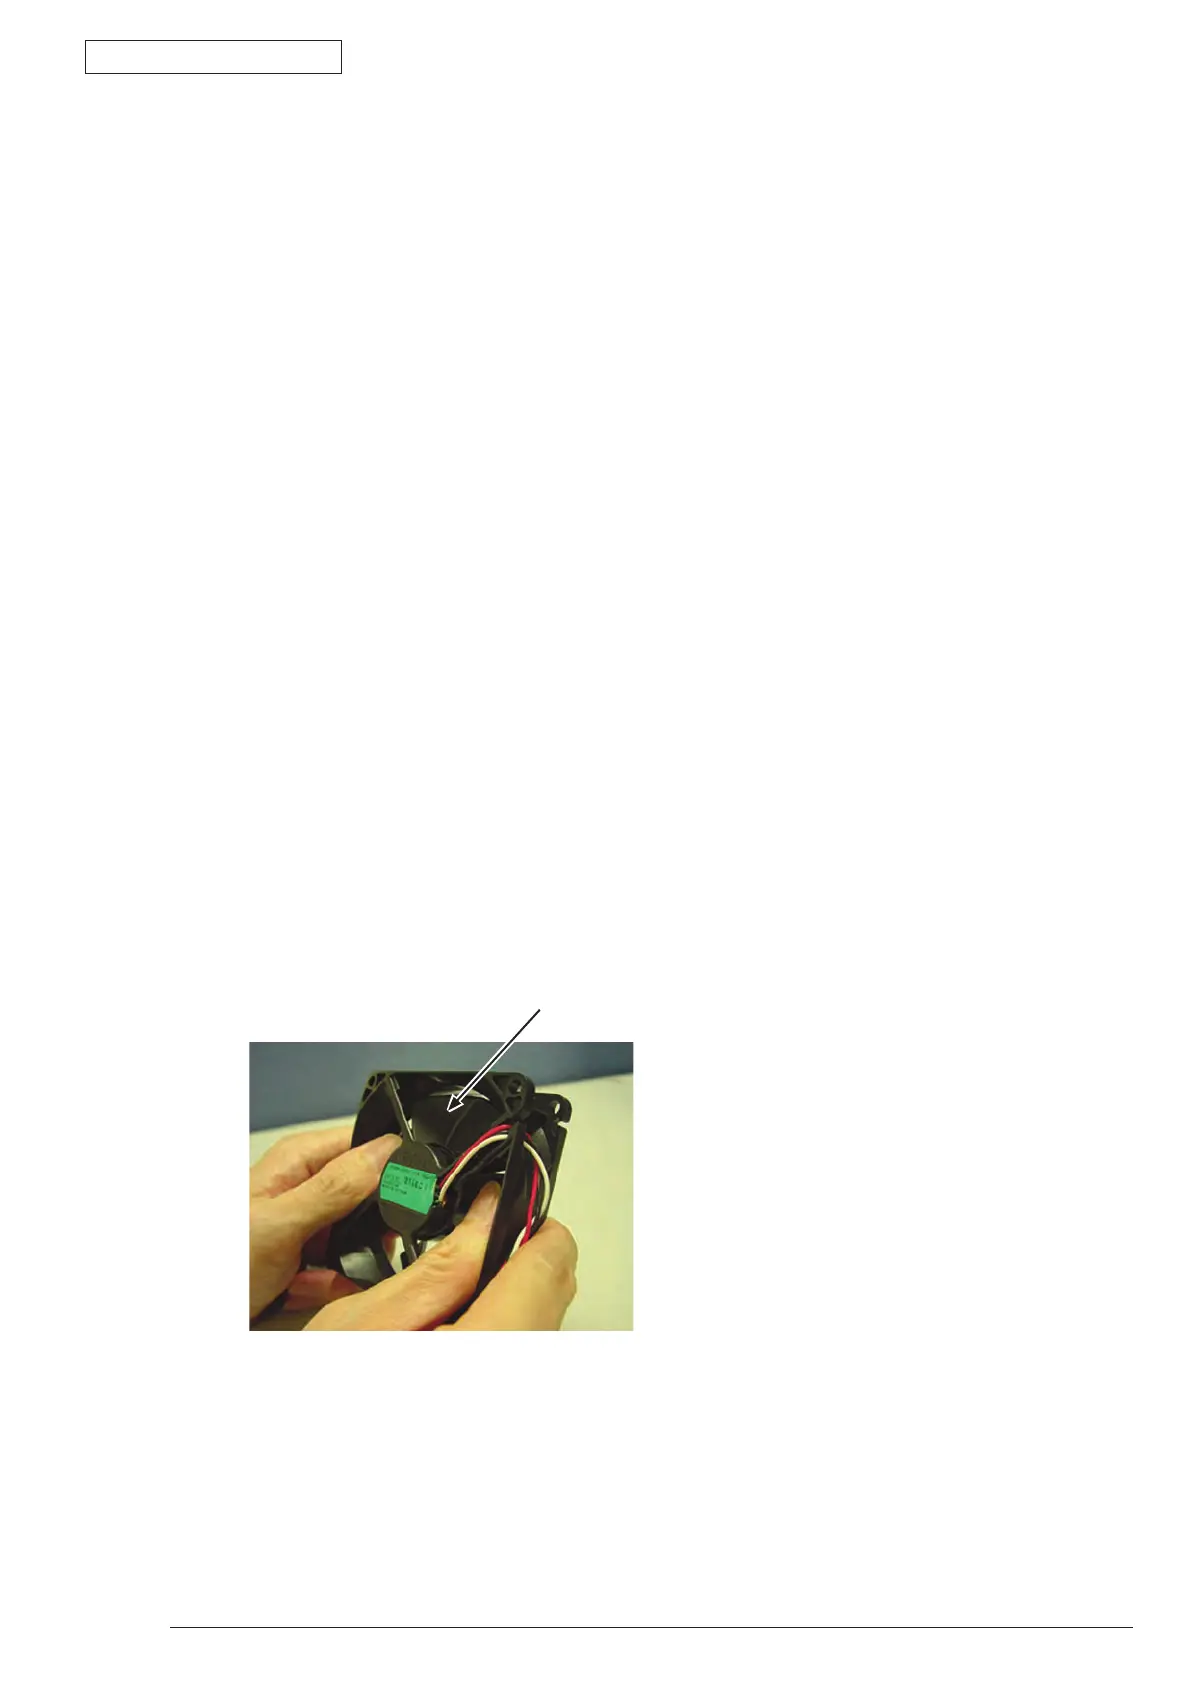
6. W
hile removing or installing FAN, do not press impeller of the FAN as shown by the following photo.
In case of the impeller unfastened by mistake, do not reuse it and install a new FAN.
Impera
 Loading...