Chapter 5 Operation
137
VISERA VIDEO SYSTEM CENTER OTV-S7V
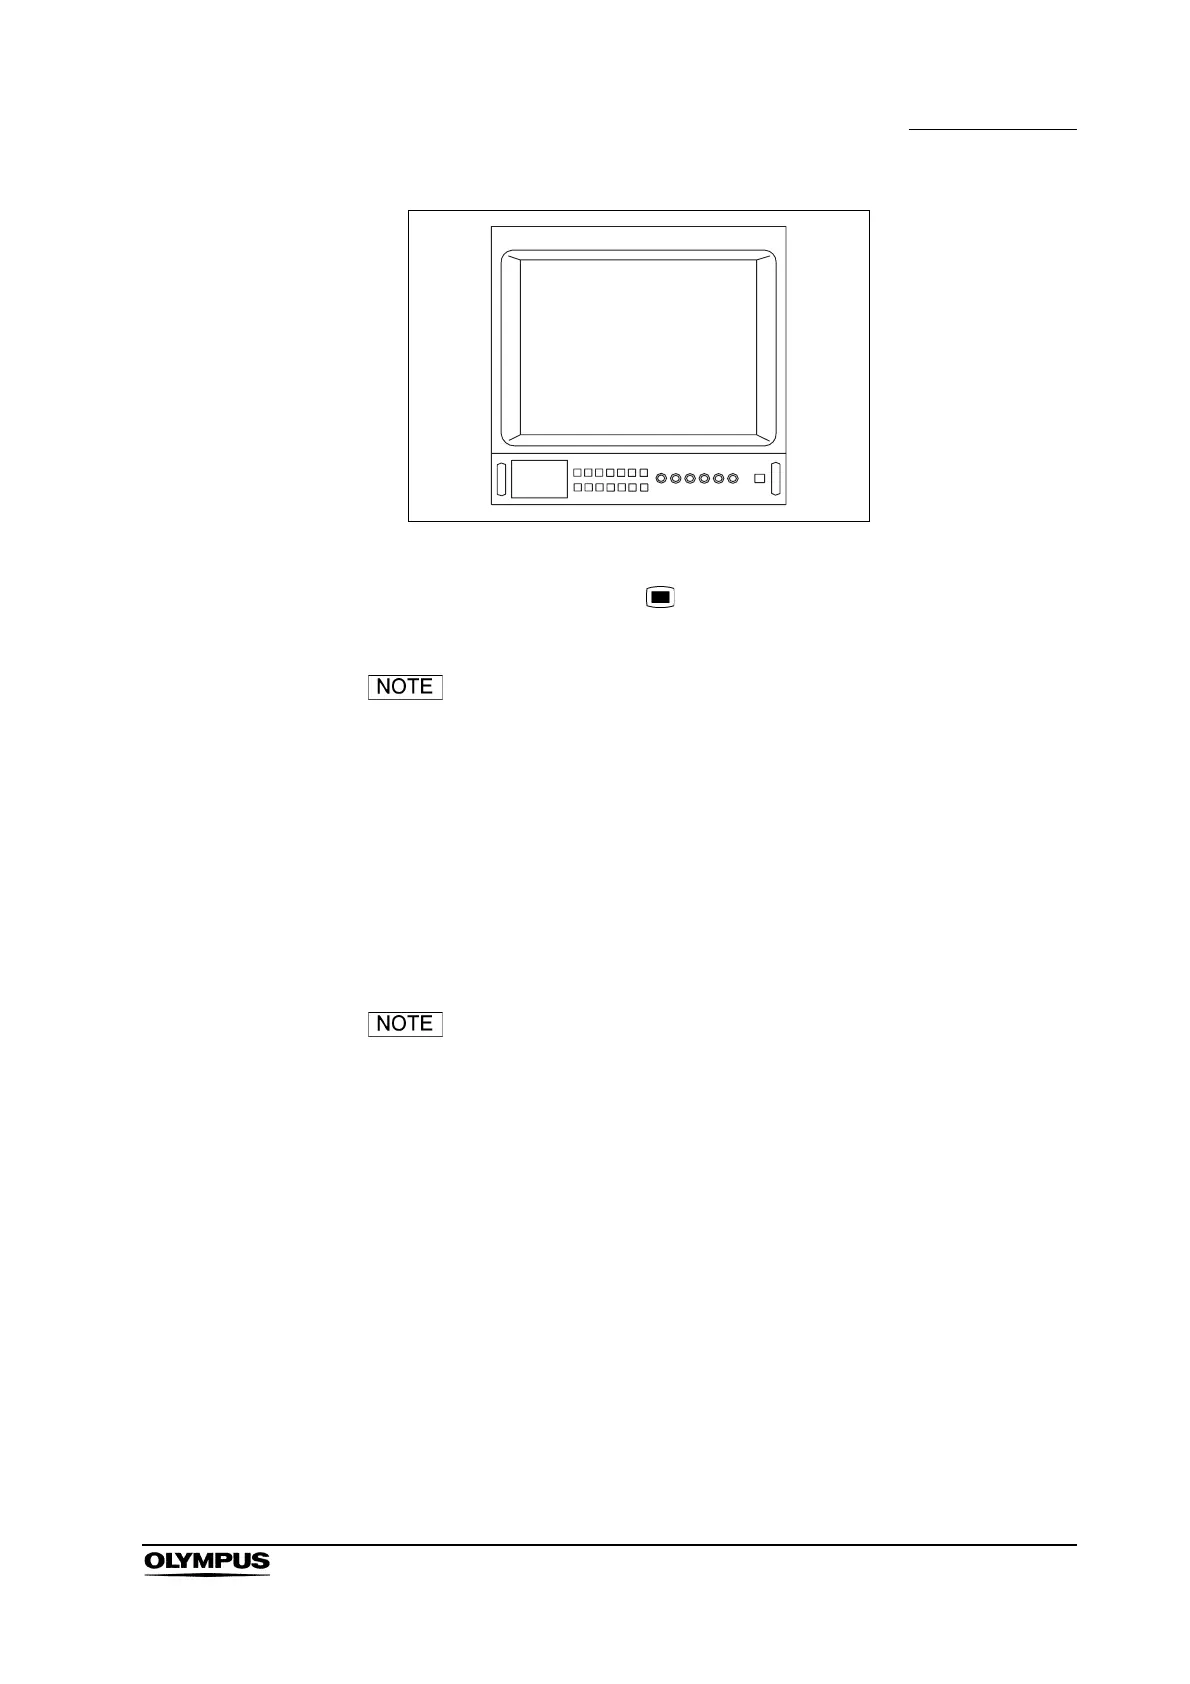
Figure 5.86
8. Depress the menu switch “ ” for approximately 1 second or the “Esc” key
on the keyboard to restore the default settings.
Restored default settings are retained when the power is
turned OFF and the power cord is disconnected.
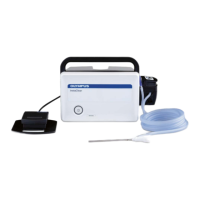
5.20 EVIS monitor photo unit SCV-3 (not available in
some countries)
The image can be released by pressing a remote control switch or a key on the
keyboard (optional).
• When controlling the image directly from the SCV-3, refer to
the SCV-3’s instruction manual.
• To obtain sharp photographs without blurring, keep the
endoscope stationary when pressing the remote control
switch.
• To ensure consistent exposure, wait one second in between
photographs before pressing the remote control switches
again.
• When you would like to have remote control over the SCV-3
and Memory Card (types B, C and F only) at the same time,
set the remote control switch or “F4” key on the keyboard to
“REL.+DIG. CAP.”.
[PRESET]
SAVE >>
LOAD >>
DEFAULT SETTING >>
COMPLETE.
 Loading...