36
Chapter 3 Installation and Connection
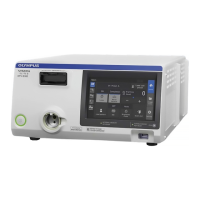
VISERA VIDEO SYSTEM CENTER OTV-S7V
3.5 Connection to a digital video recorder (types B,
C, D, F only; see Section 2.5)
1. Turn the OTV-S7V and digital video recorder OFF.
2. Connect the digital video recorder’s power cord to the isolation transformer.
3. Connect the isolation transformer’s power cord to a wall mains outlet.
4. Connect the digital video recorder as shown in Figure 3.7.
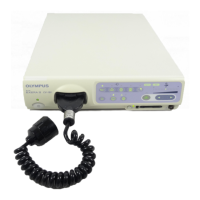
• The following digital video recorders are compatible with the
OTV-S7V.
DSR-20MD (NTSC), DSR-20MDP (PAL)
• For details of connecting the video monitor and the OTV-S7V,
refer to Section 3.3, “Connection to a video monitor”.
Figure 3.7
OTV-S7V
IEEE1394 cable
To digital video recorder’s
DV terminal
To video monitor
To wall mains outlet

 Loading...

