Chapter 3 Installation and Connection
43
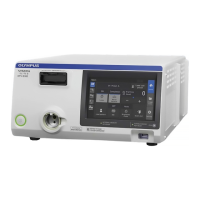
VISERA VIDEO SYSTEM CENTER OTV-S7V
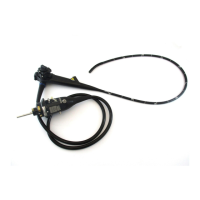
3.9 Connection to a camera head or videoscope
• Never excessively bend, pull, twist, coil, squeeze or apply a
crushing force to the camera cable. The camera cable could
become damaged.
• Make sure that the video plug and its electrical contacts are
completely dry before connecting the plug to the OTV-S7V.
Wet equipment could cause the image to flicker or disappear.
Do not connect or disconnect the video plug while the
OTV-S7V is ON. Doing so may damage the electrical circuits
inside the camera head or cause this equipment damage
and/or malfunction.
Connecting
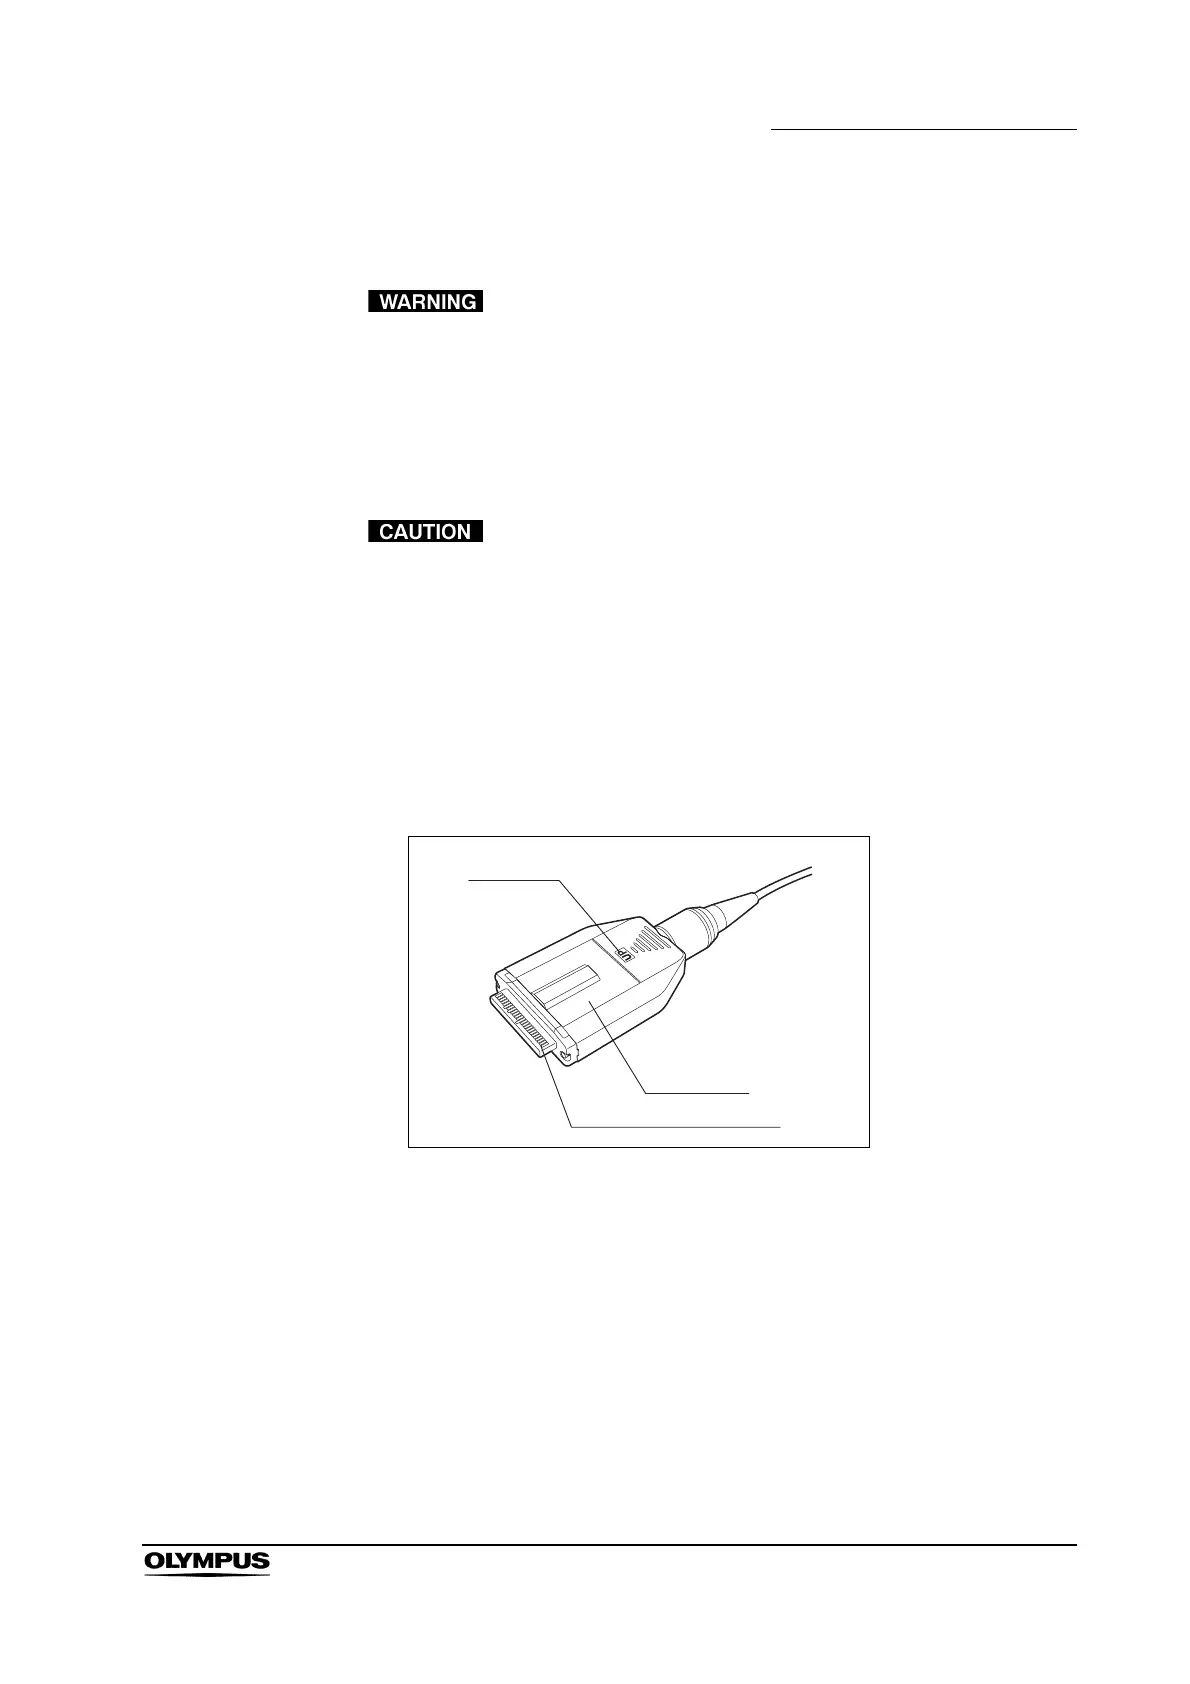
1. Confirm that the video plug and its electrical contacts are dry (see Figure
3.13). If the equipment is wet, wipe it dry with a clean, lint-free cloth.
Figure 3.13
2. Turn the OTV-S7V OFF.
3. Hold the video plug so that the UP mark is facing upward (see Figures 3.13
and 3.14).
4. Hold the OTV-S7V stationary with one hand. With the other hand, push the
video plug into the video connector socket until it clicks (see Figure 3.14).
Video plug
UP mark
Electrical contacts
 Loading...