Chapter 7 Troubleshooting
193
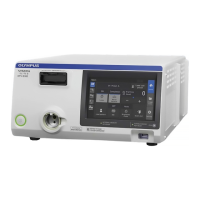
VISERA VIDEO SYSTEM CENTER OTV-S7V
7.3 Returning the instrument for repair
Olympus is not liable for any injury or damage which occurs
as a result of repairs attempted by non-Olympus personnel.
Before returning the instrument for repair, contact Olympus. With the instrument
include a description of the instrument malfunction or damage, and the name
and telephone number of the individual at your location who is most familiar with
the problem. Also include a repair purchase order.
PUSH L.S. SWITCH! When the “ELEC.
SHUTTER” function is set
to “OFF”, press the
exposure level switches,
the remote control switch
that is set to
“EXPOSURE
” or
“EXPOSURE
”, or the
“Shift” key and “
///”
key on the keyboard at the
same time. (when using the
camera head, LTF-V3 or
A500**A series)
1. The “ELEC. SHUTTER”
function is set to “ON”.
2. Adjust the brightness
using the light source.
Press the exposure level
switches, the remote
control switch that is set to
“EXPOSURE
” or
“EXPOSURE
”, or the
“Shift” key and “
///”
key on the keyboard at the
same time. (when using the
ENF-V, CYF-V/VA or
HYF-V)
Adjust the brightness using
the light source.
 Loading...