Hunter-Pro Series Captain 8 - Installation Guide
24
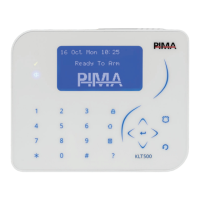
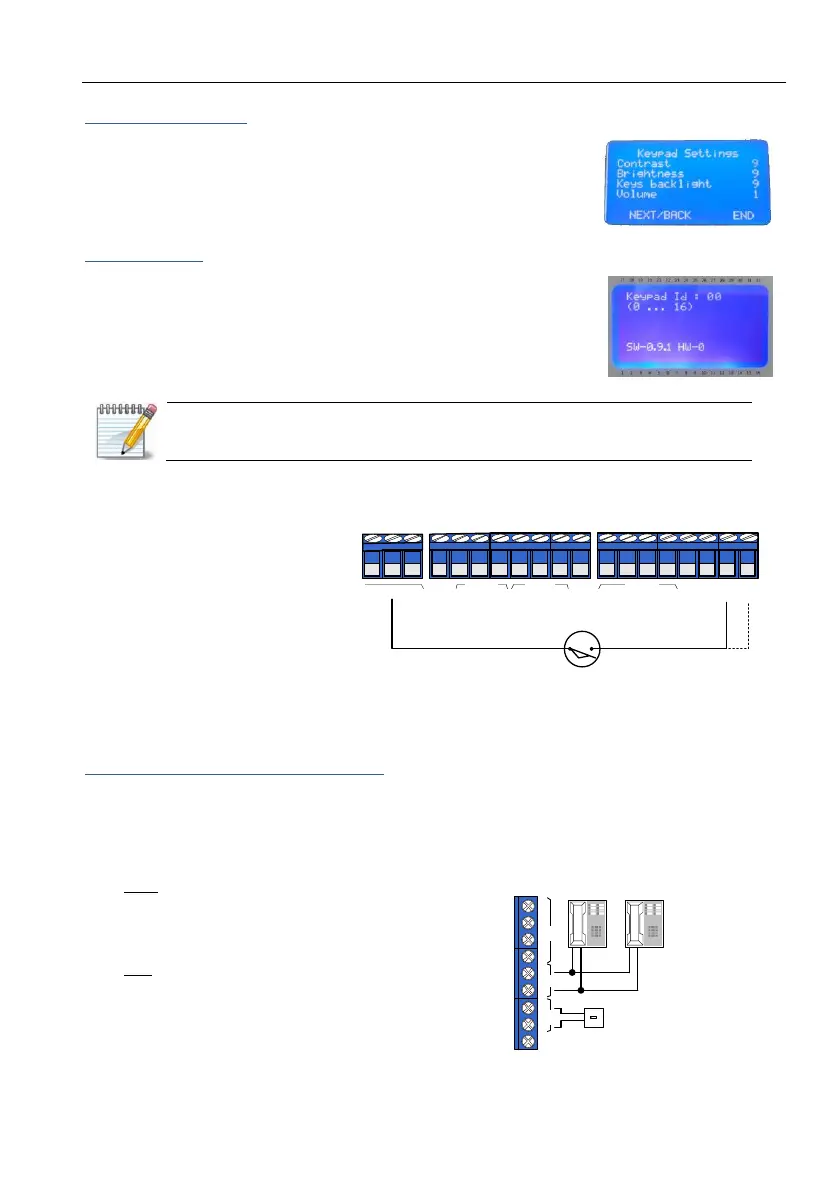
The keypad settings
To access the keypad settings screen press and hold the BACK key.
The settings are Contrast, Brightness, Keys backlight, and Volume.
To change a setting, press the NEXT/BACK keys and enter a number
between 0 and 9. Press END to exit.
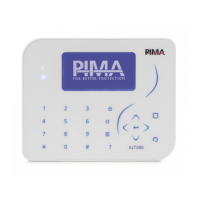
The keypad ID
To change the keypad ID, press and hold the ENTER and hash (#)
keys and enter a number between 00 and 08. Press END
to exit.
To add your logo on the main screen, refer to the COMAX (version 3.39 and
higher) installation guide (P/N 4410053).
1.5.19. TMPR1/TMPR2
Connect tamper switches
between the TMPR1/TMPR2
terminals and GND (-) see the
next diagram.
The tamper switch of the control
panel box is connected to TMPR1
terminal. TMPR2 input can be
programmed to serve as additional
zone (#9) see next sub-section.
Diagram 22. Tamper switches wiring
To supervise the TMPR inputs with EOL loops, refer to section 8.1, on page 62.
TMPR2 input as additional zone input
This feature can only be used if no expander is connected to the panel. It is set in first screen of
the “General Parameters”. See page 62.
1.5.20. Telephone LINE/SET
LINE: connect a telephone line directly to
the LINE terminals. This will give the
control panel priority when initiating a
phone call.
SET: connect telephone sets, answering
machine, etc., to the SET terminals.
When the control panel initiates a phone
call (or receives one), these terminals are
temporarily disconnected.
Diagram 23. Telephone LINE/SET wiring
Tamper switch
Control Panel
TMPR
2
TMPR
1
ON
/
OFF
ALRM
Z
8
-
+
KEY
-
Int
C
S
moke
RELAY
SIRENS
KEYPAD
Ext
N
.
O
-
-
+
IN
OUT
1
2
3
4
N
.
C
Telephone line
Telephone/Fax
C
O
N
T
I
N
O
U
T
L
I
N
S
E
T
A
U
D
I
O
A
G
N
D
E
G
N
D
E
 Loading...