Printer Controller Service Mode
Bit Switch Programming
1. Enter the sp mode, select “Service Menu”, then press [Enter] twice.
2. Select #1, #2, #3, or #4 for the desired bit switch, then press [Enter].
• [] []: Move to the next switch.
3. Adjust the bit switch using the following keys.
• [] []: Move to the next bit.
• [Escape]: Exit without saving changes.
• [Enter]: Exit and save changes.
• The left digit on the display is bit 7 and the right digit is bit 0.
4. Press [Enter] to save changes and exit.
Service Mode Menu ("1. Service Menu")
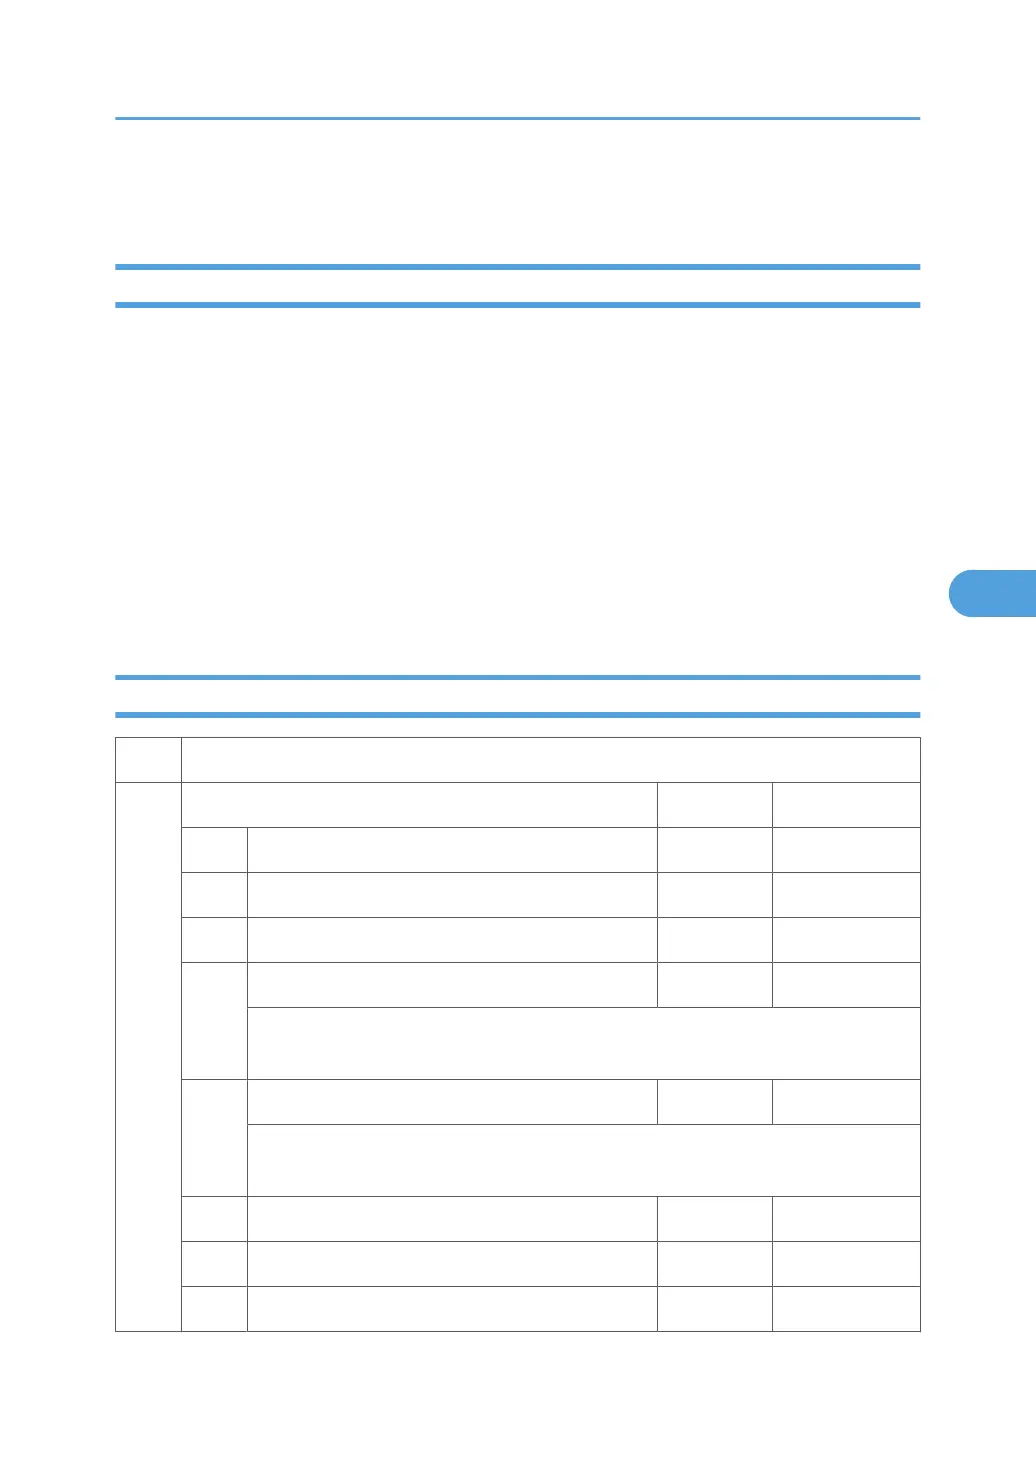
1001 Bit Switch
001 Bit Switch 1 0 1
bit 0 DFU - -
bit 1 DFU - -
bit 2 DFU - -
bit 3 No I/O Timeout 0: Disable 1: Enable
Enables/Disables MFP I/O Timeouts. Enabled: The MFP I/O Timeout setting will have
no affect. I/O Timeouts will never occur.
bit 4 SD Card Save Mode 0: Disable 1: Enable
Enabled: Print jobs will be saved to an SD Card in the GW SD slot (* “Card Save
Function” in the service tables of Field Service Manual).
bit 5 DFU - -
bit 6 DFU - -
bit 7 [RPCS,PCL]: Printable area frame border 0: Disable 1: Enable
Printer Controller Service Mode
83
 Loading...