Section 3
SERVICE Menu
3-1. Outline of SERVICE Menu
3-1-1. Basic Menu Operations
Press the MENU button to enter the menu mode. Press the PICTURE PROFILE button, the MENU button, or the
STATUS button while the menu is displayed to close the menu display. The menu display is closed when the power is
turned off.
Activating the Menu Mode
1. Press the MENU button.
The system enters the menu mode. For displaying the SERVICE menu, refer to “3-1-3. Display/Hide the SERVICE
Menu” of this manual.
2. Set the cursor to the item you want to set with the joystick and press the SEL/SET button.
The same setting is also enabled by MENU, CANCEL, and SEL/SET on the inside panel.
Exiting the Menu Mode
1. Press the MENU button again.
The system exits the menu mode to return to the normal camera mode.
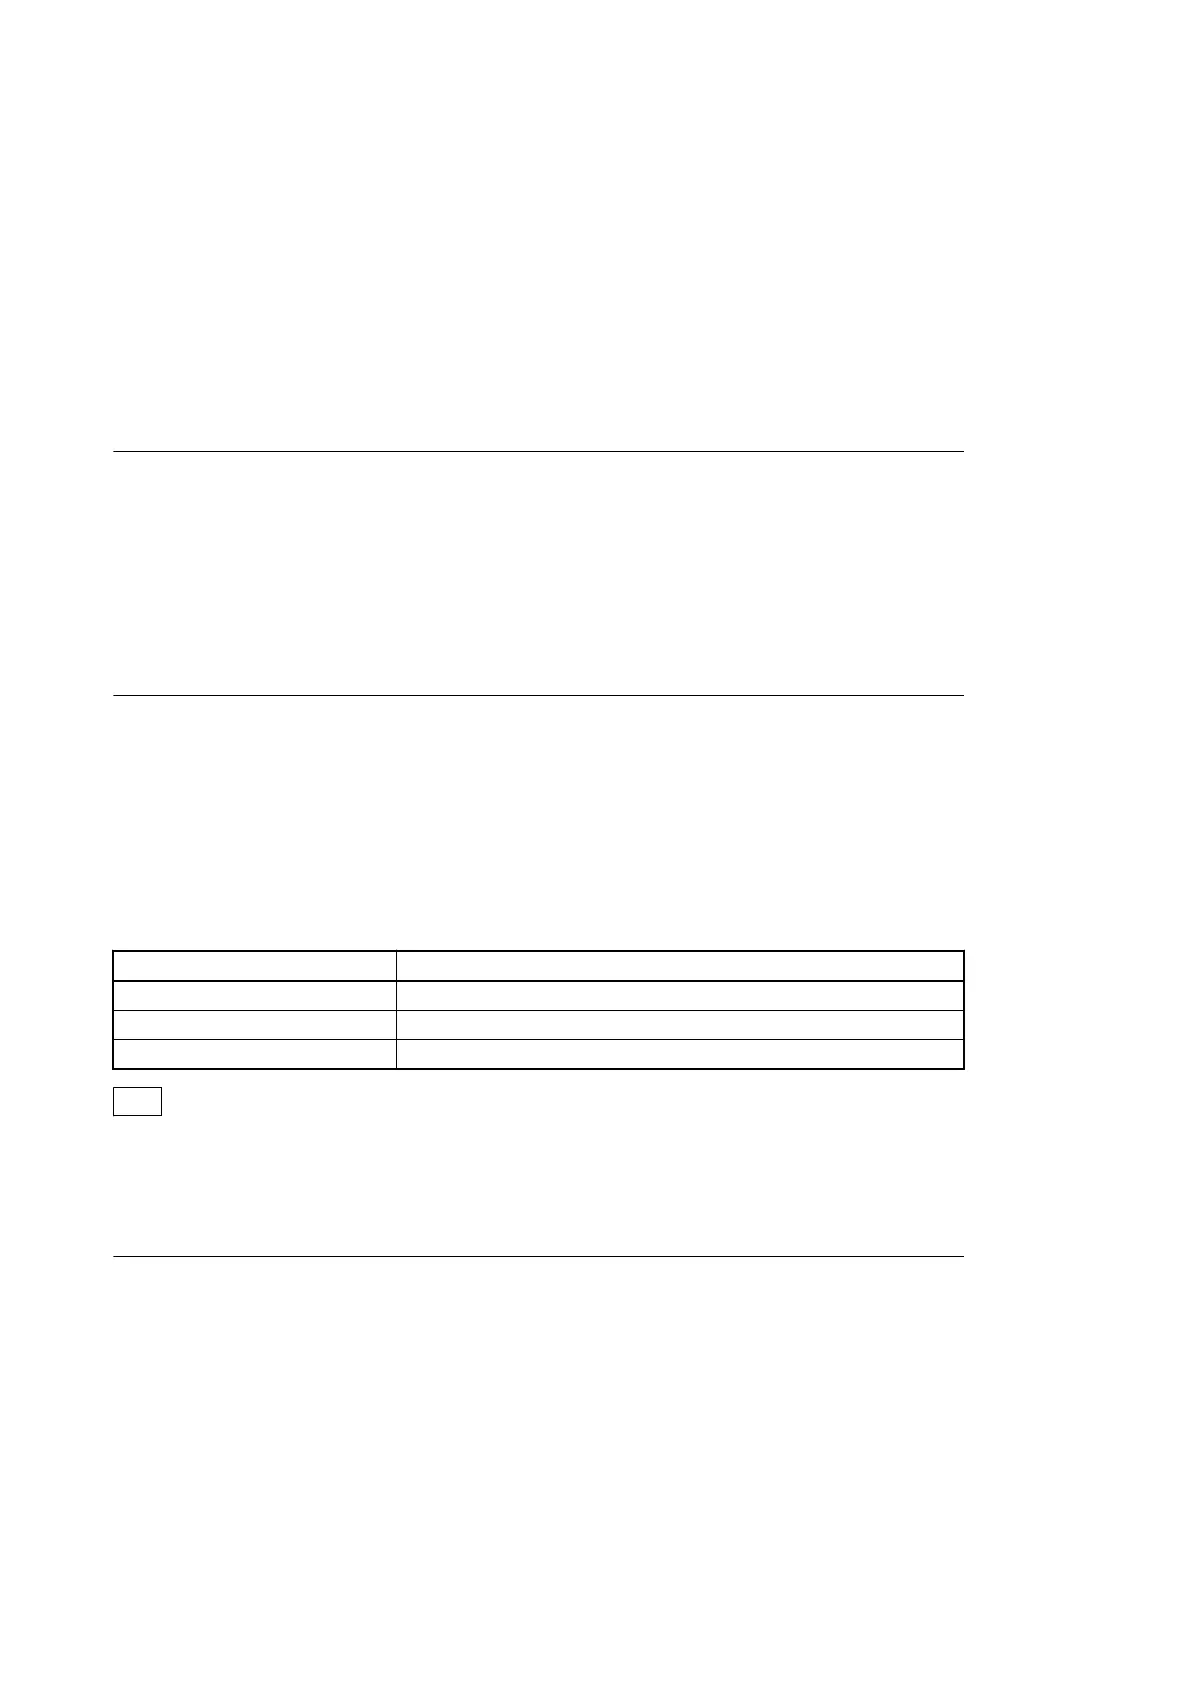
3-1-2. SERVICE Menu Structure
The SERVICE menu consists of the seven ordinary setup menus and the following three dedicated SERVICE menus.
Menu name Description
MAINTENANCE Adjustment of parameters
RPN CORRECT Operations regarding the RPN correction
INFORMATION Display of information on this unit and self-diagnosis
Tip
The MAINTENANCE menu and the RPN CORRECT menu are available while a camera image is being displayed.
3-1-3. Display/Hide the SERVICE Menu
To Display the SERVICE Menu
1. Set the GAIN switch on the side operation panel to the "H" position.
2. Set the SHUTTER switch on the side operation panel to the "ON" position.
3. Set the IN/OUT (input/output switching) switch in the rear connector section to "IN."
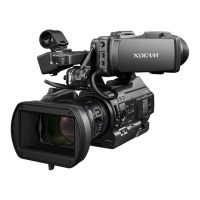
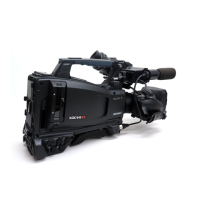
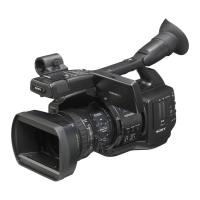
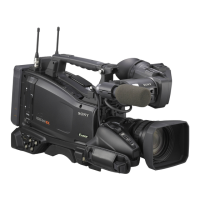
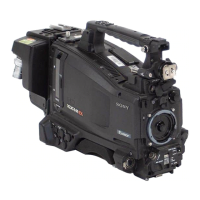
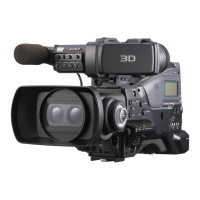
PMW-300
3-1

 Loading...