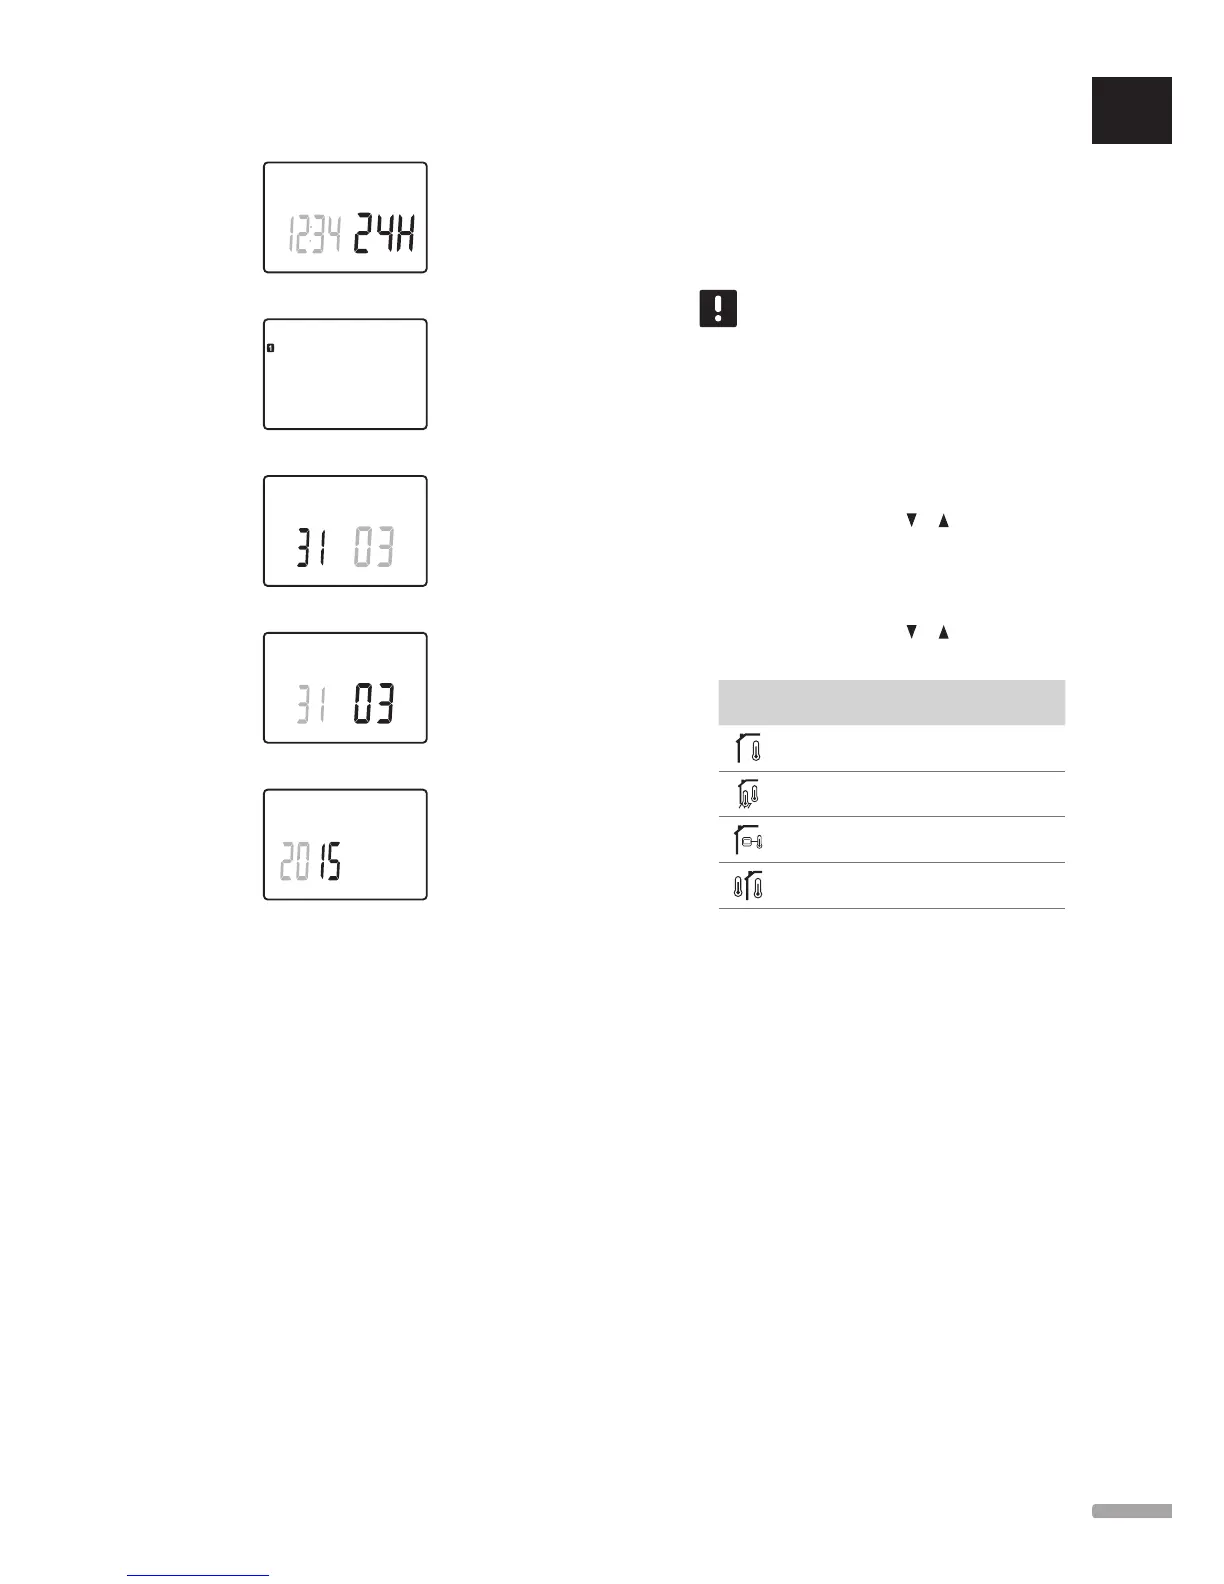
3. Set 12 h or 24 h display of time.
4. Set day of the week (1 = Monday, 7 = Sunday).
5. Set day of the month.
6. Set month.
7. Set year.
8. Press OK to return to run mode.
Date and time can also be set in the settings menu.
6.10 First setup of digital thermostats
If an external sensor is connected to the thermostat,
a control mode must be selected to accommodate the
extra functionality of the sensor.
NOTE!
If no button is pressed for about 8 seconds,
while in a submenu, the current values will be
saved and the software exits to the settings
menu. About about 60 seconds later, it exits
to run mode.
1. Press and hold the OK button until the settings
icon and menu numbers is displayed in the top right
corner of the display (about 3 seconds).
2. Use buttons - or + (T-149 = or ) to change the
numbers to 04 and press OK.
3. Current control mode is displayed (RT, RFT, RS or
RO).
4. Use buttons - or + (T-149 = or ) to change
control mode (see list below) and press OK.
T-149
T-146/
T-148 Description
RT Room temperature
RFT Room temperature with external
floor sensor
RS Remote sensor
RO Room temperature with remote
outdoor sensor
5. Press and hold the OK button for about 3 seconds
to exit the settings menu.
 Loading...