Vertiv | SmartAisle2 | User Manual 13
Installation
Chapter 2: Installation
In this section, information about installation tools, transportation, unpacking, inspection, installation constraints
and procedures will be explained in depth to enable users to get a grip with the process.
• The SmartAisle2 product is on the heavier side and there is a risk of severe injury if not handled properly.
• Read all the instructions carefully prior to unpacking, shifting, or installing the unit.
• Wear sturdy safety helmets, gloves, shoes, and glasses while handling the equipment due to sharp edges,
objects, and buckles.
• Prior to moving the equipment such as cabinets, air conditioning, or the distribution utility, measure the
doorways, freight height, or the freight elevators to avoid damage to the stu or the building.
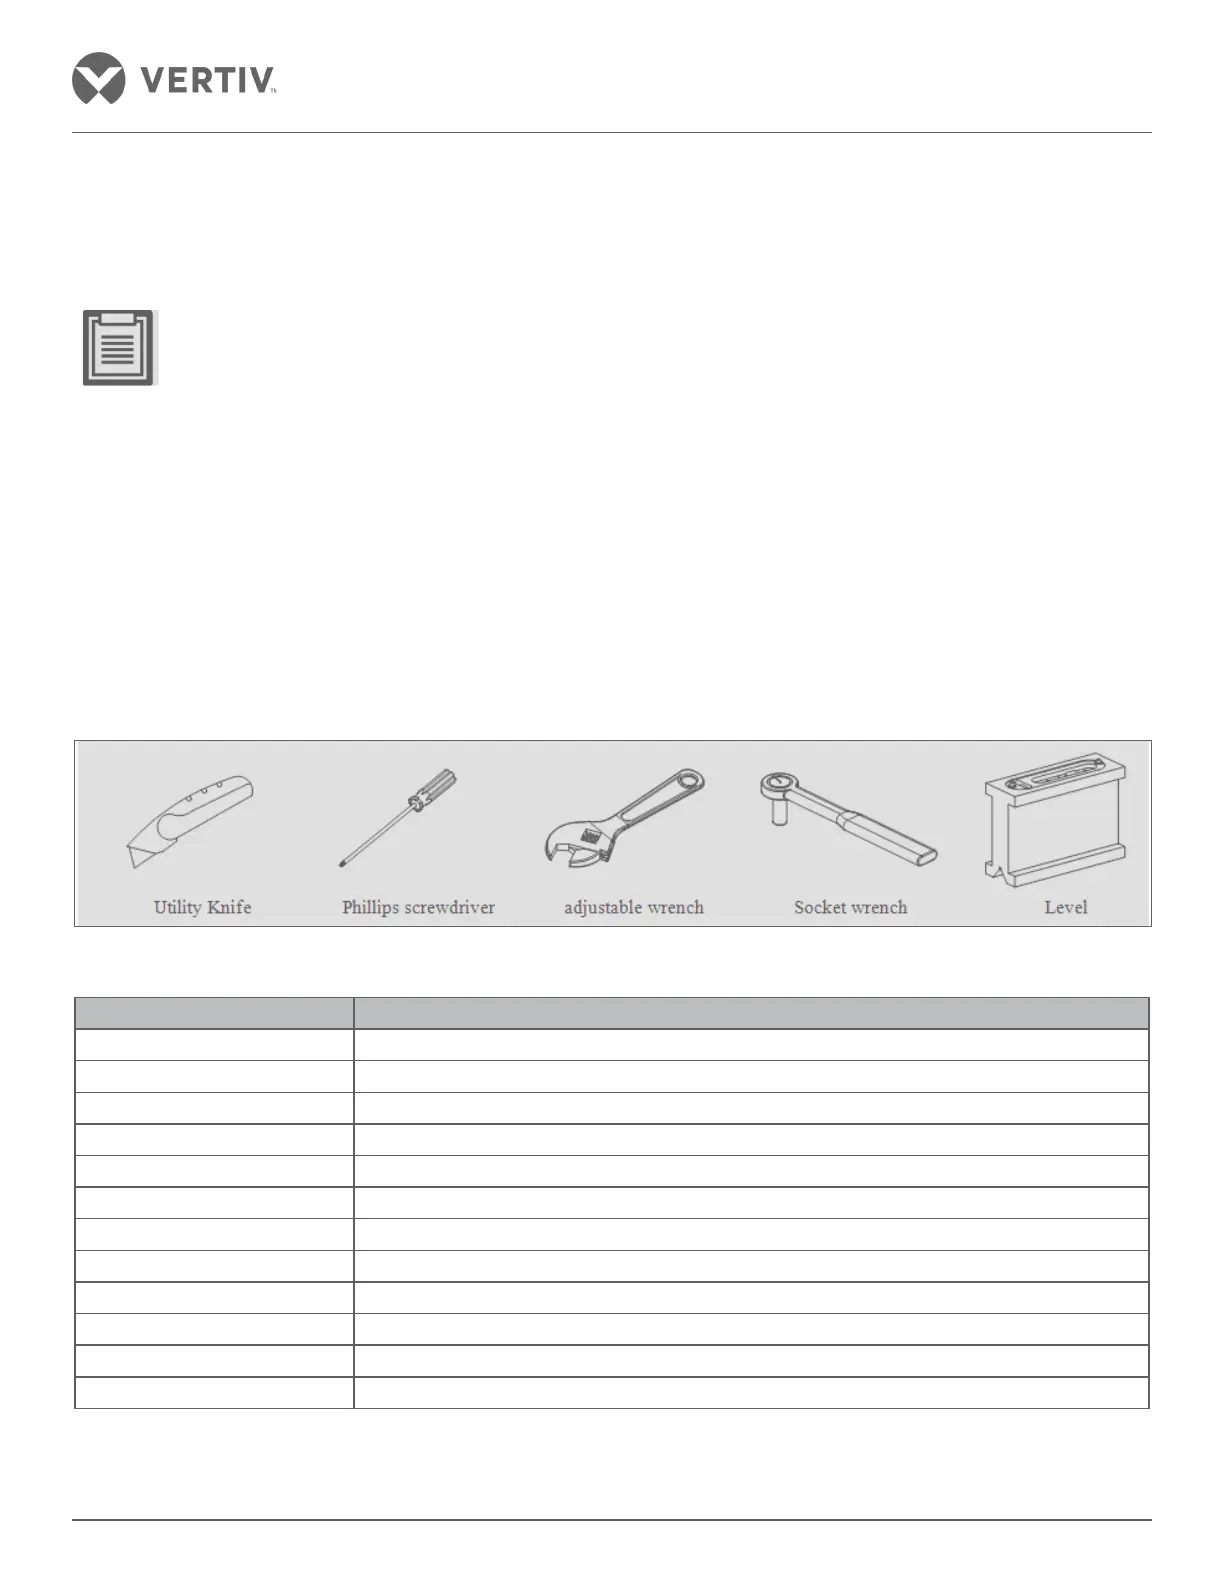
2.1. Installation Tools
Figure 2-1 shows the pictorial depiction of some of the generic installation tools and Table 2-1 describes the use
of these tools.
Figure 2-1 Generic Installation Tools
Table 2-1 Installation Tools
Name Use
Utility Knife Removing all kinds of packaging equipment
Phillips screwdriver Tighten the screws when mounting the components
Small flat-blade screwdriver Install low-voltage terminal devices
Adjustable wrench Adjust the various types of equipment feet
Socket wrench Tighten the nut when installing the components
Level Horizontal leveling control display
L Allen key Hex bolts mounting the top plate
Line laser Vertical projection, the level of the laser beam, vertical-horizontal adjustment device
Drill Install the door frame on the ground
Rubber hammer Structural parts mounting position fine adjustment tap
Pliers Cutting the top plate rib hole modulus
Ladder Equipment installation height
 Loading...