Basic Features - Fax/Internet Fax
Xerox CopyCentre/WorkCentre/WorkCentre Pro 123/128 User Guide 85
1. Press the <All Services> button
on the control panel.
2. Select [Fax/Internet Fax] on the
touch screen.
3. Select the required option.
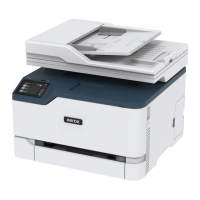
Internet Fax
Use this feature to switch transmission modes between the regular fax and the Internet
Fax.
1. Select the [Internet Fax] check
box on the [Basic Features]
screen. Select the check box
again to revert to the regular fax
mode.
Select this check box to transmit scanned images to fax machines over the Internet.
The scanned images are transmitted as e-mail attachments. When using [Internet Fax],
enter the e-mail address of the remote destination.
You can send an Internet Fax to a confidential mailbox on a remote machine, an
Internet Fax-capable relay station for broadcasting to regular fax machines, or forward
a faxed document stored in the machine’s mailbox as e-mail using a job flow sheet. For
more information, Refer to [Mailbox] Screen on page 102, Internet Fax on page 81, or
Document List in the Check Mailbox chapter on page 132, respectively.
NOTE: The following features are not available for Internet Fax transmissions:
[Priority Send/ Delayed Start]/[Send Header]/[Cover Note]/[Recipient Print Sets]/[Store
for Polling]/ [Private Mailbox]/[Remote Mailbox]. You can use the F Code feature by
specifying the F Code directly in the Internet Fax destination address. For more
information on F Code, refer to F Code on page 98.
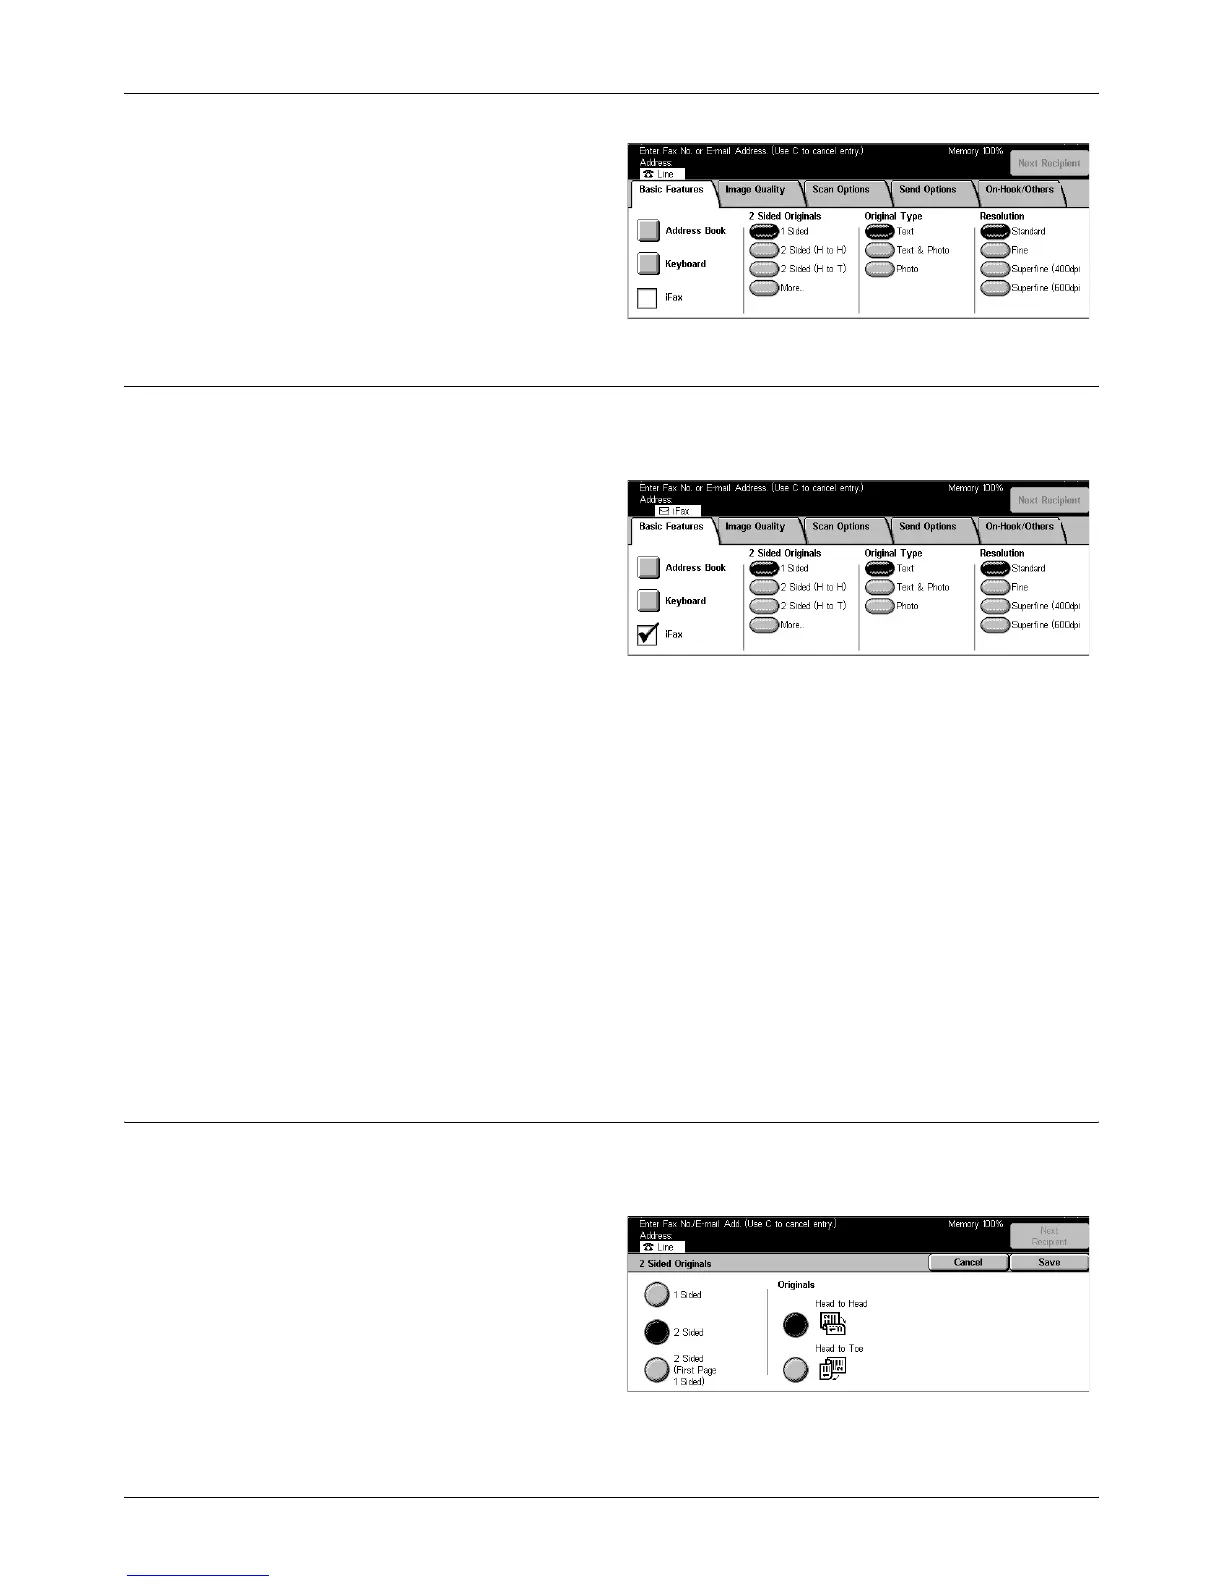
2 Sided Originals
Use this feature to specify whether the documents are single-sided or double-sided,
and how documents are to be positioned.
1. Select [2 Sided Originals] on the
[Basic Features] screen.
2. Select the required option.
3. Select [Save].
1 Sided

 Loading...