Introduction of E-Cam Operation ASDA Series Application Note
2-32 March, 2015
PL
Printing range
Synchronous area
The moving direction of
the product
Figure 2.46 Synchronous Area Setting of E-Cam Curve for Rotary Shear- Printer Machine
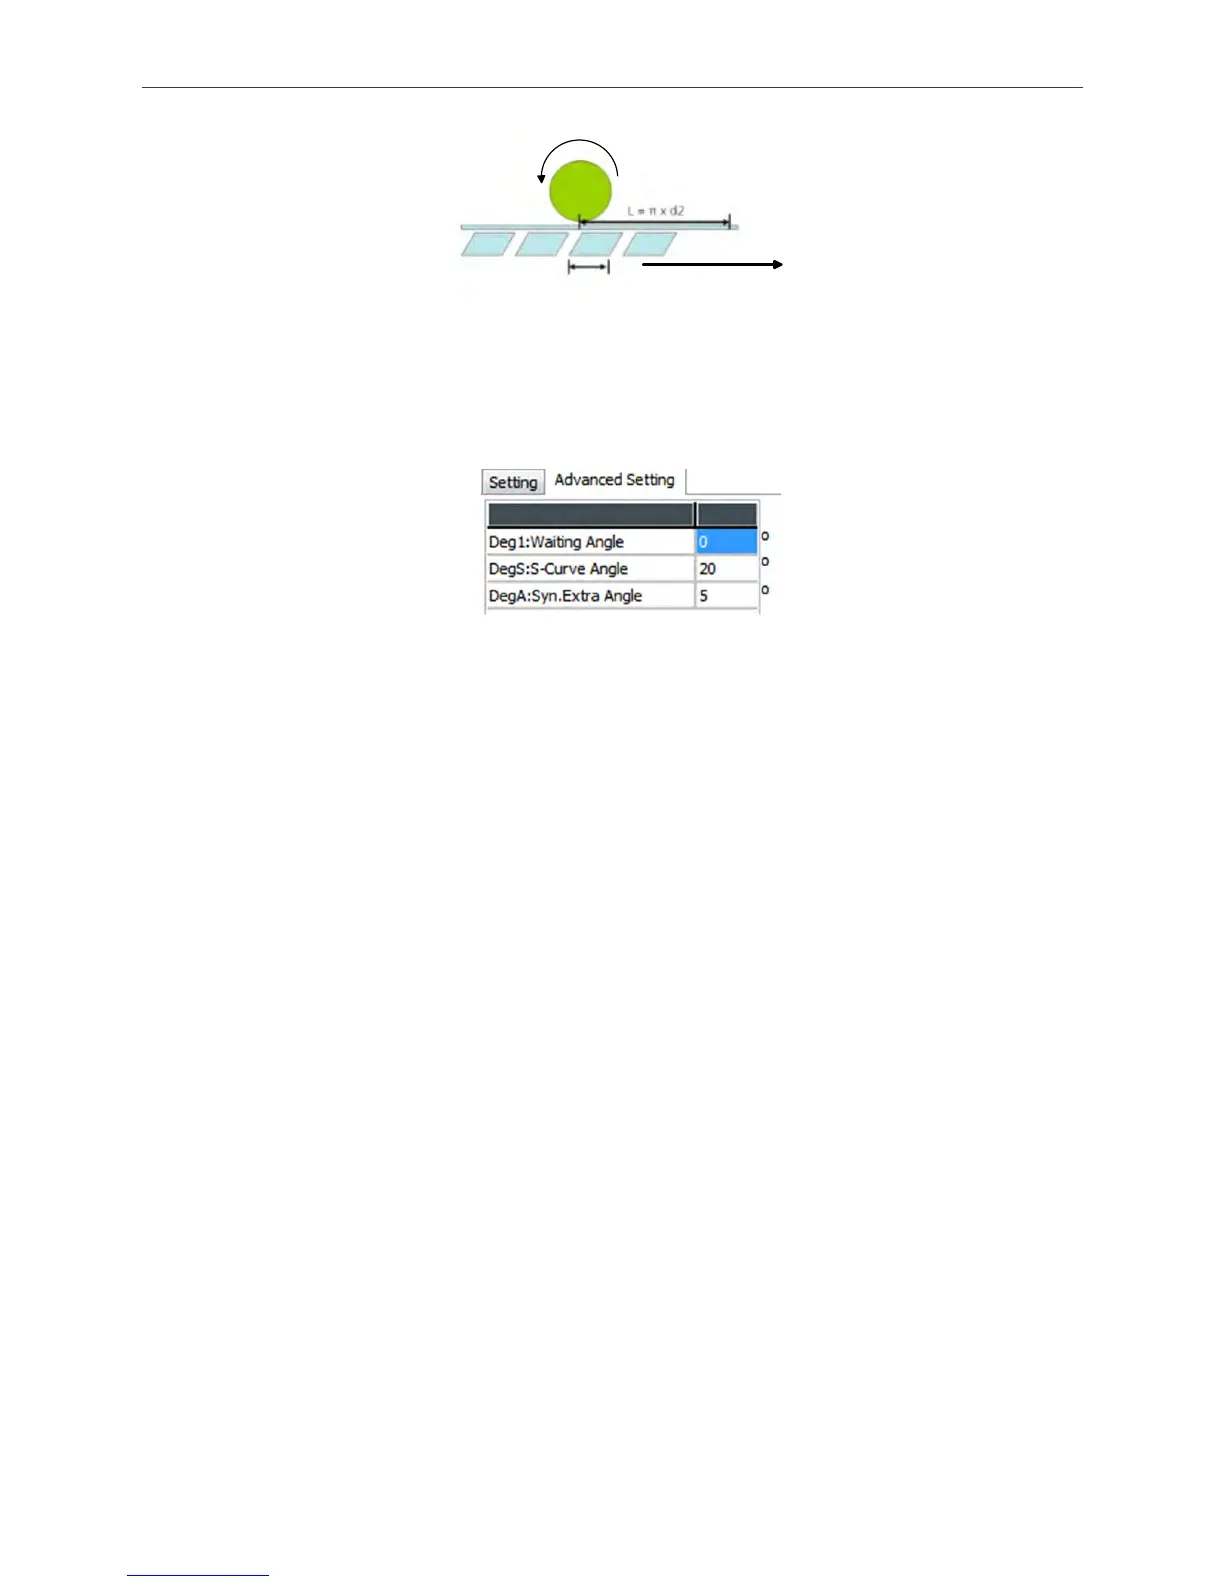
If the curve needs to be fine adjusted, users can adjust the degree of Waiting Angle, S-Curve
Angle, and Syn. Extra Angle in Advanced Setting section of the software.
Figure 2.47 Setup the Degree of E-Cam Curve for Rotary Shear-Printer Machine
To have a stable printing quality, users can extend the range of synchronous speed area.
deg_sync (Angle of synchronous area) = PL / L x 360° + SyncAdd (increase the angle of
synchronous area)
The default setting of waiting area is 0. It is because the acceleration/deceleration curve is
smoother than no one in this status. The bigger value in waiting area, the shorter distance motor
can run in reverse direction and the speed change is greater. It is easier to cause current
overload. When waiting area is set to 0°, if the motor is still overload due to the acceleration or
deceleration, this problem can be solved by reducing the operating speed of master axis or
changing to a more powerful motor.
2.5.2 Using Macro to Create an E-Cam Curve
PR mode on ASDA-A2 provides two ways to create E-Cam curve for rotary shear by macro:
Using Macro 6 to create E-Cam curve for rotary shear with a fixed 51° sealing zone; Using Macro
7 to create E-Cam curve for rotary shear with adjustable sealing zone.
The E-Cam curve created by macro command is the same as that created by ASDA-Soft. The
best thing about using macro command to create E-Cam curve is that the cutting length can be
easily modified by changing parameter setting with HMI or PLC. For those who need to modify
the cutting length, this method can be very useful.
Macro 6 (Rotary shear curve with a fixed 51° sealing zone): If material is changed,
users only need to re-enter the cutting length and determine whether to apply speed
compensation. Steps to set up are shown below:
 Loading...