23 Installation and Service Guide
Installing Hardware
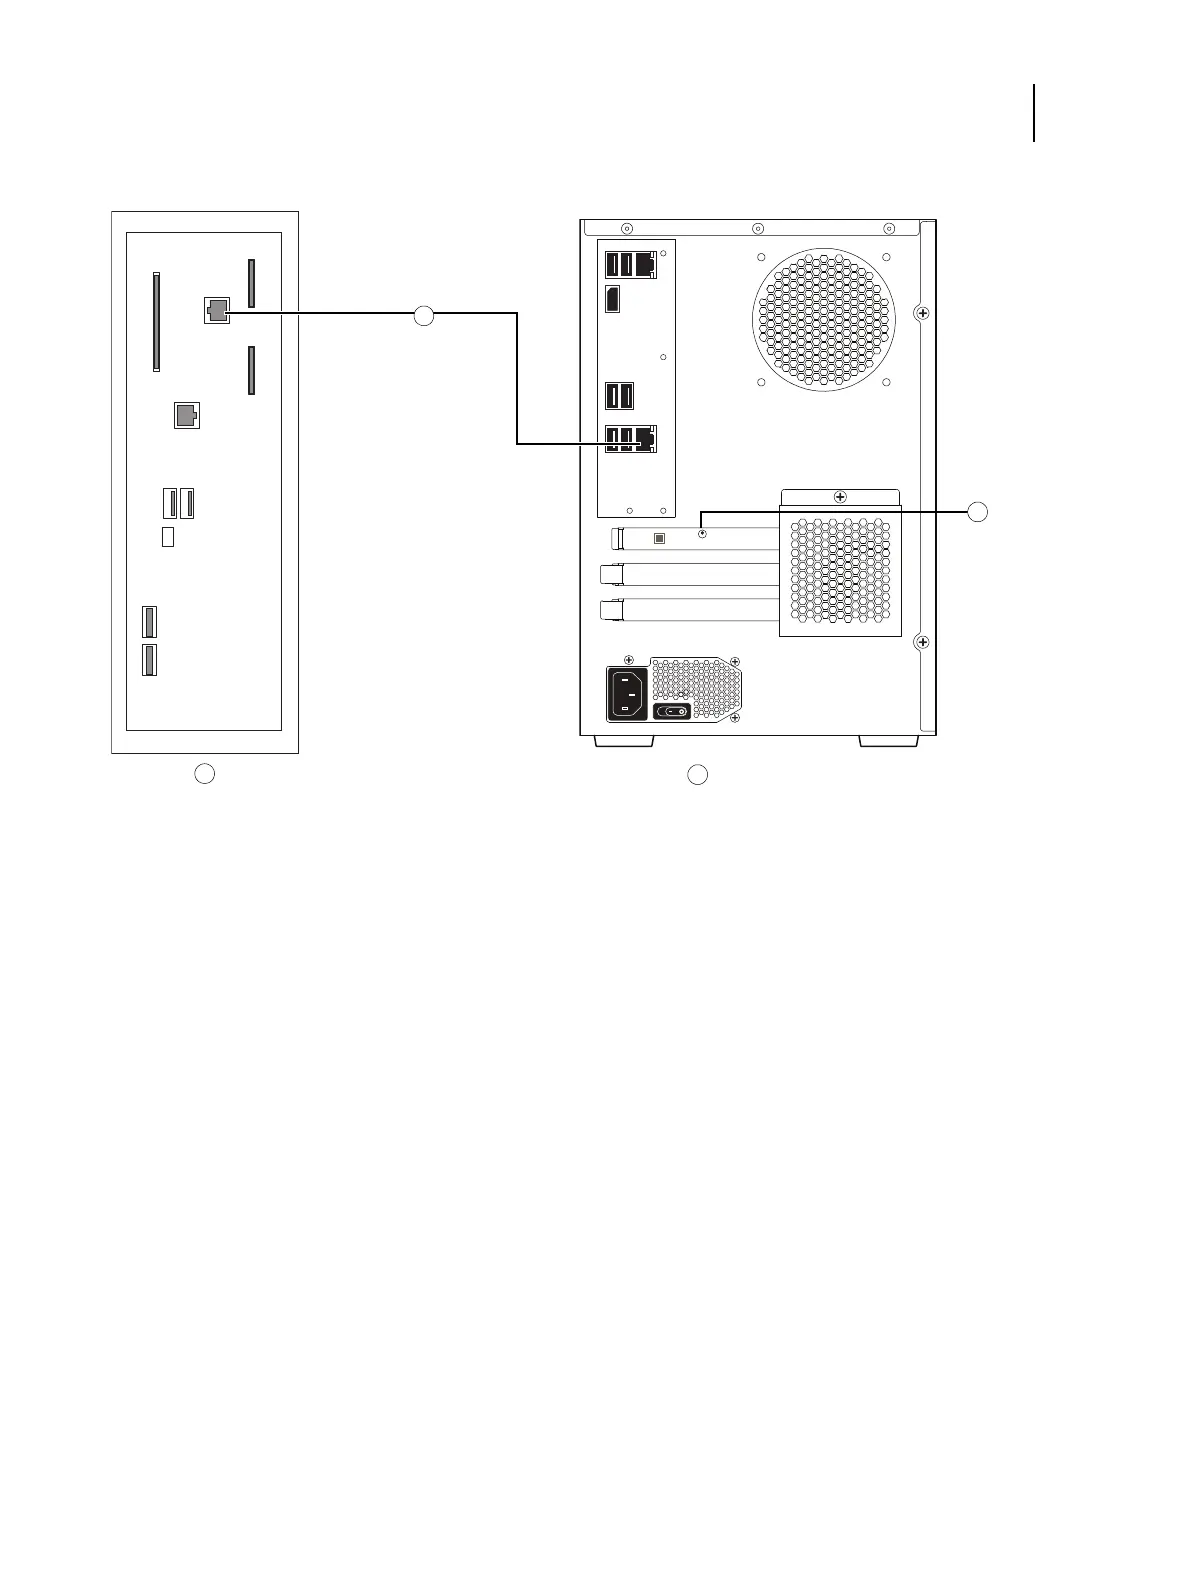
Figure 6: Printer and E-35A cable connection
To connect to the network
1 Make sure that the E-35A is powered off.
2 Make sure that the network cable is connected to the customer site network.
3 Connect the network cable to the Upper RJ-45 network port on the back of the E-35A.
The E-35A provides twisted pair connectivity to an Ethernet network. When the network cable is connected, the
Ethernet interface automatically detects the speed of the network environment. Depending on your network speed,
the following unshielded twisted pair (UTP) network cables are supported:
• 10BaseT: Category 3 or higher
• 100BaseTX: Category 5 or higher (4-pair/8-wire, short-length)
• 1000BaseT: Category 5e or higher (4-pair/8-wire, short-length)
A Printer connector panel B E-35A
1 Printer interface (Crossover Ethernet) cable
connection
2 Power synchronization OFF/ON switch on the printer
interface board.
ON: Right
OFF:Left

 Loading...
