67 Installation and Service Guide
Replacing Parts
DIMM
DIMM (dual in-line memory module) is held in place by a lever at the end of a DIMM slot. The E-35A motherboard
contains two DIMM slots (DIMM-A0 and DIMM-B0, see Figure 31 on page 59). Use the DIMM-A0 slot to install the
first DIMM and DIMM-B0 slot to install the second DIMM.
Note: Approved DIMMs are available from your authorized service/support center.
To replace a DIMM
1 Access and open the E-35A (see page 49).
2 Remove the printer interface board from the motherboard (see page 56).
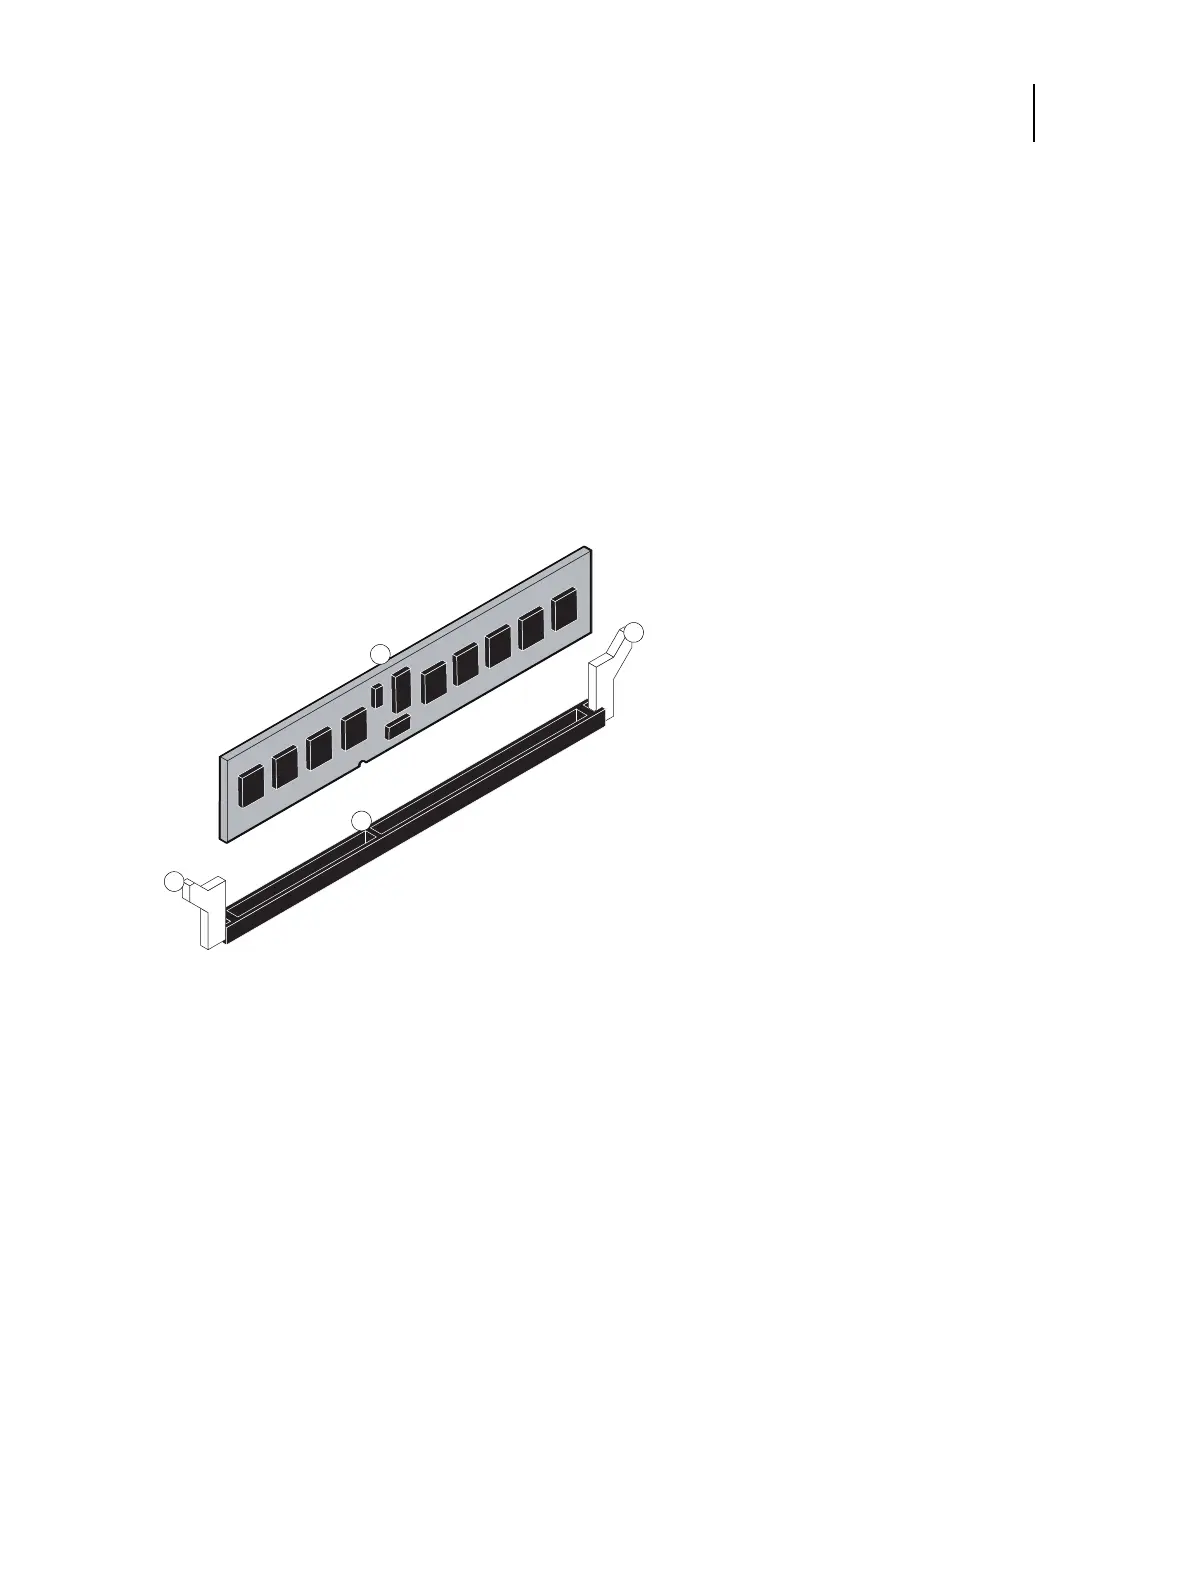
3 To release a DIMM, push outward on the levers on each side of the DIMM (see Figure 32).
Figure 32: Releasing a DIMM
4 Pull the DIMM straight out of the slot.
5 To replace a DIMM, insert the DIMM in the DIMM slot and press the DIMM straight down into the slot, so that
the levers lock the DIMM into place (see Figure 32).
Note: DIMM fits in the slot only one way. The notch on the bottom of the DIMM should line up with the notch in
the slot.
Make sure that the entire length of the DIMM (ends and center) is fully seated in the slot and that the levers close
securely around the ends of the DIMM.
6 If you install a new DIMM, make sure to reset the time and date in Setup (see page 73).
7 Replace the printer interface board (see page 56)
8 Reassemble the E-35A and verify its functionality (see page 82).
1 Lever
2DIMM
3Slot notch

 Loading...
