56 Installation and Service Guide
Replacing Parts
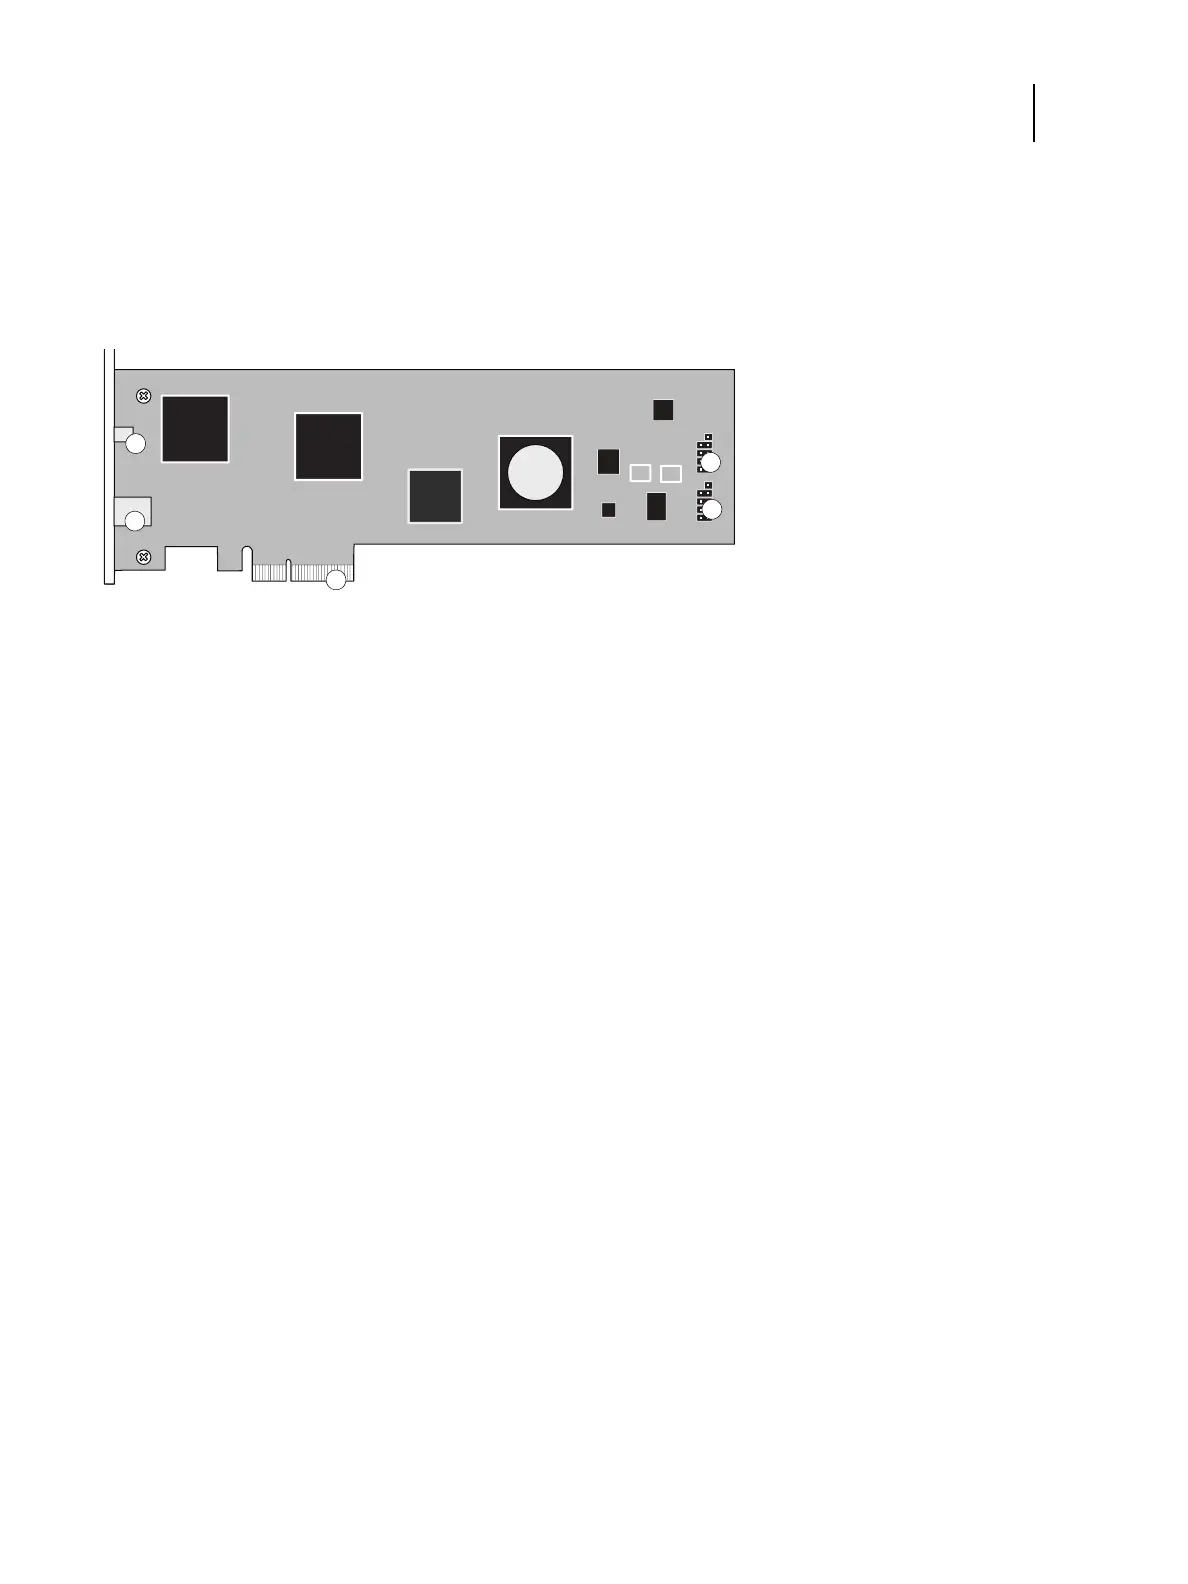
Printer interface board
The printer interface board provides the print interface between the E-35A and the printer. The printer interface
board processes the image data and sends it to the printer through the printer interface cable available on the E-35A
connector panel. It is installed in PCIE x16 slot on the motherboard.
Figure 29: Printer interface board
To remove the printer interface board
When you handle electronic components, follow electrostatic discharge precautions (see page 10).
1 Shut down the E-35A, remove all cables from the connector panel, and open the E-35A (see page 49).
2 Remove the screw that secures the cover mounted at rear side of the chassis (see Figure 21).
Set aside the screw so that you can replace it later.
3 Remove the cover.
4 Remove all internal cables attached to the board.
5 Remove the screws that secures the board’s mounting bracket to the chassis.
Set aside the mounting screw so that you can replace it later.
6 Remove the board from the chassis.
Grasp the printer interface board at the front and back edges and gently pull the board straight out of the PCIE x16
slot on the motherboard and place it in an antistatic bag.
To replace the printer interface board
When you handle electronic components, follow electrostatic discharge precautions (see page 10).
1 OFF/ON switch connector for power synchronization
ON: Right
OFF: Left
4 J102 connector for LED/SW cables from the Fiery
QuickTouch panel
2 Type B USB port connector for power synchronization 5 J103 connector for 10-pin power button cable to
motherboard J11 connector
3 PCIE x16 connector

 Loading...
