FLEX-6000 Signature Series – Maestro User Guide
Page 79
Copyright 2019 FlexRadio Systems. All Rights Reserved.
Note: The MON feature allows for monitoring of the processed audio prior to the final brick wall
filtering and ALC limiting, compression and equalization, allowing the operator to listen to the
transmitted audio in “real time” with minimal latency or delay. However, since the monitor
audio bypasses the signal processing stages, the audio heard in the monitor is not the same as
what is being transmitted and therefore is not suitable for determining the over the air quality
of your transmitted signal.
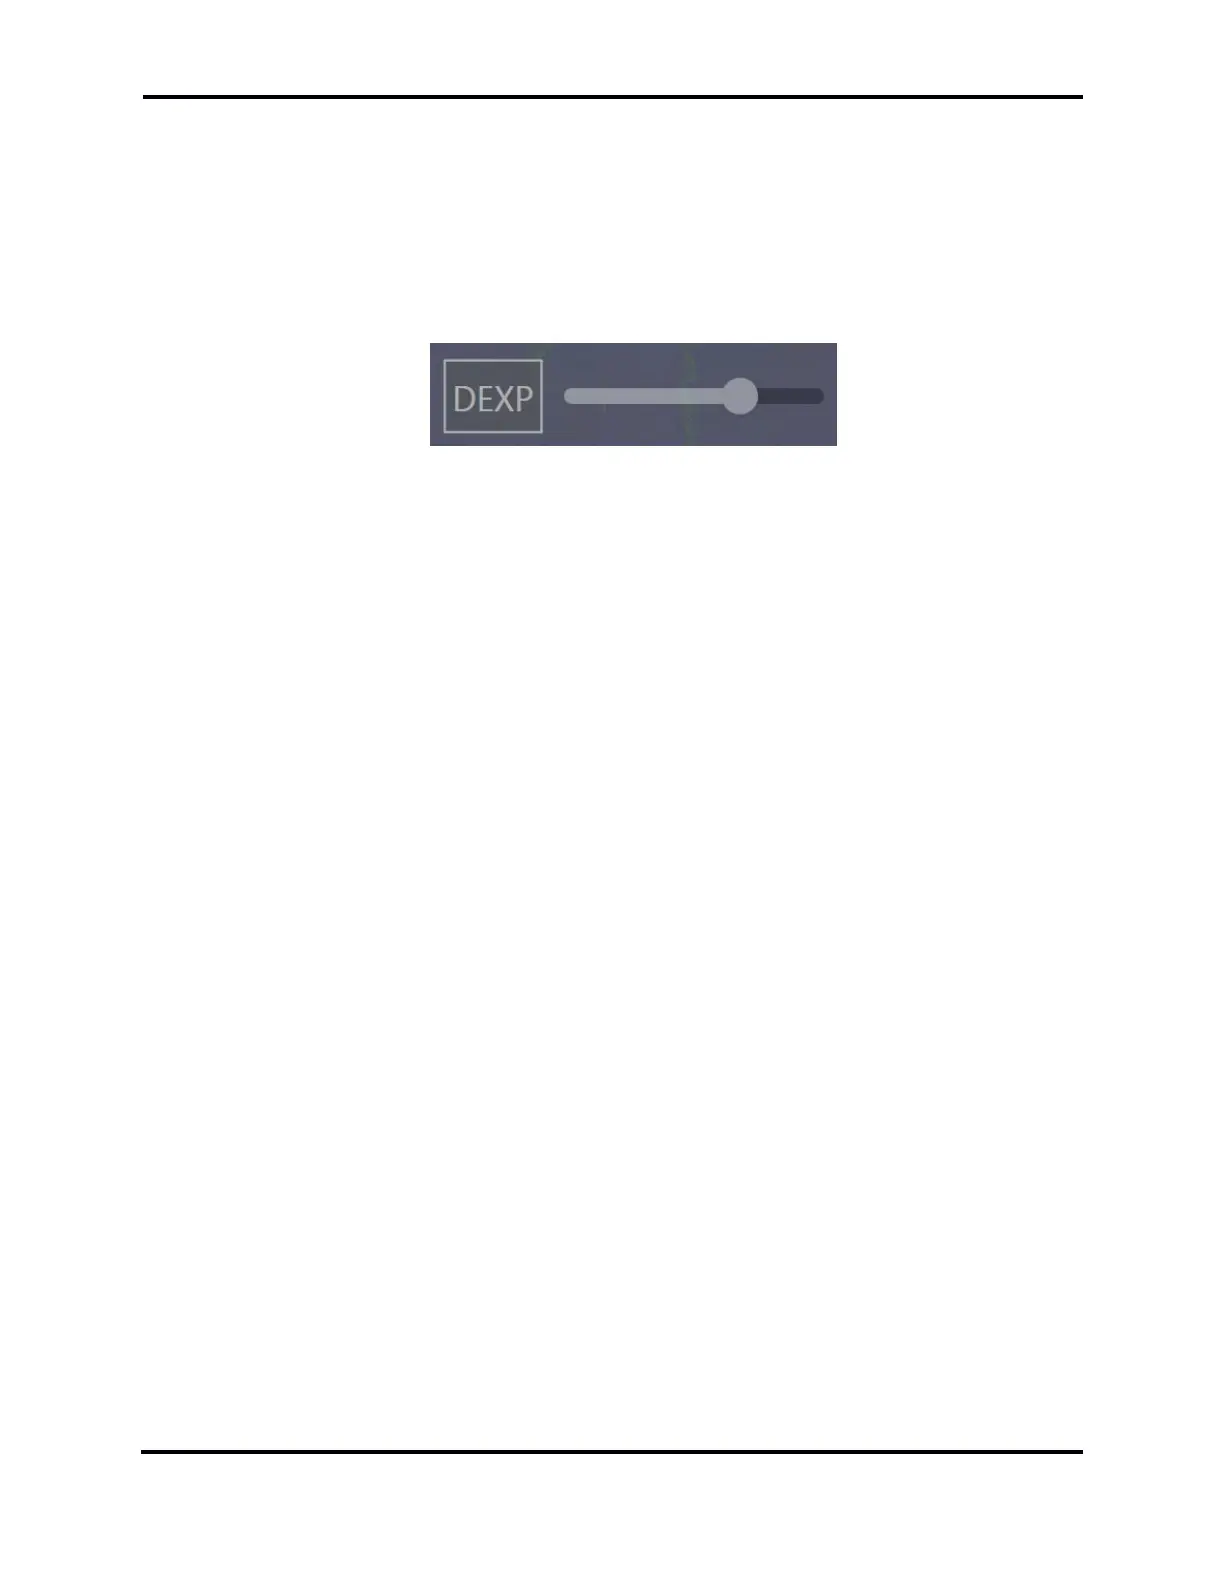
17.4.6 How to Configure the Downward Expander (DEXP)
The Downward Expander controls are found in the TX Menu. The Downward Expander reduces the
microphone input gain during the quiet periods between spoken words, eliminating extraneous
background noise. This improves the apparent signal to noise ratio of your transmitted audio by “soft
gating” ambient room noise between words.
To adjust the Downward Expander, enable DEXP and move the DEXP Threshold slider to 0. While
transmitting and listening with MON without speaking, adjust the DEXP Threshold until you can no
longer hear the background or ambient noise at your operating position. In most cases a DEXP
threshold level of 60-70 should be sufficient.
17.4.7 DAX TX Channel and Microphone Interaction
When the DAX TX channel has been selected to provide audio for the transmitter (DAX button in the
TX Menu), the radio will still accept audio from the selected microphone as long as the DAX TX stream
contains no data. As soon as data appears, the DAX TX channel become the transmitted audio.
This feature is provided to support voice keyer configurations. The user can enable both the DAX TX
channel and a microphone and use the microphone normally as long as the voice keyer program is
not sending a message. When a voice keyer message is desired, the associated program simply plays
the audio into the DAX TX channel and transmitter automatically switches to it, overriding the
microphone.
In a similar fashion, VOX can be triggered from either the DAX TX channel or the selected microphone
audio. If the DAX TX channel information is above the VOX triggering level, DAX will key the radio.
17.5 MONITORING YOUR TRANSMITTED AUDIO
The Quick Record and Playback feature in Maestro can be used to monitor your transmitted audio.
The audio recorded in this manner represents transmitted audio using all of the enabled signal
processing features so that adjustments can be made to optimize your transmitted audio.
• Connect your radio to a dummy load and switch the transmit antenna to the appropriate
antenna connector or turn down the power output to 1W (a setting of 0W will not transmit
any audio).
• Open the control panel for the Slice Receiver that controls the transmitter.
 Loading...