Do you have a question about the FlexRadio FLEX-6000 Signature Series and is the answer not in the manual?
| Model | FLEX-6000 Signature Series |
|---|---|
| Category | Control Unit |
| Type | Software Defined Radio (SDR) |
| ADC Resolution | 16-bit |
| DAC Resolution | 16-bit |
| Transmitter Power | 100W PEP |
| Connectivity | Ethernet, USB |
| Display | None (Requires external computer) |
| Operating System Compatibility | Windows |
| Sample Rate | 122.88 MHz |
Maestro requires a supply of 10 to 15 volt DC external power.
Maestro requires a network connection via wired Ethernet or Wi-Fi.
A microphone or key is required to operate the transmitter.
Details connections for various ports on the Maestro back panel.
Procedure for starting and stopping the Maestro unit.
Guides through scanning and connecting to available Wi-Fi networks.
Information on network connection status indicators.
Steps to download and install the desired SmartSDR software version.
Information on licensing requirements for SmartSDR Version 2.
Explains SmartLink goals: simplicity, security, performance, and expandability.
Steps to set up SmartLink, including account creation and radio registration.
How to create an online user account for SmartLink credentials.
Process for registering the radio with the SmartLink account.
How to test the SmartLink configuration for successful connection.
Instructions for operating the radio remotely using SmartLink.
Explains wide-band sampling and its difference from traditional radios.
Details the primary hardware components of the FLEX-6000 system.
Describes the SCU's role in capturing wide-band RF spectrum data.
Explains how Slice Receivers process SCU data into manageable signals.
Visualizes RF spectrum data as a spectrum analyzer display.
Provides a time-based visual representation of RF spectrum data.
Combines Panadapter and Waterfall for simultaneous current and historical views.
Explains how to activate and manage Slice Receivers A and B.
Details methods for tuning frequency using knobs, drag, or direct entry.
How to select which Slice Receiver is currently active.
Explains how to select different modes like USB, LSB, CW, etc.
Controls for AF/AGCT/SQL and solo channel operation.
Adjusting receive filter bandwidth and modes for optimal reception.
Features for recording and playing back audio from Slice Receivers.
Adding and removing Panadapters for spectrum visualization.
Adding Slice Receivers to a second Panadapter.
Adjusting the displayed frequency range of the Panadapter.
Methods for adjusting the zoom level of the Panadapter display.
Adjusting the maximum and minimum amplitude displayed in the Panadapter.
Detailed use of display controls for Panadapter and Waterfall.
Automatic Gain Control adjustment for optimal performance in noisy environments.
Overview of available noise mitigation features in the Slice Receiver Menu.
Combats fast rise time pulse-type noise using advanced algorithms.
Noise blanking applied on an individual Slice Receiver basis.
Reduces random white noise for clearer signal reception.
Explains the concept and advantage of tracking notch filters over traditional ones.
Step-by-step instructions for creating and adjusting a TNF.
How to globally enable or disable all tracking notch filters.
Automatically applies notch filters to remove constant tones.
MIC profiles manage microphone and audio source settings.
Transmit profiles manage transmitter power and interlock settings.
Global profiles manage Panadapter, Slice layout, and overall settings.
Procedures for saving and deleting Global, Transmit, and MIC profiles.
How to load saved profiles from the control panel.
Overview of included default profiles for basic operation.
Differentiates profiles from persistence and explains their interaction.
Enables streaming of Slice audio to Maestro's playback devices.
Using connected microphones or line inputs for transmission.
Options for audio output via speaker, headphones, or line level.
How hardware PTT inputs override Maestro PTT in non-DIGx modes.
Using connected keys/paddles for CW operation via Maestro.
Monitoring network connection quality for remote operation.
Visual indicator of network connection performance.
Detailed network diagnostic data for troubleshooting connection issues.
Setting up and using split mode for DXpeditions and contesting.
Instructions for transmitting in CW mode using the built-in keyer.
Configuration and use of the built-in iambic keyer.
Achieving full QSK operation for high-speed CW.
Connecting external keyers via the accessory connector.
Considerations for using Maestro with CW contest logging software.
Selecting appropriate receive filter bandwidths for SSB signals.
Setting up and using favorite filter bandwidth presets.
Setting up and using split mode for SSB operations.
Configuring microphone, speech processor, and EQ for phone modes.
Adjusting transmit filter bandwidth for sideband transmissions.
Using the speech processor for enhanced talk power.
Adjusting transmit and receive equalization for audio quality.
Setting up Voice Operated Transmit (VOX) for hands-free operation.
Using monitor mode to listen to processed audio.
Using the downward expander to reduce background noise.
Interaction between DAX TX channel, microphone, and VOX.
Using Quick Record/Playback to monitor and optimize transmitted audio.
Recommended steps for adjusting microphone audio for phone modes.
Using FM repeaters with CTCSS tones and offset settings.
Storing and recalling radio settings using memory channels.
Initial setup for Panadapter and Slice Receiver with default antenna.
Selecting the appropriate transmit antenna for each Slice Receiver.
Antenna configurations for full QSK operation.
Using one receive antenna with multiple transmit antennas.
Configuring two transceive antennas on the FLEX-6700 model.
Utilizing a dedicated antenna solely for receiving.
Operating with antennas designated only for receiving.
Selecting antennas for transverter band operation.
Adjusting receiver RF gain and preamplifier settings.
Detailed steps for setting RF gain and preamplifier levels.
Fundamental terms and rules for antenna configuration.
Steps for tuning to and using a transverter band.
Handling multiple signal frequency copies, especially with transverters.
Setting maximum power levels for transverter operation.
Procedures for transmitting via a transverter.
Optimizing reception for weak signals during transverter operation.
Understanding USB cable features and interfaces for devices.
Managing and configuring USB cables within the Maestro.
Configuration for serial data communication cables (CAT).
Configuring BIT cables for mapping tuned frequencies to signals.
Configuring BCD cables for band mapping via binary coded decimal output.
Support for LDPA cables for low drive power amplifiers.
How hardware PTT overrides DAX input in non-DIGx modes.
Optimizing tuning and reporting for RTTY mode via CAT.
Setting audio offsets for DIGU or DIGL modes for signal tuning.
Necessary requirements for enabling and using FDX mode.
Initial applications of FDX mode, including SO2R and satellite ops.
SO2R operation capabilities on FLEX-6600(M) and FLEX-6700 models.
Full duplex capabilities on FLEX-6300 and FLEX-6500 models.
Understanding and avoiding SCU overload conditions for proper operation.
Role of preselection band filters in receiver performance.
How the preamplifier/attenuator block affects signal levels and overload.
Functionality and overload characteristics of the ADC block.
Importance of antenna isolation to prevent receiver overload in FDX.
Overview of the Main Menu button and its tabs.
Controls for display, LED backlight, serial number, and software version.
Basic radio information, hardware version, options, and model details.
Assigning functions to the six front panel function buttons.
Information on Maestro's network connection and diagnostics.
Controls for audio output options, including volume and pan.
Adjustments for transmitter parameters like power and timings.
Controls for microphone and CW key interfaces.
Setting up transverter bands for the FLEX-6000.
Loading, saving, and deleting global, transmit, and microphone profiles.
Storing and recalling radio configuration information.
Managing and displaying cluster spots in SmartSDR.
Managing and configuring USB cables for external device control.
Controls for managing the GPS Disciplined Oscillator.
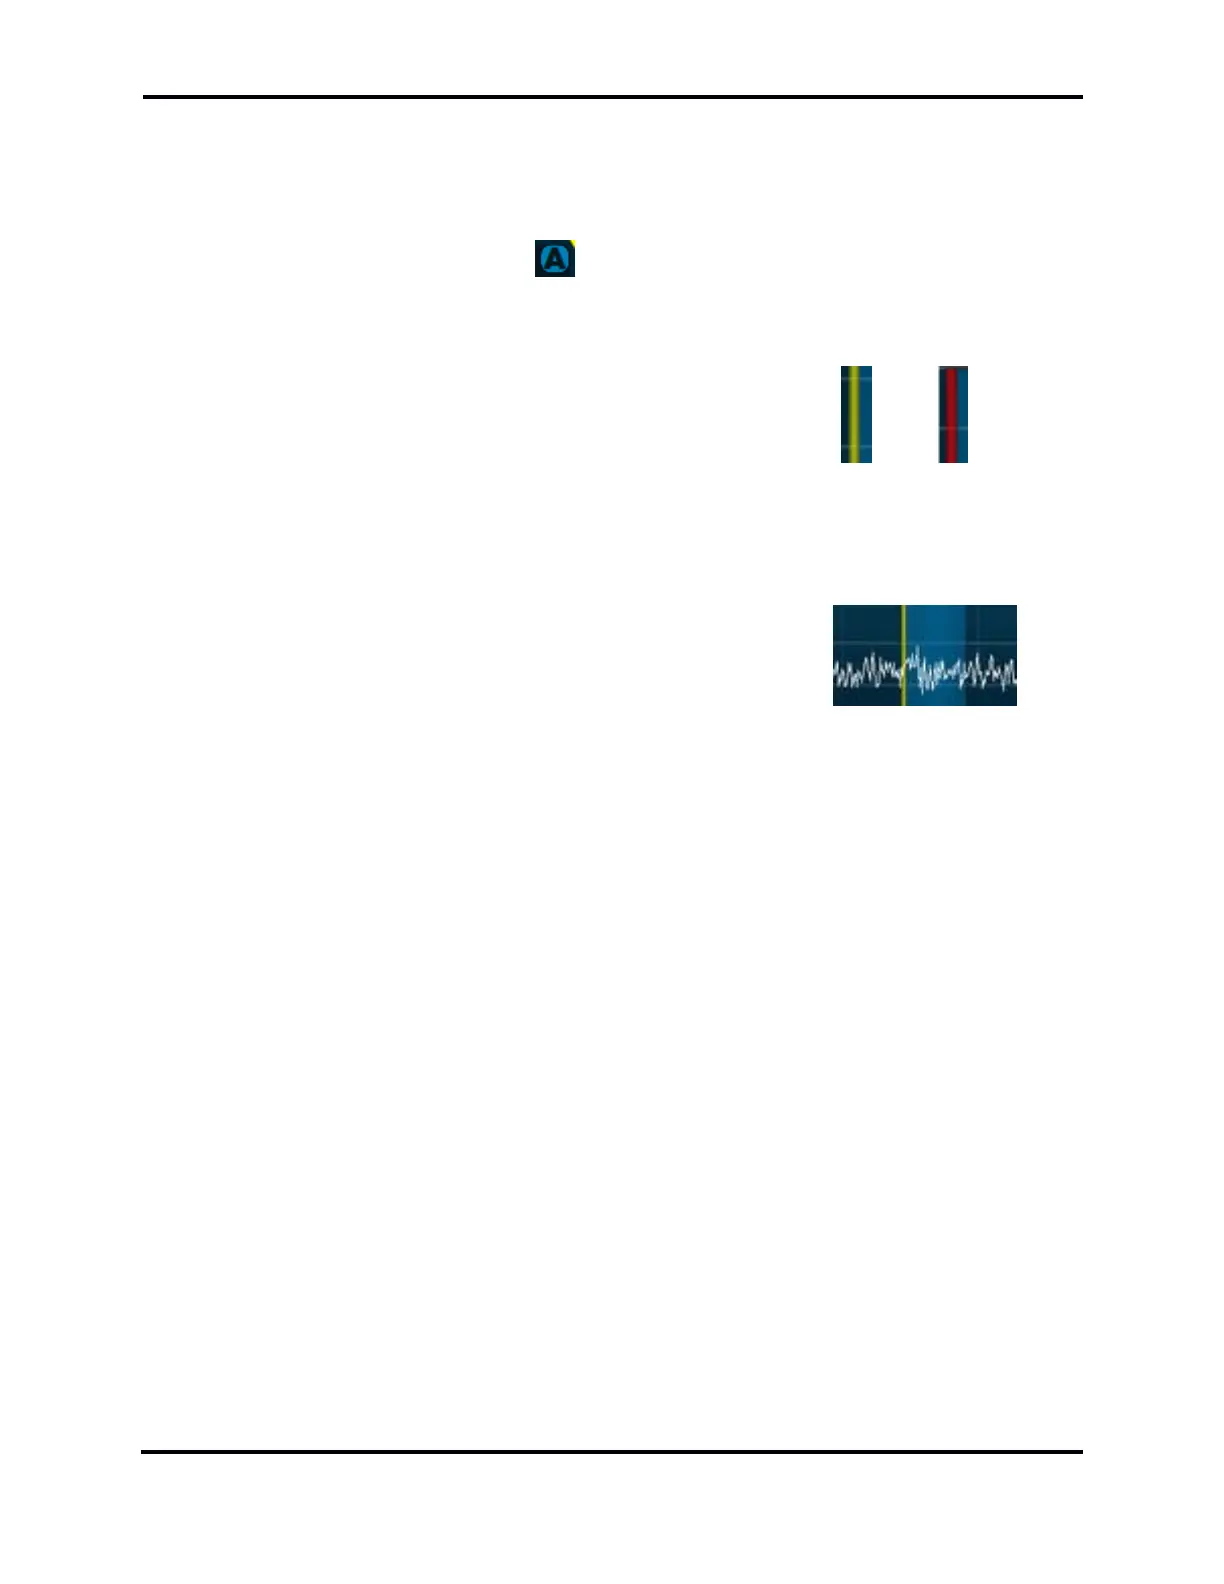
A Slice Receiver is a software resource for independent receiver operation.
Displays the center frequency for a Slice Receiver.
Represents the filtered audio output, highlighting the signal portion.
Adjusts filter tap depth to balance latency and filtering performance.
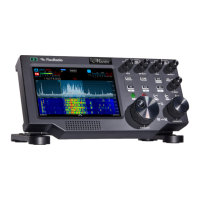
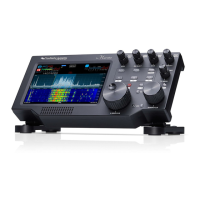
Maestro displays Panadapters and Slice Receivers on its touch screen.
Features Slice Receiver Flags, Main Menu, RF power, and network indicators.
Contains controls and annunciators for Slice Receiver operation.
Accesses controls for receiver mode, band, frequency, and filters.
Shows network connection quality and power source status.
How Panadapters are displayed and managed on the Maestro.
Visual spectrum display of radio frequencies (RF).
Historical representation of RF data over time.
Mode to view recent history of the Waterfall display.
Controls for adjusting Panadapter display parameters like FPS and AVG.
Methods for adjusting the zoom level of the Panadapter display.
Adjusting the maximum and minimum amplitude displayed.
Adjusting the frequency range viewed by panning the display.
Adding or removing a second Panadapter on the display.
Displaying auxiliary meters like SWR, power output, and temperature.
Buttons for activating and deactivating Slice Receivers.
Knobs and buttons for tuning Slice Receivers and adjusting step size.
Knobs for managing audio levels and solo channel operation.
Knobs for adjusting receive filter bandwidths and modes.
Knobs and buttons for controlling transmitter functions.
Accessing transmitter settings like microphone selection and audio controls.
Microphone selections, audio processor, and bandwidth controls.
Controls specific to CW mode transmitter settings.
Mapping radio operations to front panel function buttons.
Fatal error message when FPGA exceeds operational temperature limits.
Indicates detection of RF power entering the receiver, unkeying the transmitter.
Message indicating an interlock condition preventing transmission.
Requires a transmit Slice to be selected before transmitting.
Warning that Max Power setting is too low for ATU operation.
Addresses issues related to network connectivity and physical layer problems.
Checking physical Ethernet connections and link state LEDs.
Configuring firewalls to allow network access to Maestro.
Ensuring FLEX-6000 is permitted via MAC address filtering.
Steps to resolve Maestro unresponsiveness and freezing issues.
Resolving issues where the radio or software fails to load.
Troubleshooting performance issues after a software or firmware upgrade.
Diagnosing issues with spectrum display or audio stuttering.
Resolving amber front panel light issues, potentially related to GPS.
Correcting Maestro display orientation issues.
Troubleshooting license not appearing in the radio after purchase.
Resolving issues related to SmartLink connectivity and radio detection.
Checking radio power, internet, and Maestro connection for SmartLink.
Diagnosing connection failures after the radio is detected in SmartLink.
Interpreting and resolving network test results for SmartLink.
Setting up manual port forwarding for reliable remote client connections.
Addressing performance issues on public Wi-Fi networks with SmartLink.
Copyright notice for the user guide document.
Copyright notices pertaining to FlexRadio software.
End User License Agreement for SmartSDR for Windows.
Information regarding the GNU General Public License (GPL).