1. Programming or verifying that the meter is set up to work with the 100G remote ERT
module. Programming requires a computer communication cable.
2. Connecting the ERT module to the meter. Connections require:
• a wire stripper
• a flat-tip screwdriver
3. Mounting the remote ERT module. For mounting information, see Mounting the 100G
Series Remote Gas ERT Module on page 8 Select the mounting option appropriate for
your installation. Mounting options include:
• Wall mount on a sheet metal surface
• Pipe mount using the Itron pipe mount kit CFG-0005-003
• Custom Elster American meter mounting option
4. Programming the 100G series remote ERT module. For programming information, see
100G Series Remote Module Programming on page 13. Programming requires an Itron
ERT programming device (for example, an FC300SR).
100G series module configuration with the meter is dependent on your system application.
See the Elster American meter configuration information.
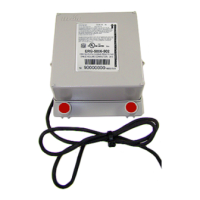
Elster American meter mounting instructions
1. Remove the meter's top plate by removing the
two 5mm screws and carefully prying up on the
plate. The plate is secured with an O-ring seal.
Remove the O-ring from the plate.
Caution: If the O-ring is damaged
during removal, obtain a replacement
from Elster American Meter Co.
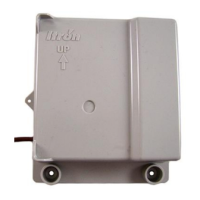
2. Look into the meter tower and find the meter
switch lead and connector (4-pin).
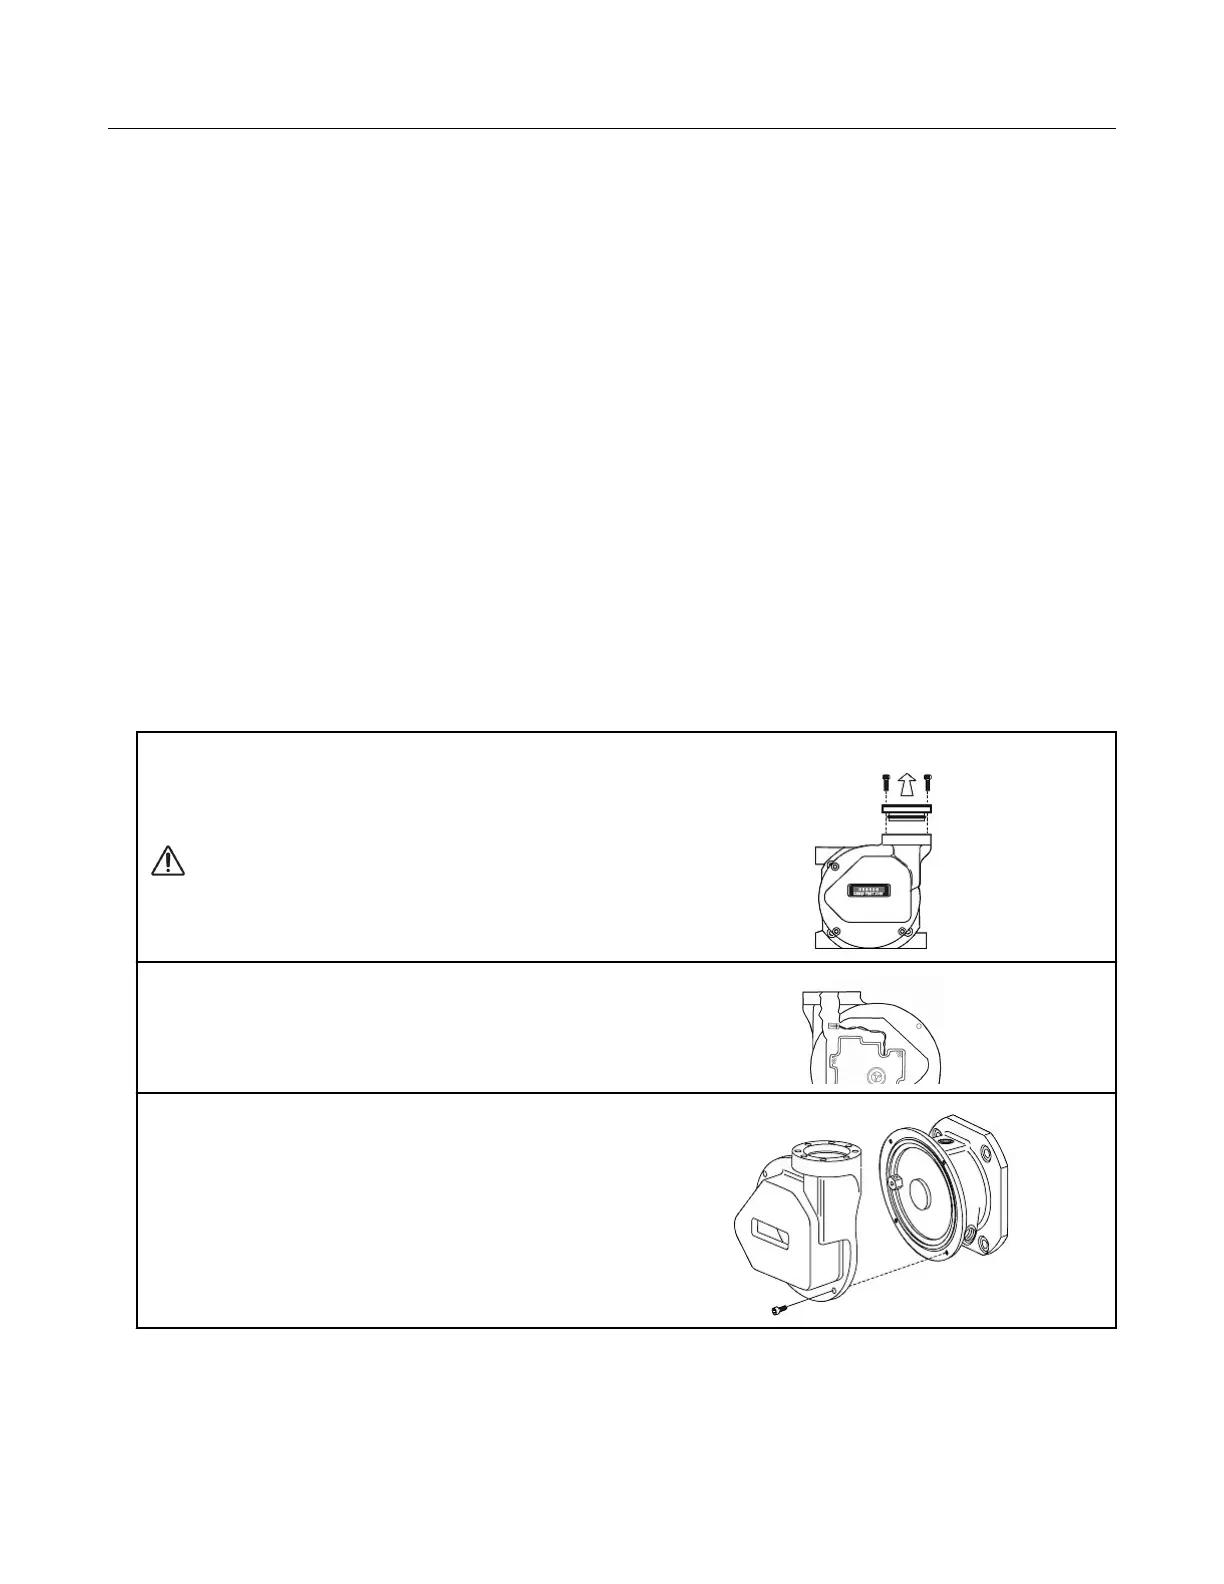
3. If the lead and connector are not visible or
cannot be found, remove the four 5mm mounting
screws and the register cover. The meter switch
lead and connector will be visible inside the
cover.
Specific Meter Manufacturer Installation
100G Series Gas ERT Module Installation Guide, Remote Mount TDC-0824-017 27
Proprietary and Confidential
 Loading...