50
3�4 Calibration
This function is used to correct the lm density property.
This machine provides automatic density control of an image when a new lm is loaded via a
densitometer incorporated in the cooling / transport unit. You do not normally need to correct the
image density. However, if any abnormal density should occur, including the “NG” result of output of
the QC pattern in test print, print the calibration sheet, following the steps below. Density correction is
automatically performed.
The calibration sheet is used to collect data for automatic density correction (i.e. data whose density is
not corrected). If you check or manage the density, use the the QC pattern output in test print.
“3.5 Test Print” (page 52)
“5.2 Operation of Test Print” (page 103)
1
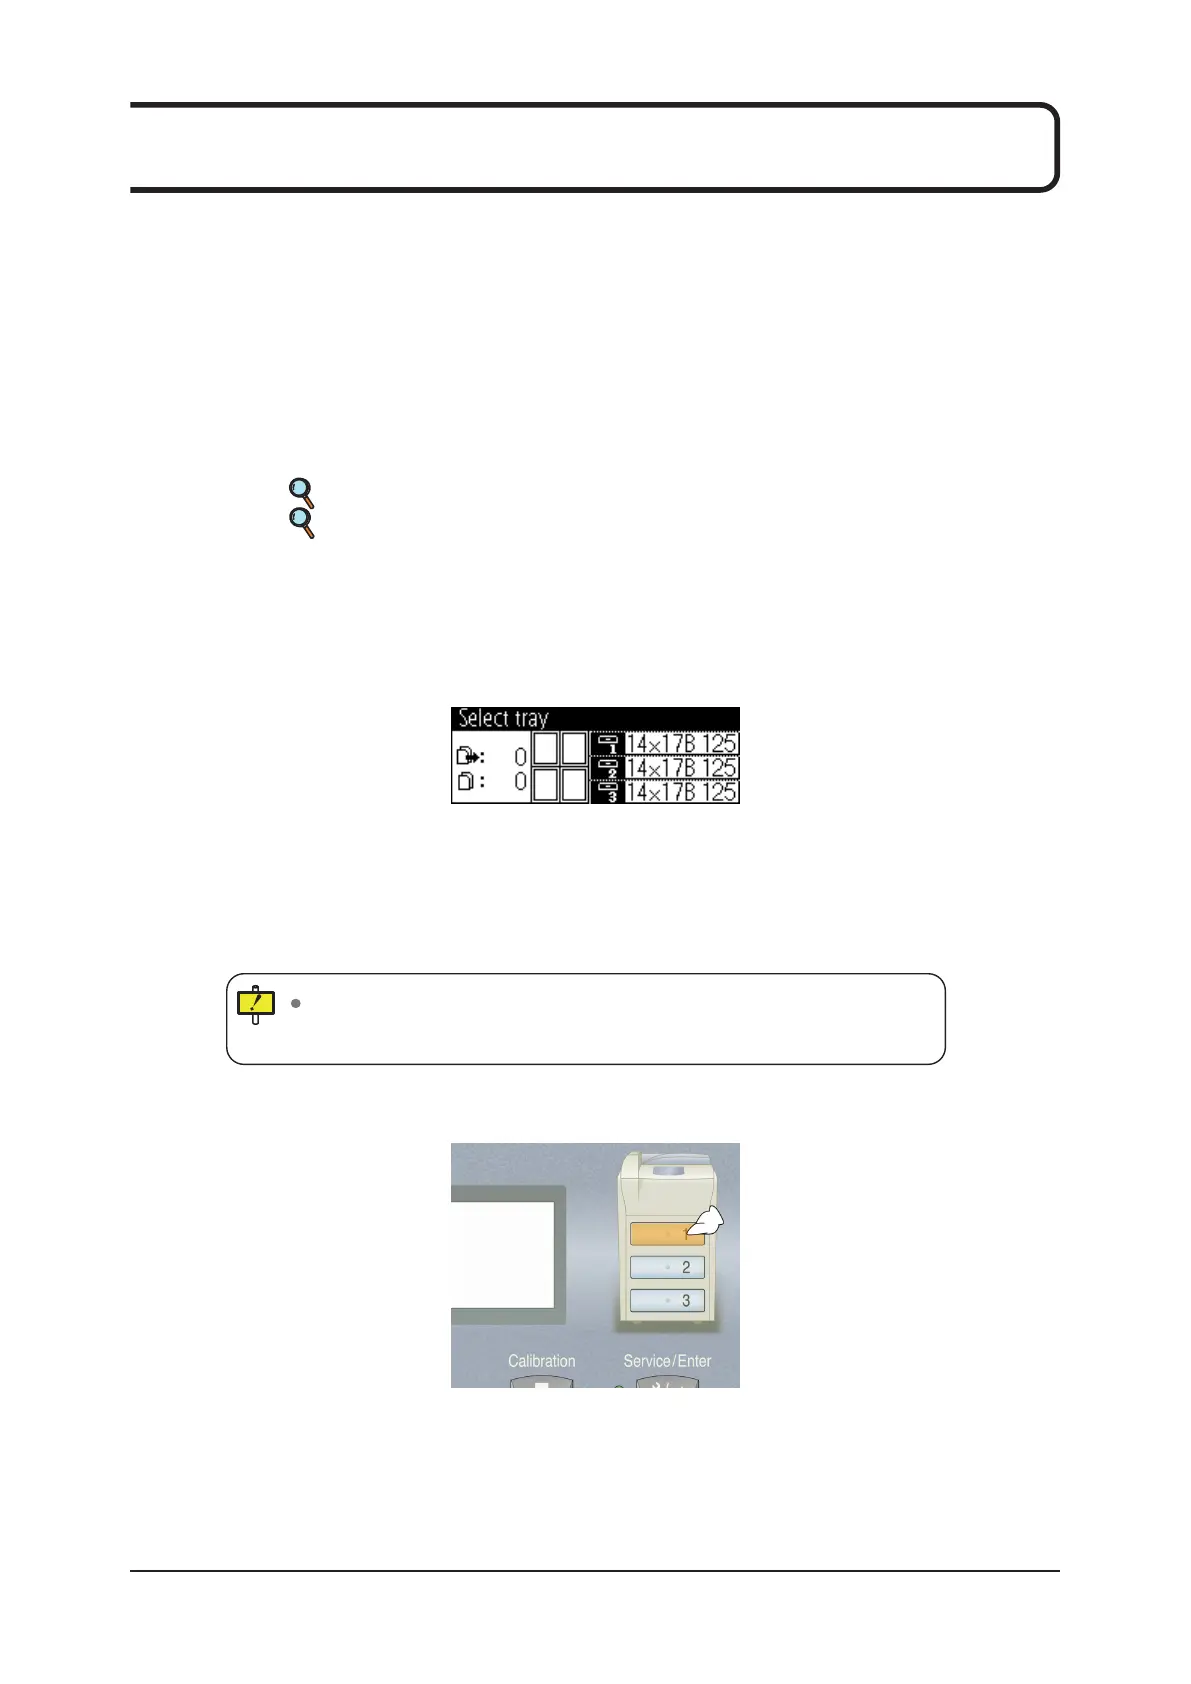
When "Ready" appears in the status information display area of the dis-
play window, press the [Calibration] button. The message "Select tray"
appears in the display window, and the tray buttons for the trays that are
ready for film transport light up�
The tray button of the tray selected for priority calibration, such as regular calibra-
tion, blinks.
To cancel calibration, press the [Reset/Cancel] button. "Ready" appears in the
display window.
To perform calibration because the result of output of QC pattern
was
“
NG”, select the tray in which the abnormal density occurred.
2
Press the tray button�

 Loading...


