Sending Functions
ADVANCED OPERATION GUIDE 2-7
2
Centering
When you have scanned the original after specifying the original size and
sending size, depending on these sizes, a margin is created at the bottom,
left, or right side of paper. By using the centering, the image is placed with
a margin equally created at each of the page Top/Bottom and Left/Right.
Use the procedure below to center then image when sending a scanned
image.
1
Place the originals on the platen.
2
Press the Send key.
3
Press [Advanced Setup] and then [Centering].
4
Press [On].
Centering is
performed.
5
Press [OK].
6
Specify the destination, and press the Start key to start sending.
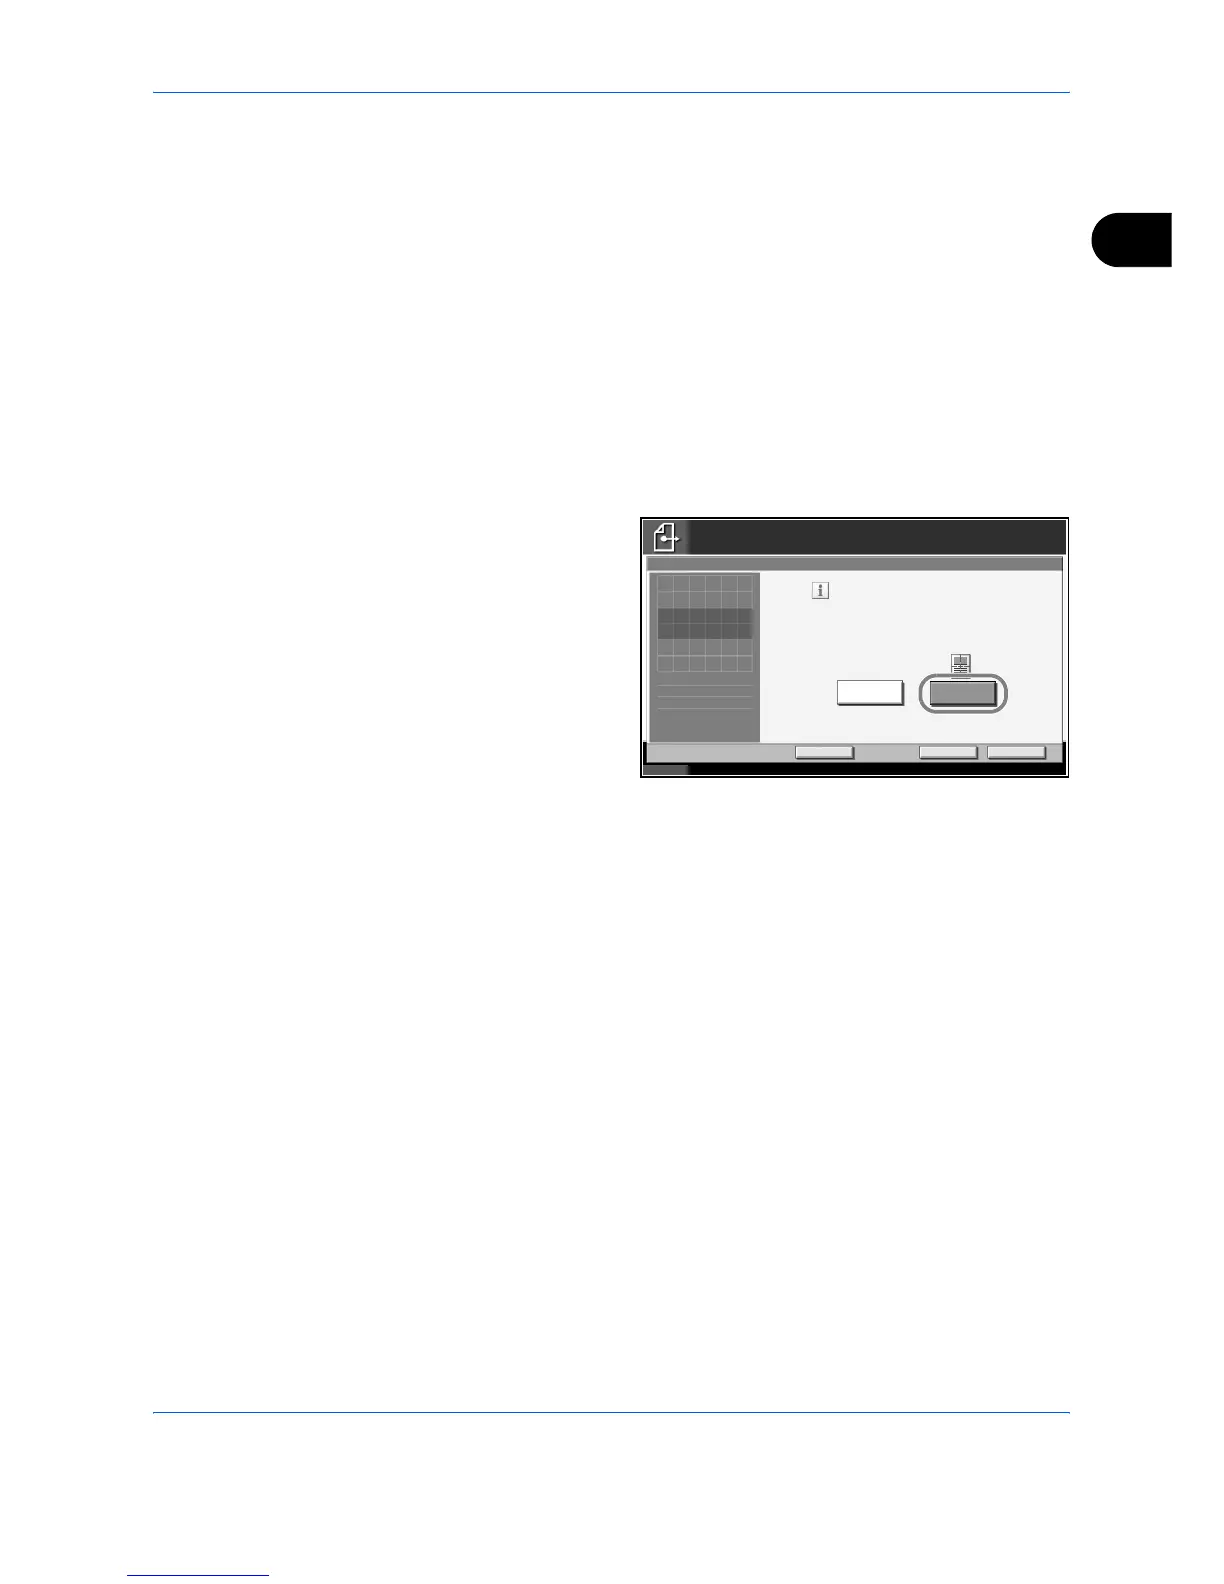
Status 10/10/2007 10:10
Ready to send.
Destination
Add Shortcut
Move image to center of page during scan.
Cancel OK
Off
Centering
Enter Destination.
On
1
Press [OK] to display
the image.
 Loading...