Technical Information
114
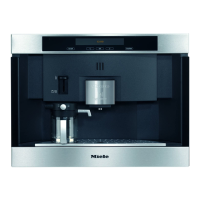
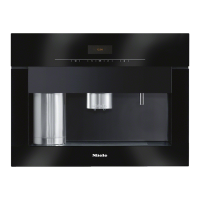
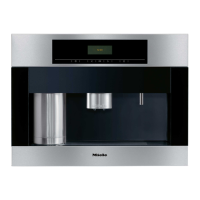
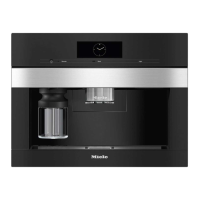
CVA 4062/CVA 4066/CVA 4068 Coffee Systems
appropriate tool to cut out a corner approximately 12 mm x 12 mm from the
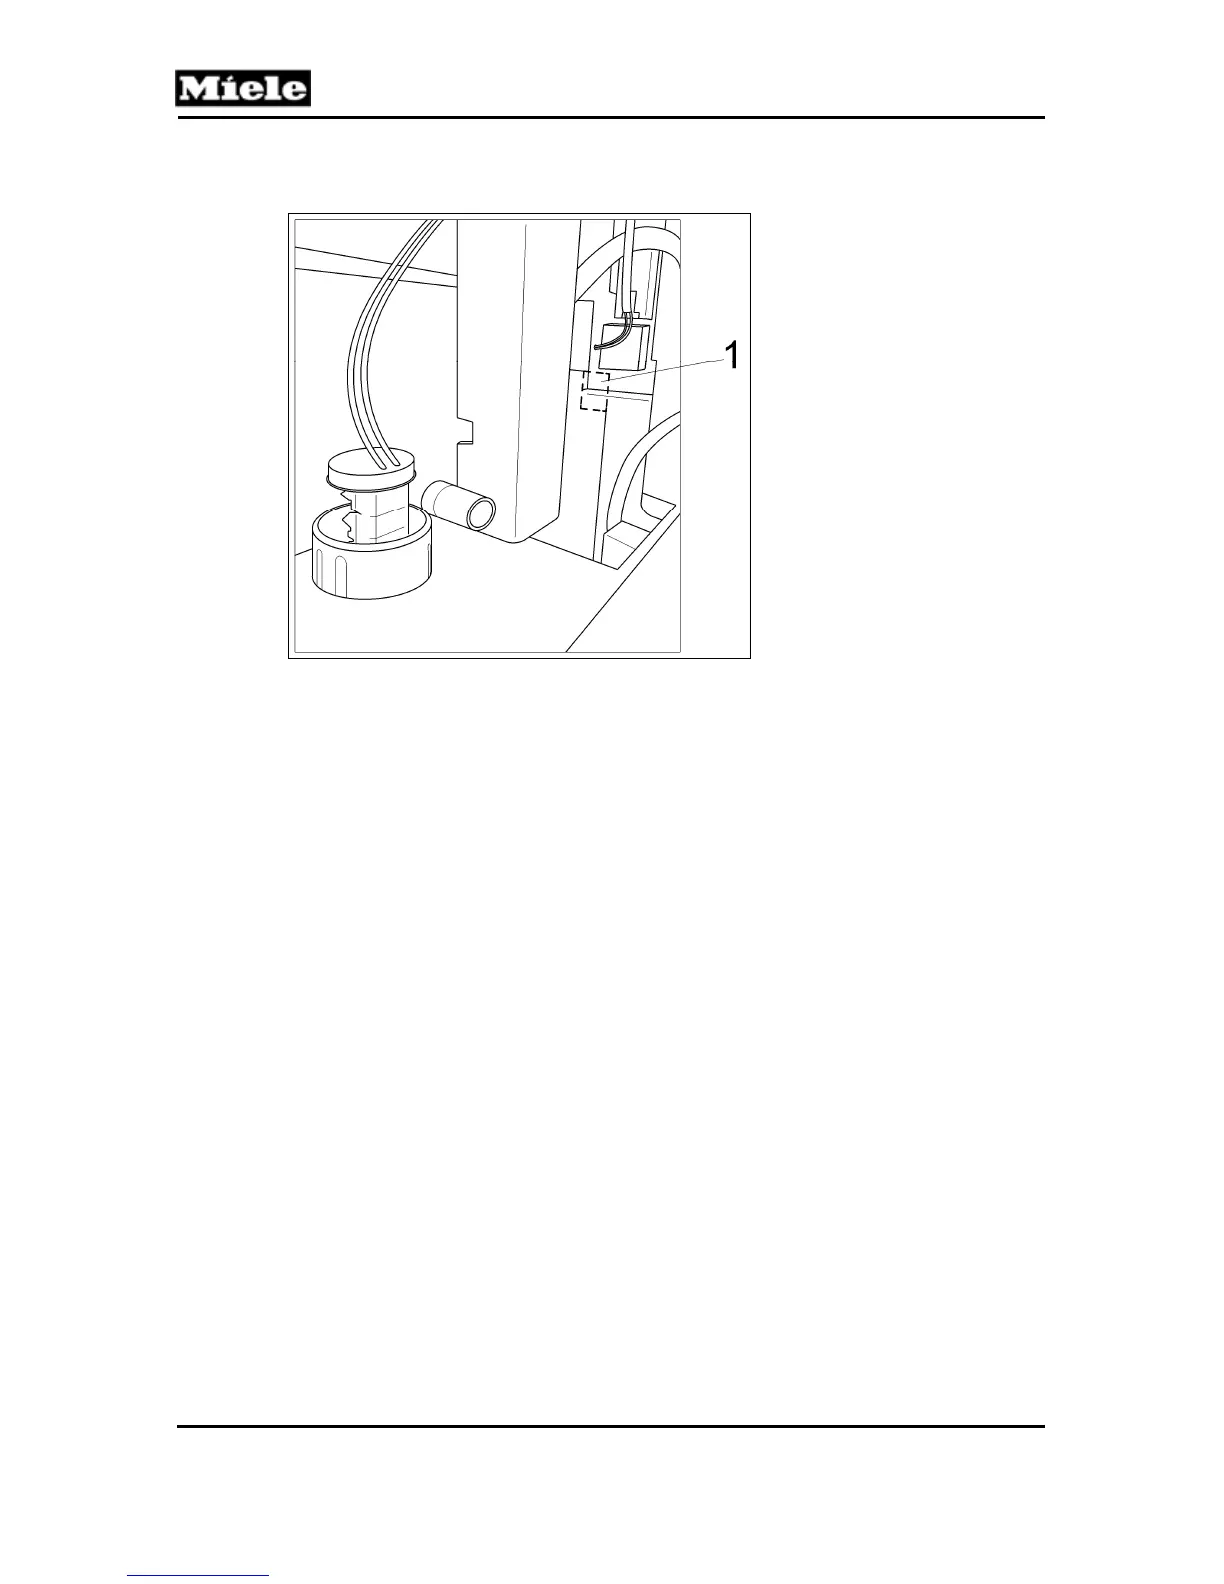
height adjustment mechanism (see Figure 11, Item 1).
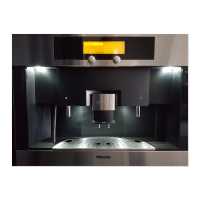
Figure 11
36. Install the coupling piece in the new cover and re-install the retaining screw (Figure
1, Item 3).
37. Install the hose on the coupling piece (Figure 2, Item 2).
38. Install the hose holder (Figure 2, Item 3) and re-install the retaining screw.
39. Install the milk container with holder (Figure 2, Item 1) and re-install the retaining
screw.
40. Lay the sensor connections behind the guide.
41. Install the new cover and re-install the 5 retaining screws (Figure 1, Item 2).
42. Install the new removable milk pipework in the new cover.
43. Install the right cover and re-install the 3 retaining screws (Figure 1, Item 1).
44. Install the milk container.
45. Slide the new central spout upwards from the front until clicking of the microswitch
can be heard.
46. Re-install the front stainless-steel fascia piece on the central spout.
6 CVA Door Hose Replacement
In some cases, service is necessary to repair a worn or damaged hose leading to the
door on one of these coffee systems. Because of the complexity of this assembly, and
the need to remove & reapply heat-shrink tubing, a full hose assembly has been made
available as a repair part. In the event a repair is needed, use part number 07270852.
 Loading...